As an unemployed teacher working to earn my Teacher Certificate, I have the summers off. Yes, it may seem awesome; but sometimes summers off is not so nice. Let’s keep that for another topic.
I have a list of projects. The list derives from home issues that I see as a concern and the rest are what we need and want for our living environment. I have completed three and a half projects so far—yes, there is a half. They are: repair the deck umbrella; clean up the compost area; clean the garage; and make outside storage. Lets review the outside storage.
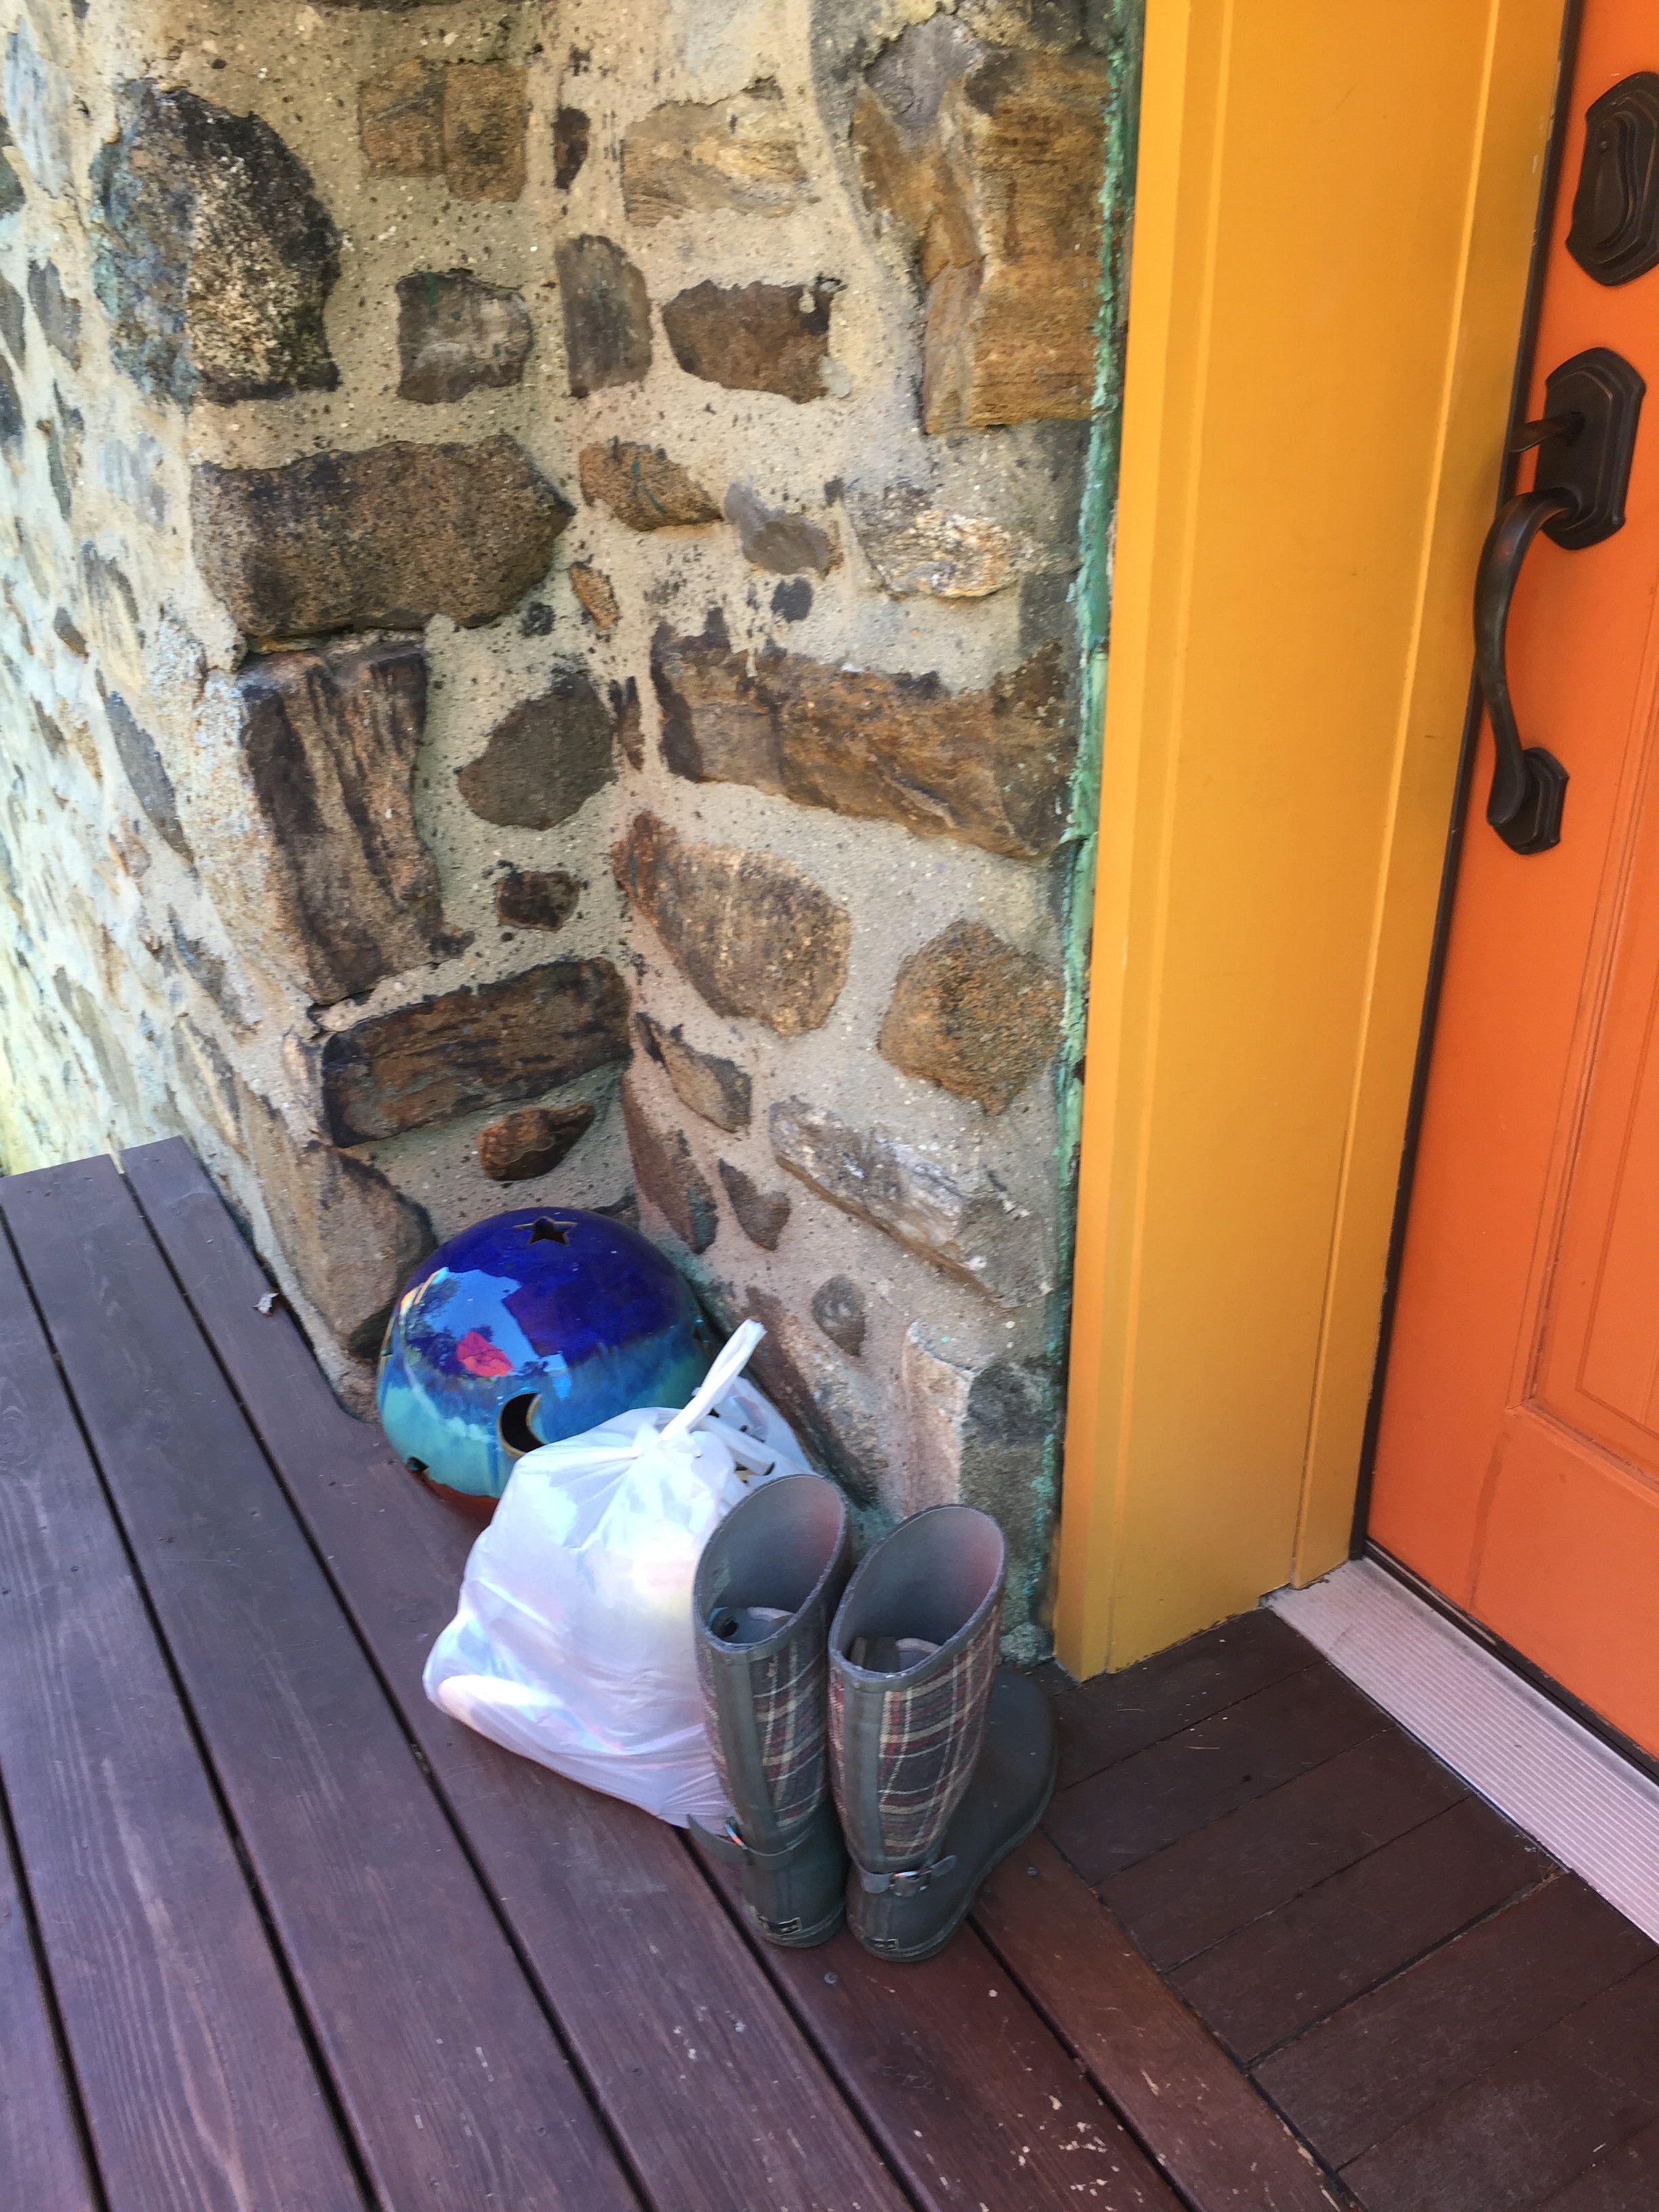
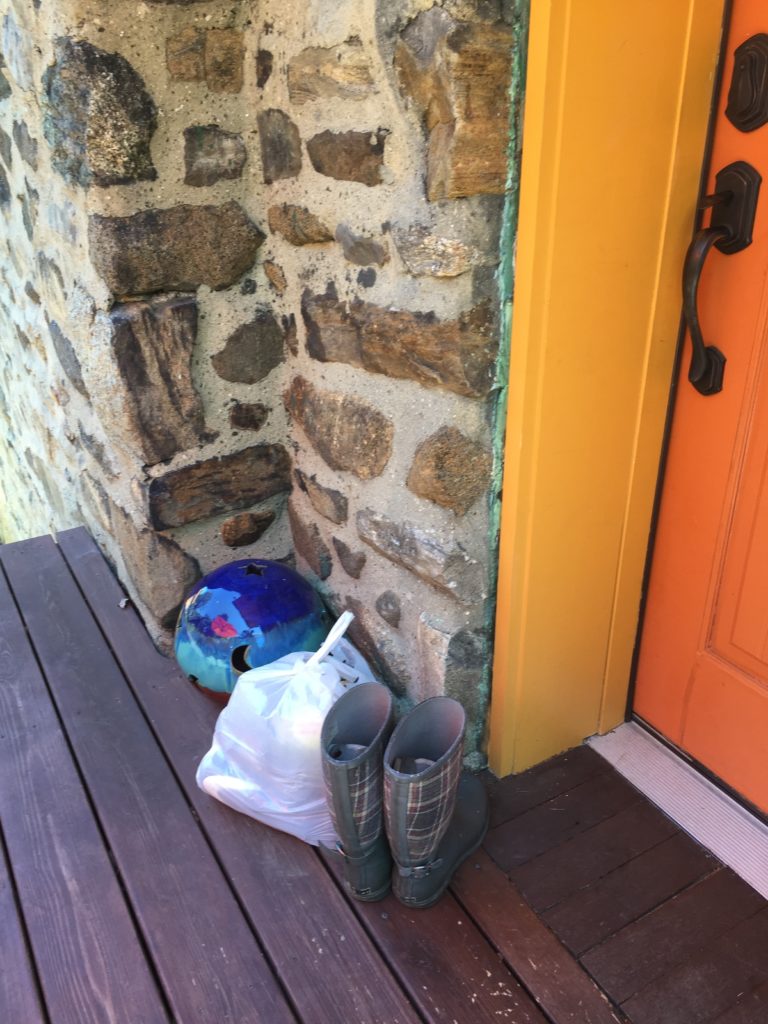
Sometimes our deck becomes an open-air storage closet. It is not too messy, but the clutter can be a bit of an eyesore for unexpected visitors. When we know guests are coming, we throw everything down the basement stairs. Then, slowly, the same stuff sneaks their way back up to the deck. Some things need to be there like our chair covers, but other things really just seem to be more conveniently accessible when they sit in the corner by the door like our outdoor-work/garden/lawn boots. So, the corner by the door looks like this:
Time to make some storage to hide the things. I could have bought something, but why not be a maker. I have some scrap wood and hardware collecting in the garage. Cleaning the garage is another summer project—removing some of the wood will definitely help, thus the half-of-a-project status.
I have some design requirements for this cabinet:
- It has to be tall enough to hold my boots (I am wearing mine when I took this shot, otherwise they would be there, too) and my wife’s boots (those grey ones in the picture).
- The cabinet has to fit in that corner.
- As for the style, I like rustic and old.
I would rather try to find something vintage on used-stuff websites or some neighbor’s garbage and renovate it than buy that new one that just seems sans character. The stuff made in the old days had charm and better material…and probably lead paint, but we are careful of that. Making rustic is easy since I have some wood from the deck rebuild and dismantled pallets.
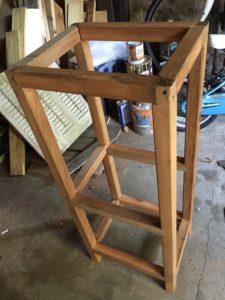
The frame was the fun part. I have some leftover cedar balusters from the deck build. (Yup, sometimes I miscalculate.) They are an inch and a half thick which will make a good and sturdy frame. Like I mentioned before, they are cedar so the cabinet will have a nice odor; and they are taking up space in the garage so that will help with the clean-up. For the framing construction, I could have easily butted the wood together, but I wanted something to last for a longer time. If I am going to make something, I might as well do it right. I know there are nice joints based on interlocking wood cuts such as that fancy dovetail you see on hope chests. I worked with dado and rabbet joints. These joints require gouging out some wood in a clean fashion to fit one piece snugly into the other. Since I do not have a table saw to make them, I cut basic grooves at a shallow depth using a circular saw and then just dig out the rest. The result makes for a nice and stronger joint.
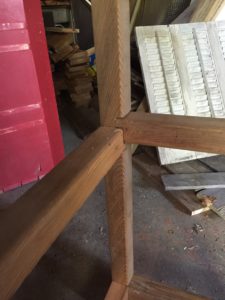
This is definitely work of an inexperienced joiner. I do use wood glue when I want a strong hold, especially when butting wood. In this case, I did not use wood glue. If you take a closer look, some of the joints did not meet properly so the glue would be a waste. Yup, I did not say I am a woodsmith, I just hack things together and learn along the way.
Yet, I have to pat myself on the back. I planned ahead to avoid some extra work but with a little more initial effort—save an inch, spare the mile if I am allowed to twist the saying. There will be a single shelf in the cabinet. This shelf will sit on the middle braces of the sides and back. I had set a horizontal brace going across the back but at a half inch higher. This will allow for the planks I place going across to eventually butt-up to the back and leave a level surface. If the back and side beams were on the same line, the last one-and-a-half inches would be a pocket sitting a half of an inch lower. I would have to notch a plank to fit around the back-side posts to sit on top of that brace to fill that gap. I do not like taking a notch out of a plank. I have sagging shelves because of such a technique. In this case with the bar up a half of an inch makes for not much extra work. There is, however, just a bit extra work on this joint. I had to miter the corners in an overlapping way that stacked the posts onto each other but still have some straight, clean faces that can be seen.
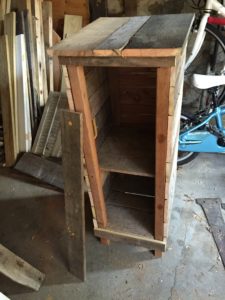
I had some leftover cedar from closet and built-in trunk work for a bedroom. That cedar became the back panel of the cabinet. Palette planks skinned the sides and capped the top for that rustic look. In this step, I have completed the top and bottom framing for the front face. For the sides, I need to rip that long piece leaning against the cabinet into two long, thin strips. Again, I do not have a table saw and this is a bit too thin to rip with a circular saw. With my second attempt on a second plank, I successfully used a jigsaw to rip it. A jigsaw?Yup, I did say I was not a professional. It was a slow and loud cut. The wood had some weird grain that jerked the blade every-which-way threatening several mis-cuts. The first plank was a curvy, wiggly cut and not what I wanted nor would it work on the cabinet.
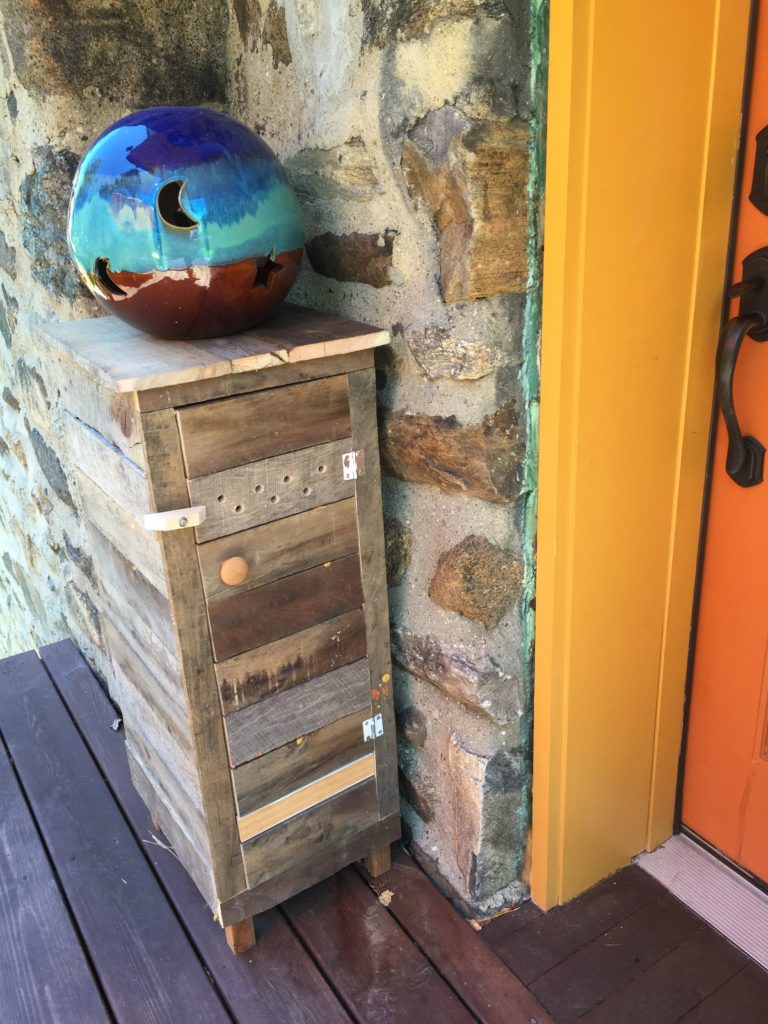
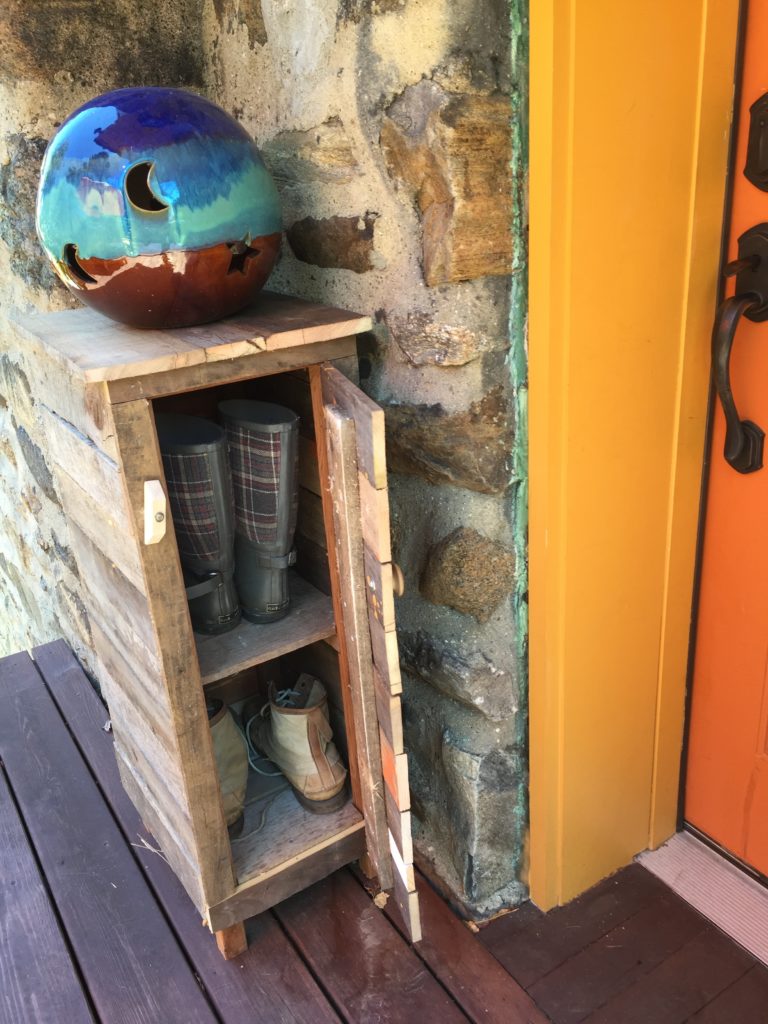
I slapped together a door using the same planks. I attached the door to the cabinet with hinges salvaged from a demolition job within the house. The finished piece sits in the corner, storing the necessary little things that occupied that same corner. Looks a bit cleaner, right?
Now I am wondering if I should paint it. Should I?

