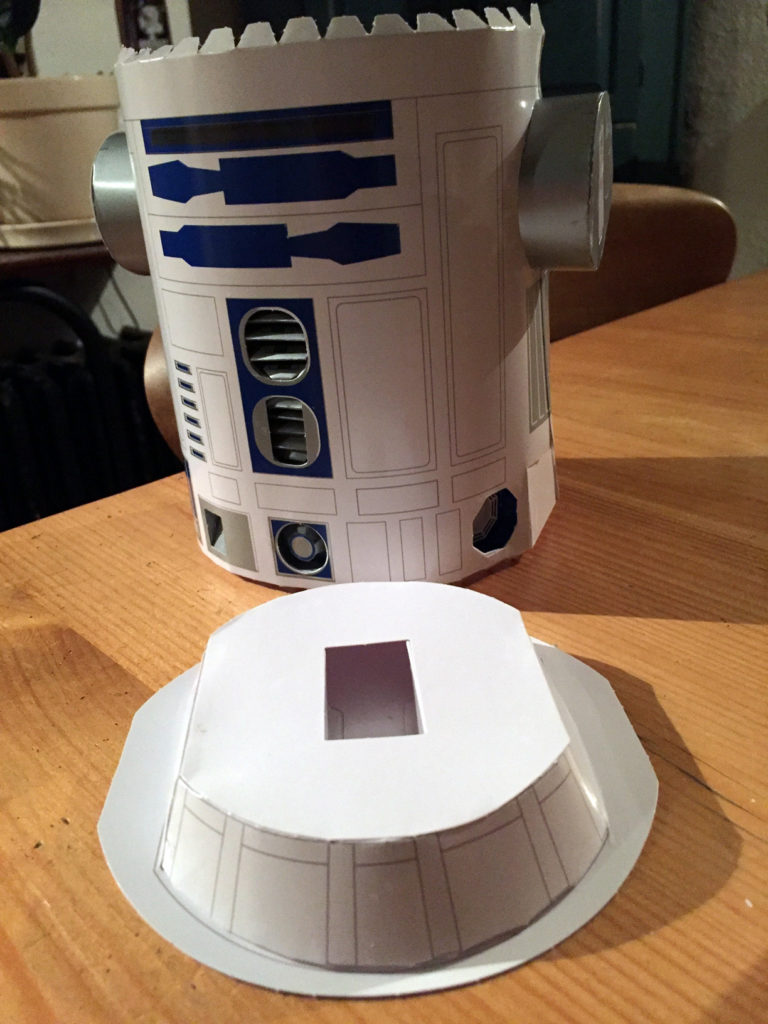
With my next visit to the build I did not get too far (“in a galaxy…”…..uh…anyway….). I finished STEP 6 (or did I?) and STEP 8. I will get back to the questionable finish; but, yes, Step 8. Pieces 52 were attached to the top and bottom surfaces and all of the perimeter tabs.
I am not going to get too detailed, but to attach the top and the bottom to the sides requires several gluing efforts. I glue three tabs, fasten to the surface, and let the glue dry before continuing with the next set of tabs. If I glue all the tabs at once, I would not have as clean of a construction as you see here…which is not perfect. The gray guidelines should have been hidden by the side panels. All is good, this will not be a perfect build…I am letting go…..letting…go. Yup. I am going to let that piece just be as it is.*
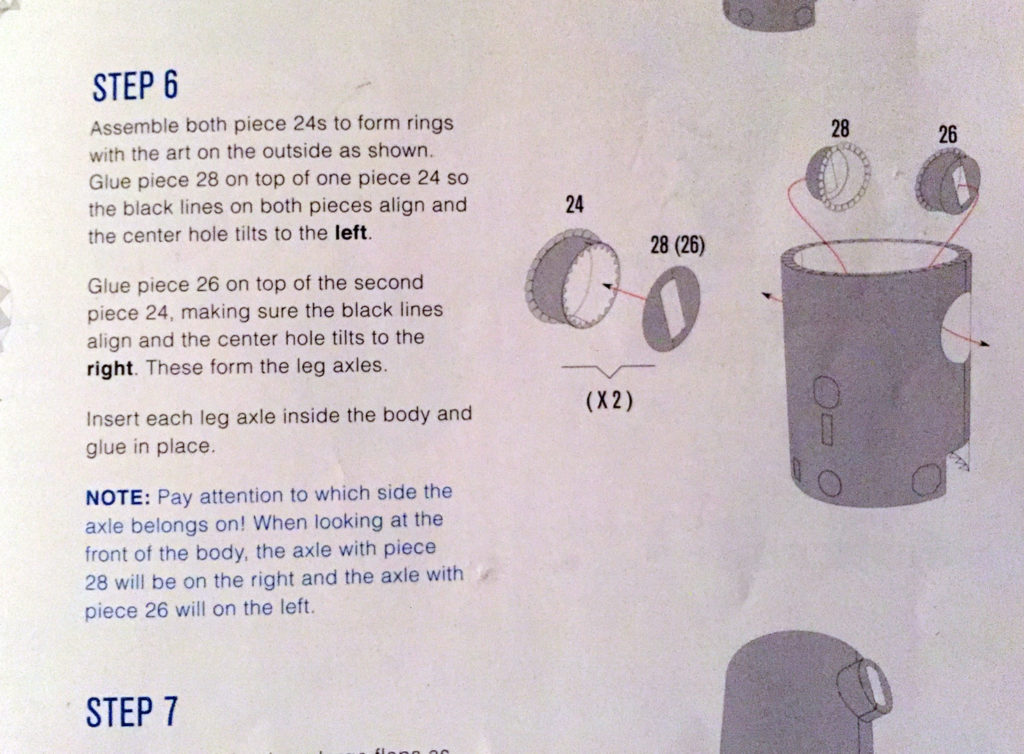
So back to STEP 6. Step 6 is a bit confusing or maybe I am just overthinking it. First, to get to Step 6, I did finish Step 5 completing the cylinder body shape. Now I want to attach the leg joints to the body as is the goal for Step 6, but the language does not completely clarify how pieces labeled 24 and 28 (the unique angled caps for the arm or leg hip joints I guess) connect to the body. The instructions state: “Insert each leg axle inside the body and glue in place.” Okay, that is fine; but at what angle? And wait, there is more confusion.
Just before I am to insert and glue which is very irreversible, I am to pay attention to the NOTE.
NOTE: Pay attention to which side the axle belongs on!
Okay. Read on in the instruction.
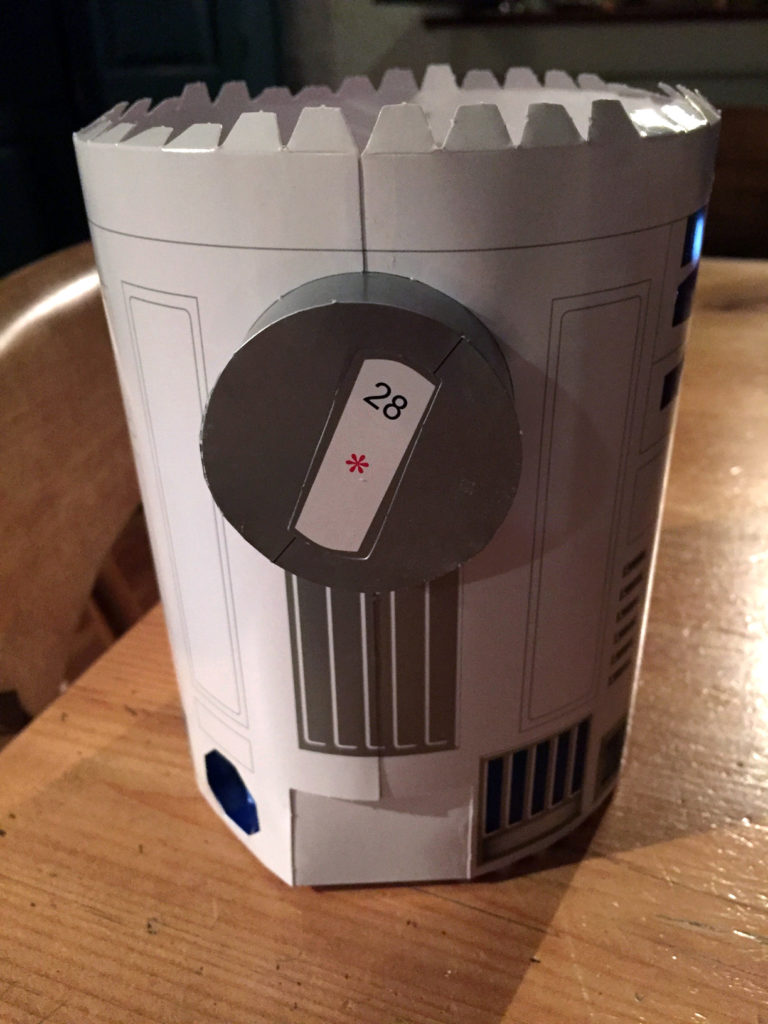
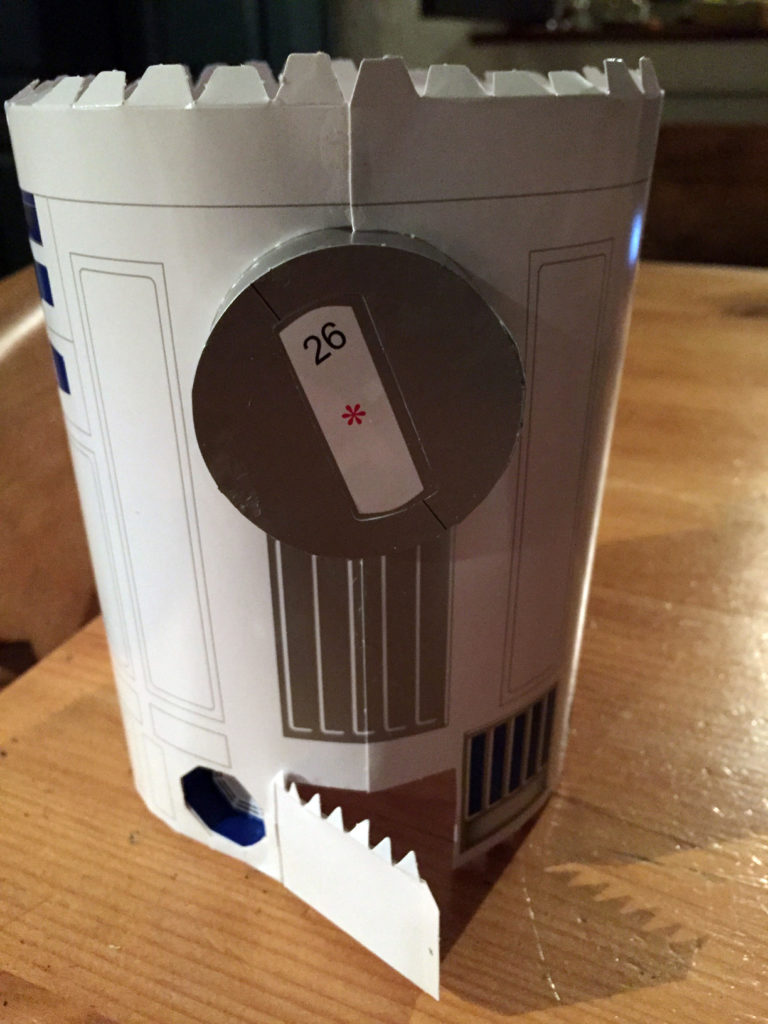
How am I suppose to be certain which “left” is left and which “right” is right? Right? If I continue to rely on the text instruction, I look at the front of the robot and I am to insert Piece 28 on the right. But which right: my right, or the robot’s right? The specific side is not specified. The author assumes the side based on some rule that may be implied but not commonly known. Thankfully there are pictures. I like pictures. The illustration steps in and clears up the confusion. Studying the illustration, I placed piece 28 on the robot’s right. Some people say art is worthless.
However, there is still more confusion.
I insert the axle, but at what angle? There is no specific indication of how the axle aligns to the body or sits in the socket. Sure, there is a black line that helps me attach the cap to the rings labeled 24—”…so the black lines on both pieces align and center hole tilts left.” That is good, but do you have a black line to help me tilts that whole assembly within the socket of the body? Huh?!
I am hoping that I placed then at the correct angle.
Due to my concern, I withhold the glue. The axles float so I can rotate them to the right tilt. I will wait for the final assembly step where I attach the side and center legs to assure that I have the correct angle.
I am still working on the head. That is going well.*
*Sarcasm.

