The next three sporadic days became small bits of effort that made this: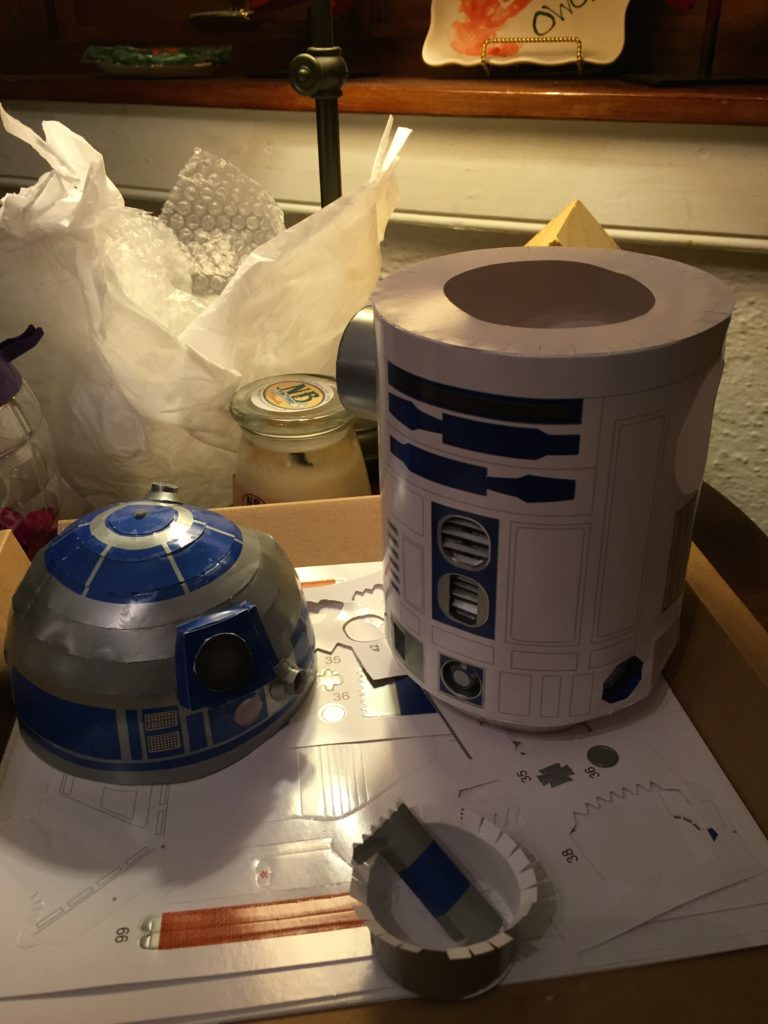
I have attached the assembled bottom constructions into one large body structure. The head being almost done in the finest of productions.
Oh, the head. Only one other dome structure that has existed more than two millennium could compare—the Pantheon. Some ancient historians cite that Michelangelo upon gazing at the same structure remarked “angelic and not human design…”, and the same can be said of this elegant example modeled and constructed with paper and glue of precision design detailed by exquisite labor for the second best dome construction in the world.
Look at it. Such a fine model remarking the smooth surface of a half-sphere.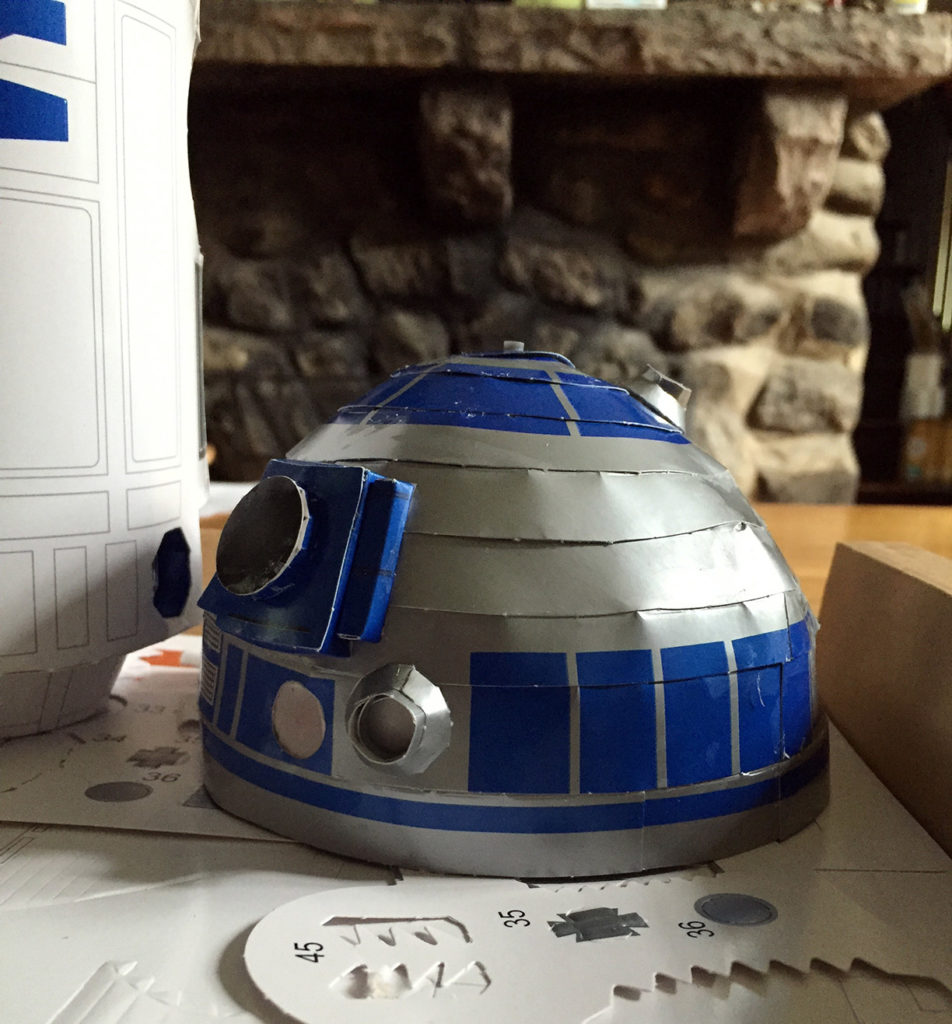
Here is another view illustrating the remarkable symmetry of the structure adorned by the robotic eyes.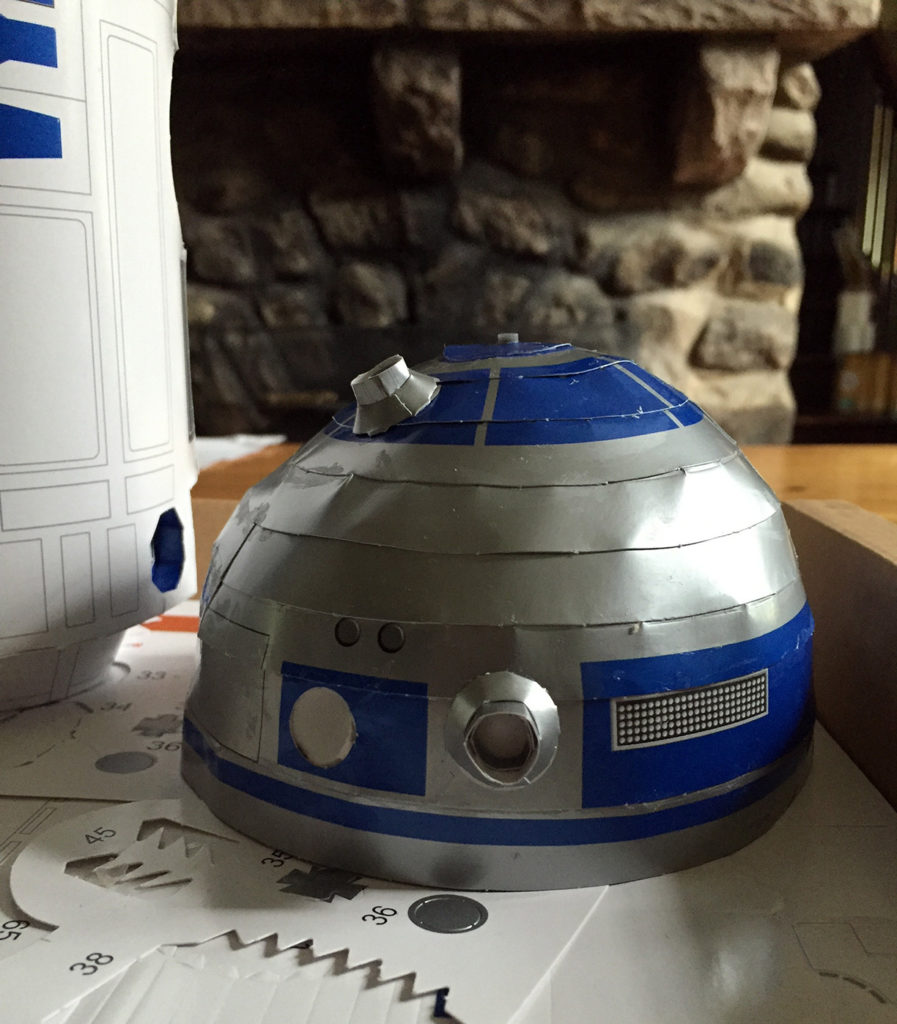
My son upon gazing at this wonder stated, “It looks like he has been in battle and been banged up.” Oh, the marvelous observation.
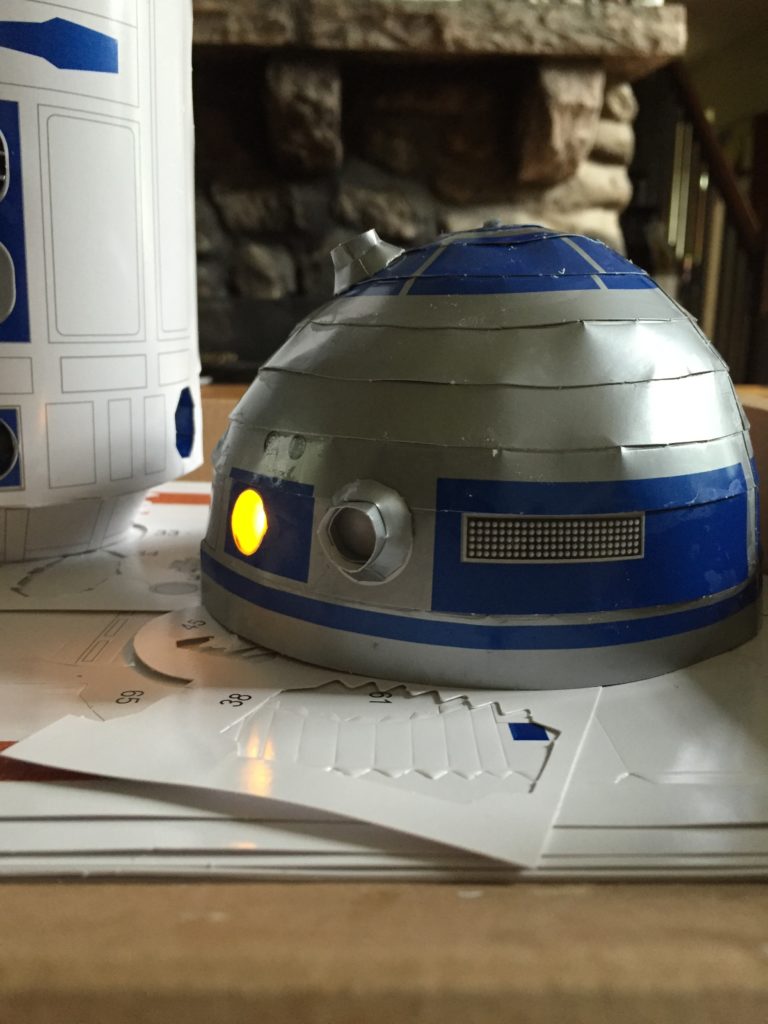
Some lights and action.
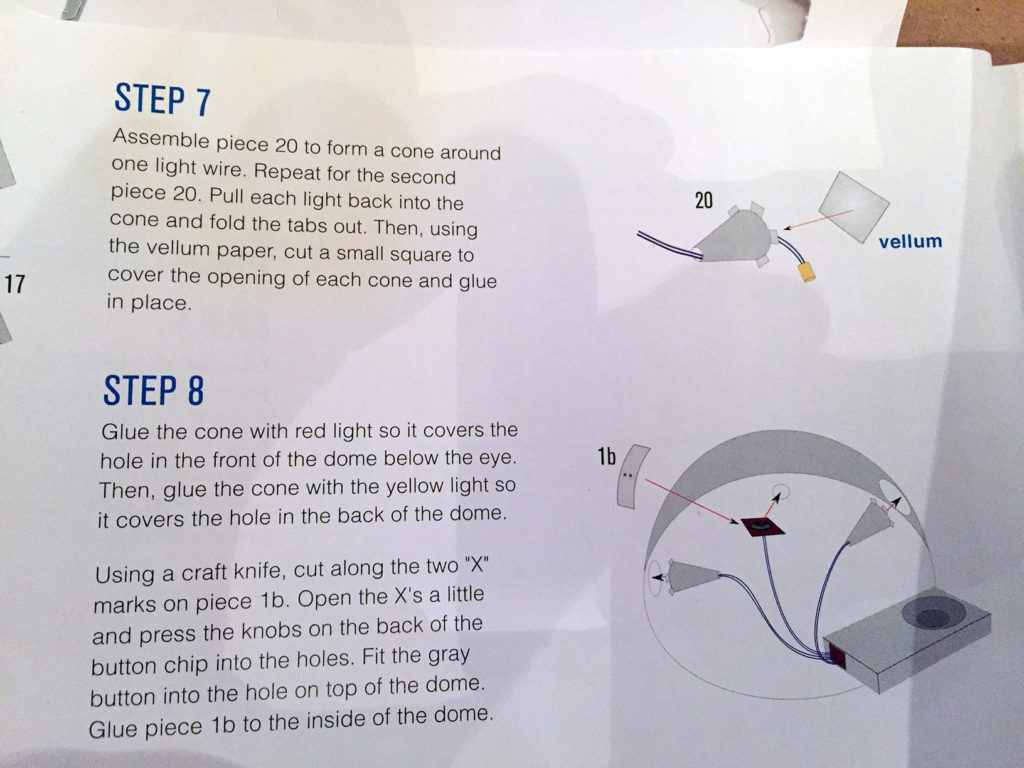
I bounce around the instruction booklet between head and body construction hoping that while one step dries I could be productive and complete another step. In returning to the head construction at STEP 8, a massive computer will be installed for lights and action. At this project’s beginning, my son did glue the box around the speaker and battery compartment. It was this when he realized that his attention would be better focused with other endeavors. But why? I ask.
Step 8.
Vellum is not much of a transparent window, but a nice privacy glaze. When you have glued the vellum squares to the card stock cones in Step 7, there was no indication that you will need to know which is the yellow light and which is the red light which, according to Step 8, seems to be very important.
So kids, a good piece of advice: read ahead for it may help you understand where you are now, what it means for the future and what you will have to do.
To find the yellow light I remove that tab designed to reduce battery consumption during shipment and storage. Luckily I saw this tab because imagine at completion of this awesome replica what would happen if I press that little button on the top of R2’s head and nothing happens, AND I have already glued the button component into place where I would not have access to remove that special protection, AND nowhere within the instruction manual was this tab mentioned. We would have a dead robot.
Another piece of advice, kids: investigate and research because what information that may be given to you may not be enough.
By removing the tab and pressing the button, I found the yellow light and marked it. That should have helped. (Here, I have just delivered some subtle foreshadowing.) I glue the cone with the yellow light into place and prepare to glue the red light into its specific place. Lo and behold I see that I glued the yellow light where the red light should be. Why did I bother investigating which was the yellow light? I carefully detach the yellow light and fix the error. In the final sub-step, I attached the button to poke through the top of the head.
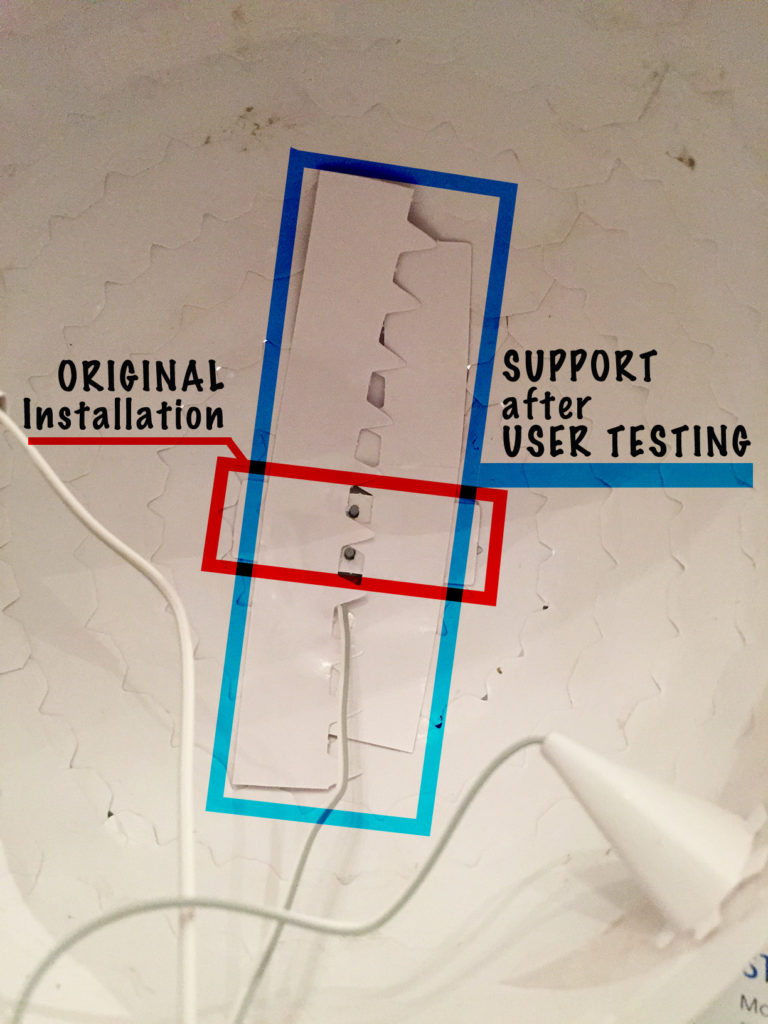
With the glue dried, the user experience in me needed this feature to be tested. The unit has three lights and sounds tracks of R2D2 action that makes this paper model different than the others. I know that the button works because I had to find the yellow light, but I did not try this button once it was installed in its place in the head. I held the perfectly constructed paper head in my the palm of my hand and presented it to my son for the maiden press. With one finger pointed straight down above the target, he pressed the button. Nothing happened. We looked at each other. I gestured to try again. He did, and still nothing. I peered into the head and asked for another button action and that is when I saw the flaw. The cardboard foundation for this button did not provide enough support to take the applied pressure. I inserted my hand into the head to support the button, and with hope I gestured again for another attempt aimed for success. He pressed the button and the head came alive! With smiles we pressed a few more times to witness the three different sounds and light action. Because of the test, I adjusted the design with additional straps to keep the button solidly in place.
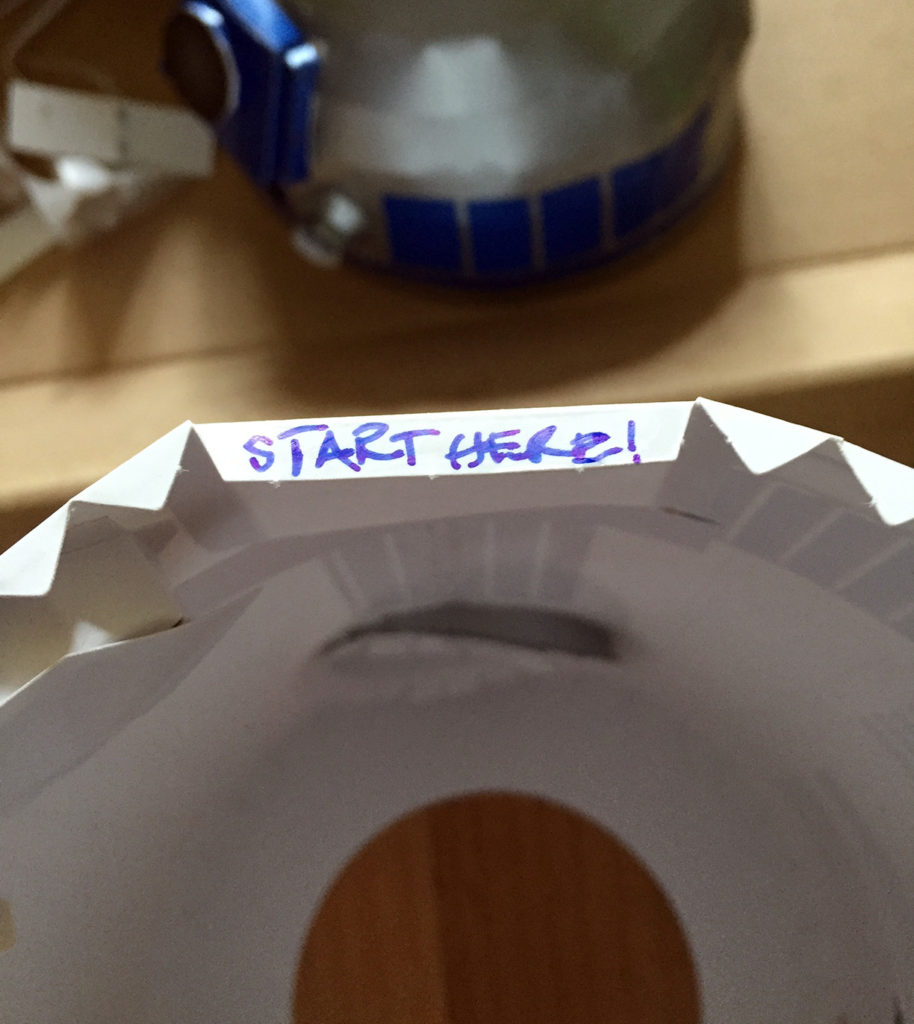
Almost done.


