We started this project during the first week of summer break with the naive expectancy that joy will be achieved in a short period of time.
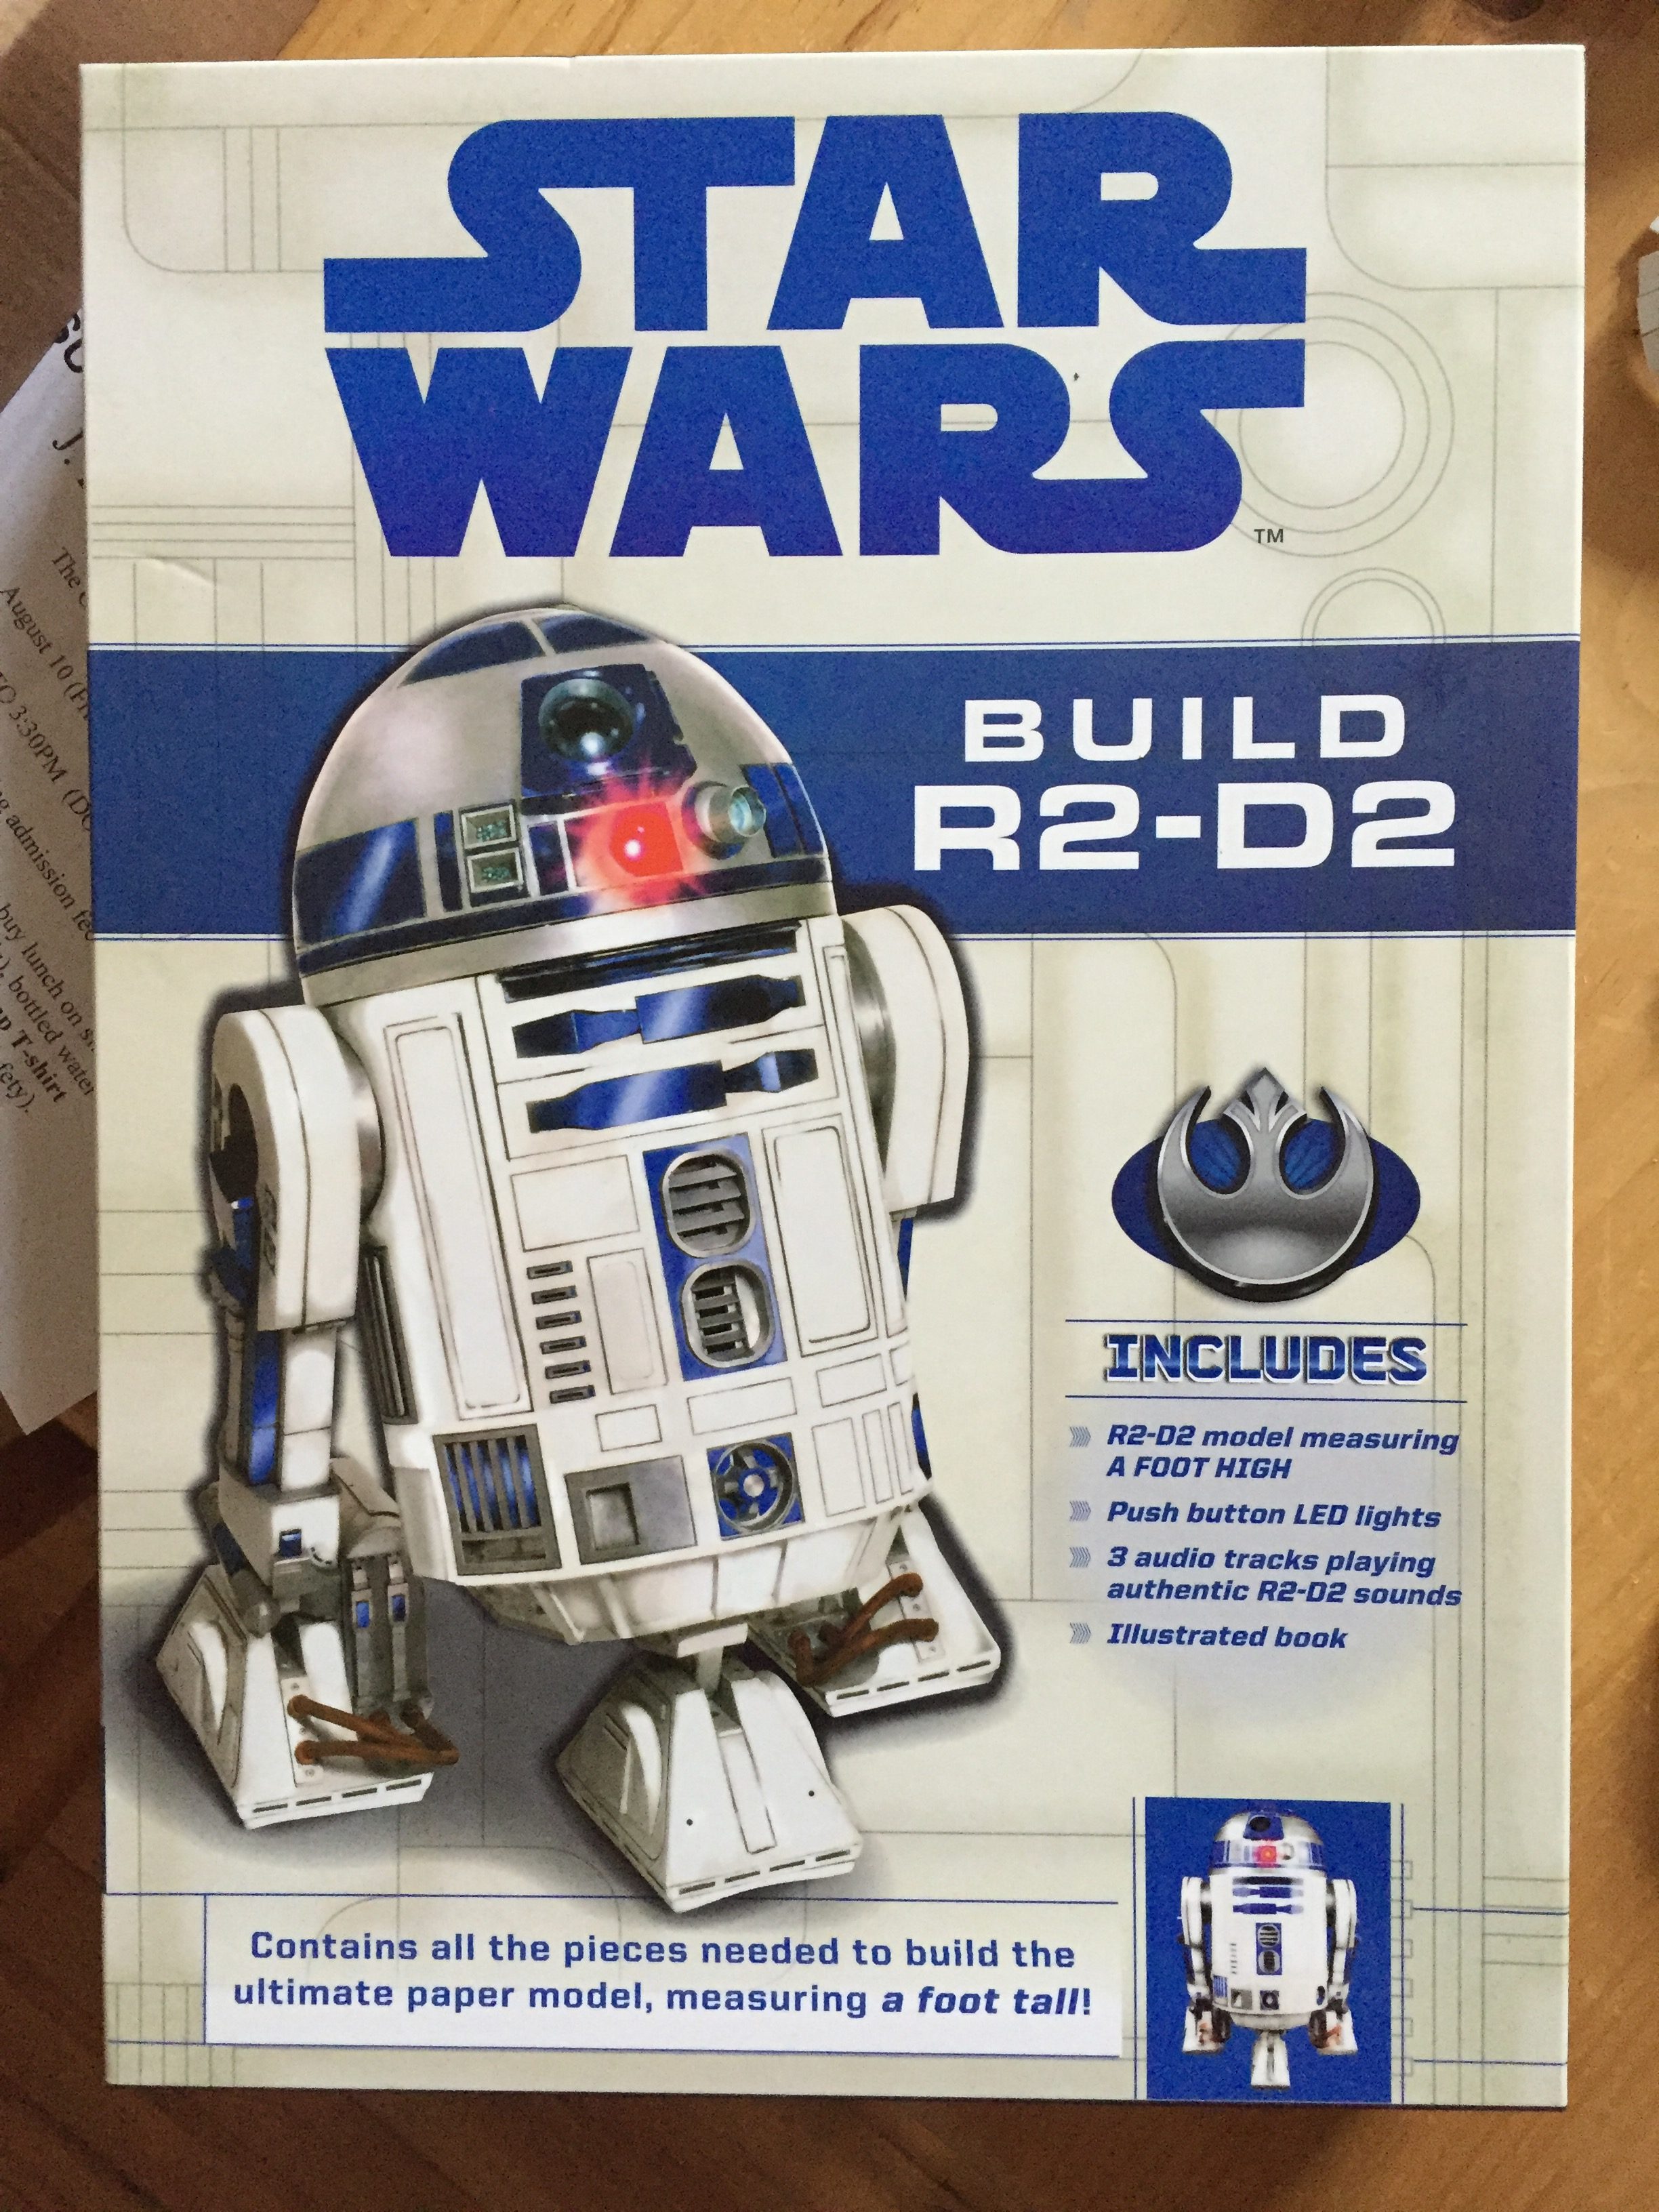
First, an introduction to how we have acquired this stunning cardboard model. I purchased this and a few other unexpected toys as the prizes for a fun activity during a birthday party. I had to stay in a small budget and this fit the bill for low cost prizes so: 1) I did not spend too much money; and, 2) my wife would not chastise me for spending too much money. I achieved that for I found this awesome beauty in the clearance bin for only five dollars—FIVE DOLLARS!—marked down from nineteen ninety-five. I thought with glee that the kids will compete heavily for this one no doubt about it. Who would not want to win this small movie replica with a couple of working lights and beep-booping sound effects. They just have to make it. After an intense challenge, someone did win this prize and it was not my son. So why do we have it? He cried his head off that he did not win. He had to have it. It was his birthday and he should have it. Was I playing a part in Charlie and the Chocolate Factory? No sound logic and philosophy of competitions and awarded prizes could penetrate that tired six-year-old mind. The winner still went home with it and my son stomped to bed. A week later, the winner’s parents sent this back to us in the mail.
Now two years have passed, we decide to open the box. We were excited to occupy part of a vacation day with something. We thought we would enjoy a working R2D2 within a couple of hours. We were quickly disappointed. This project was enormous. This project was complicated. This project appeared to be in a child’s mind the engineering feat only matched by the Hoover Damn. This was my fault. I did not read the box with great scrutiny. My quick scan did not show an age requirement. I should have considered that maybe this would not be simple enjoyment. I should have been more alert, but in my excited haste I still bought it.
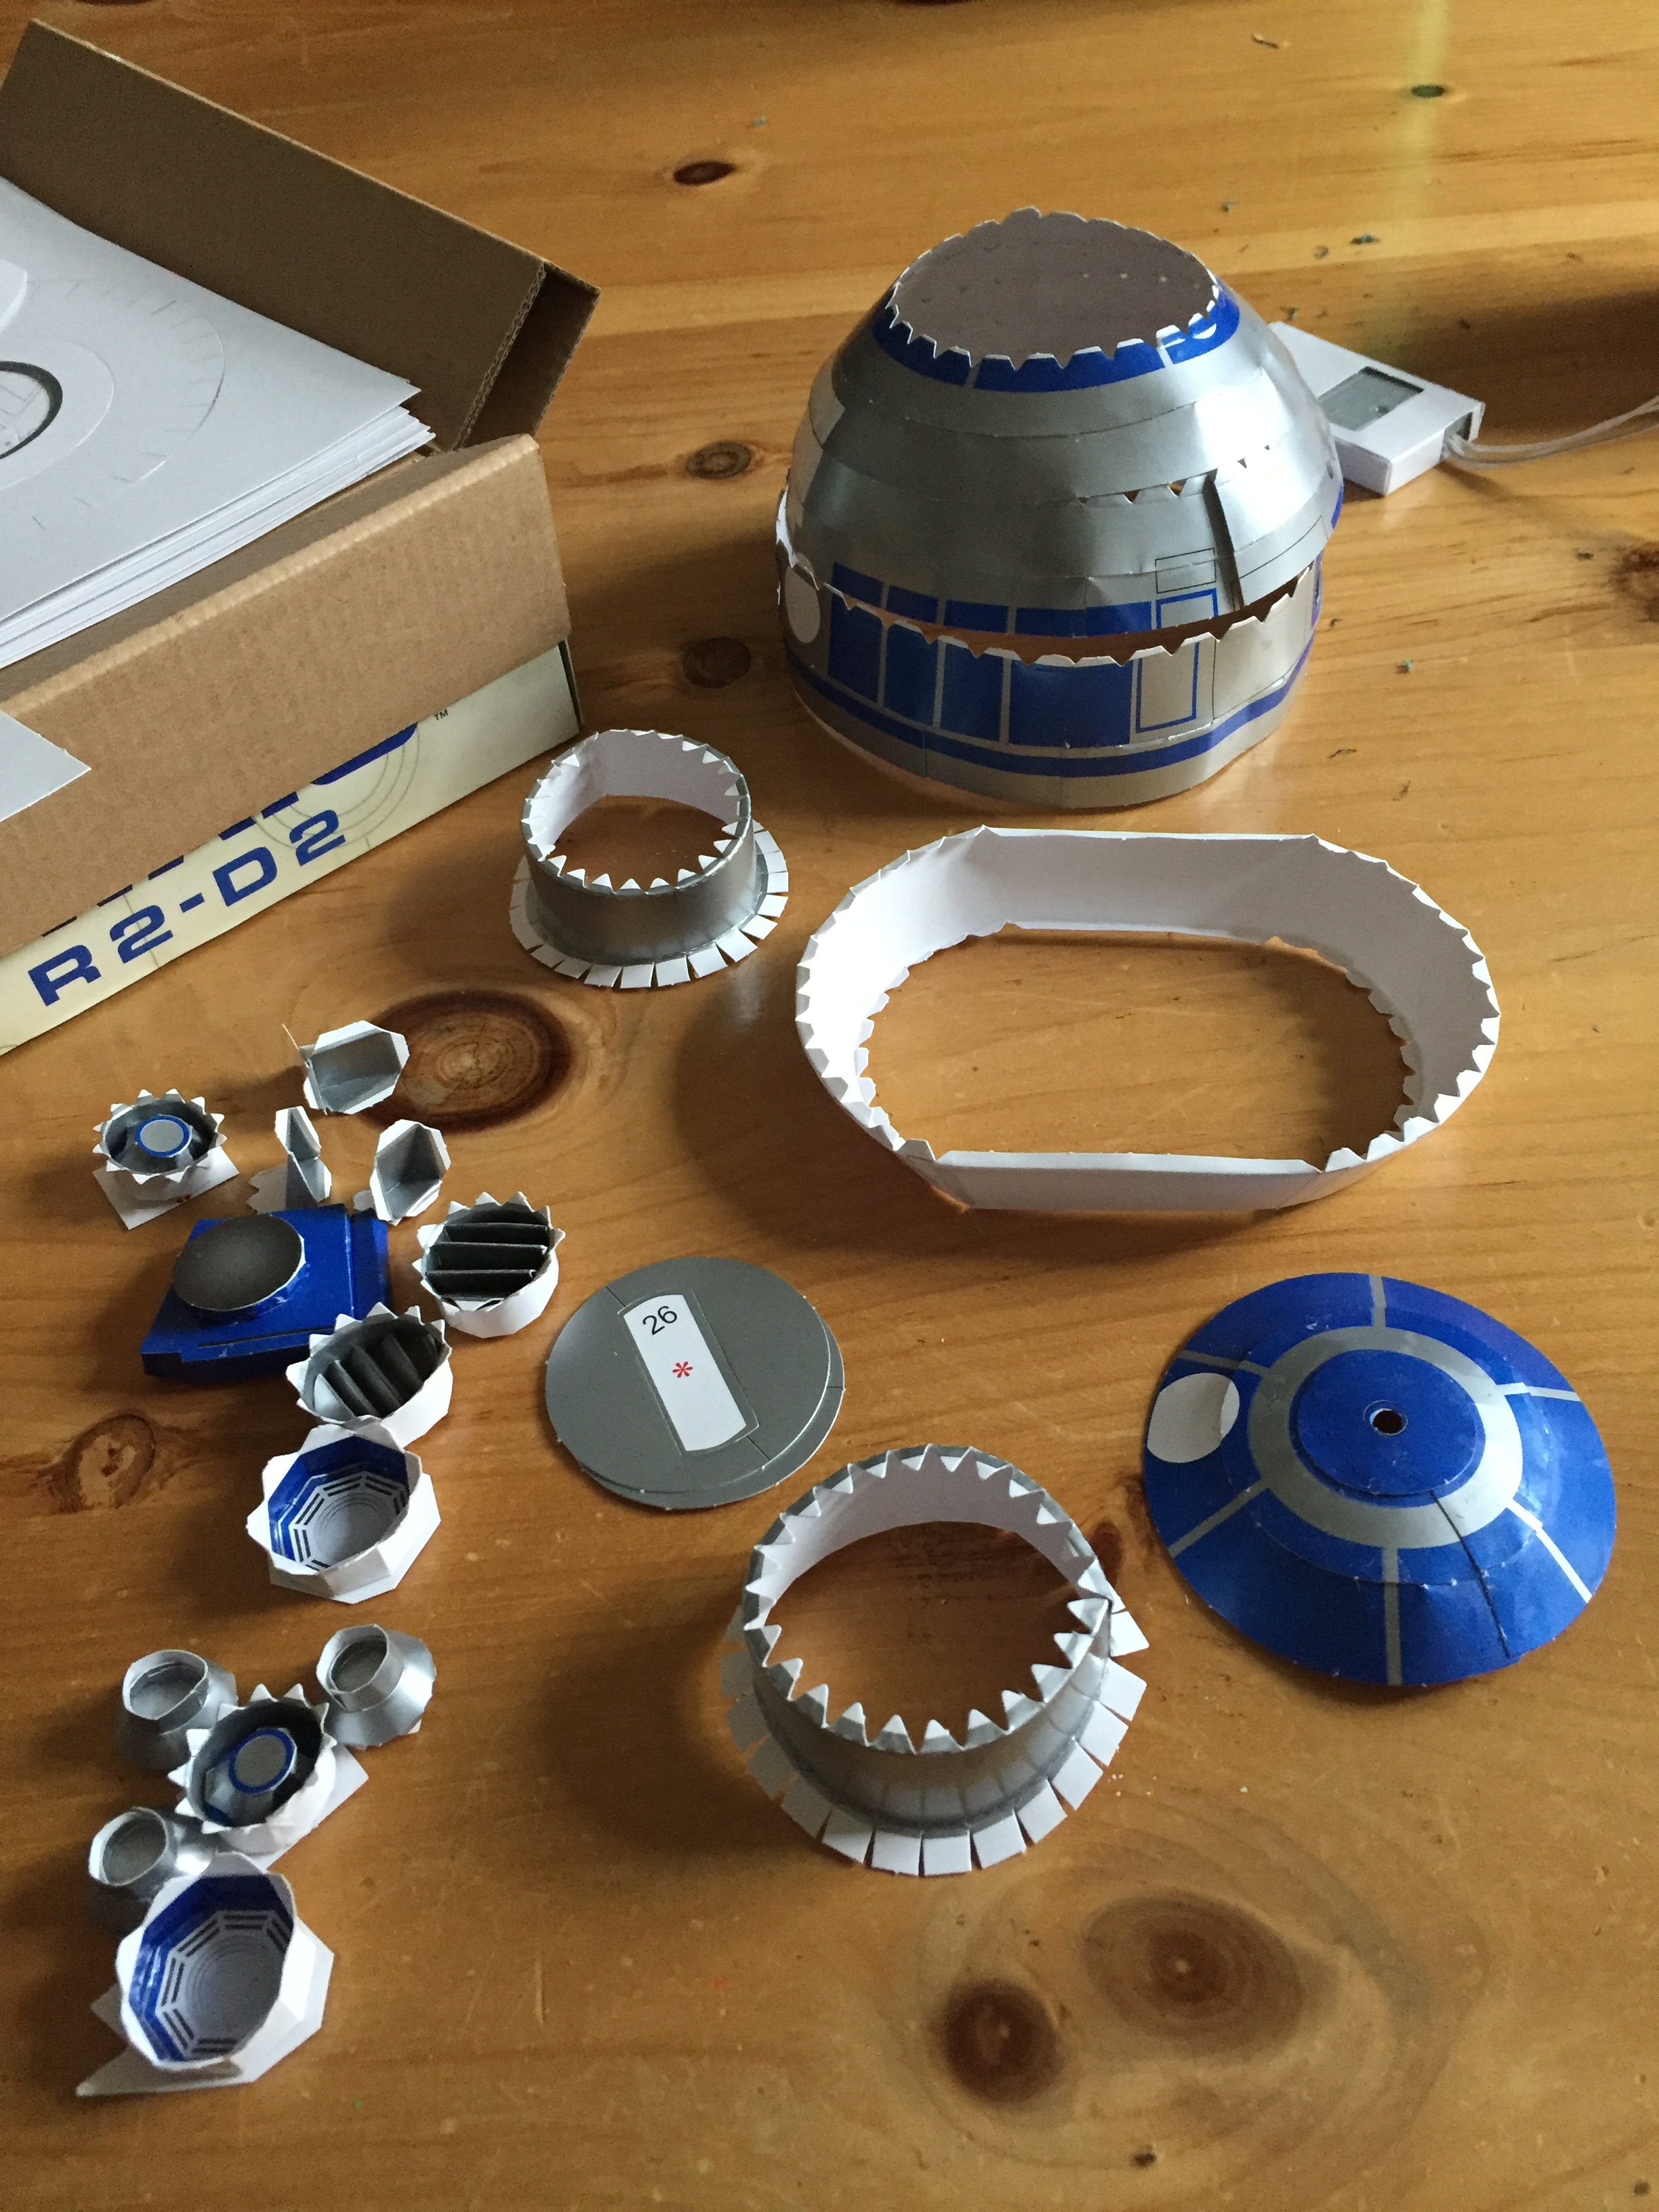
We had in front of us a mountain of pieces. Over 98 pieces spread out on 12 card stock sheets. Why over 98 pieces? Some numbered pieces have more than one instance like four pieces labeled “36,” while some have sub-labeled pieces such as 98a and 98b. Don’t believe me? Then look at the picture. Not only were we overwhelmed with the amount of pieces, a lot of these stamped cutouts are as small as pencil eraser with glue tabs the size of ant’s head.

The instruction booklet is several pages long with small type and detailed complex illustrations not resembling anything like the fun Lego® versions. Quickly looking at this book I knew this exercise will require patience and dexterity not designed for children under 13. The first step was to construct the head. Right away we had some problems. There are eight rings for the head. First, you have to manipulate the paper into a curved surface to create that half sphere head. Each ring must match the pattern and fit the next one. Easier instructed than done. As my son tried to attach one of the rings he constructed with glue to another that he worked on, we both saw that they did not fit. Glue quickly appeared on places that was not intended by the designer. After close inspection, the first ring’s glue tab did not match its attachment space—he did not exactly fit the one tab into the dotted designated area.
See, this model does not provide any leniency for small slips. You have to be accurate. Each tab must be placed in its exact location with the utmost precision. One careless slip and that one inch will cause a mile of disasters. Each instructional step requires many feats of disciplined operation—eight rings have to be assembled before you can put them together to make the head and then can you say that you have completed the first step.
The rings did not match. The stiff paper crumpled and creased and the desired smooth surface was not happening. With some careful deconstruction, some whining, a mood that suggested lost interest and some convincing to push forward we continued. That cause quickly ended. My son had “something else to do” and I could not work on it without him. I wanted the project to be a joint effort. Sadly, that never came to be; my construction partner would only return as an observer. He just lost interest.
From time-to-time during the summer’s early half, I would work on a step yet never completing the multi sub-steps. The parts and the open box laid on a table at the side of the room cluttering our view. Today I decided to reboot the effort, however, by myself since my son expressed no desire to be involved. Now after all this time I understand why.
Look at this piece.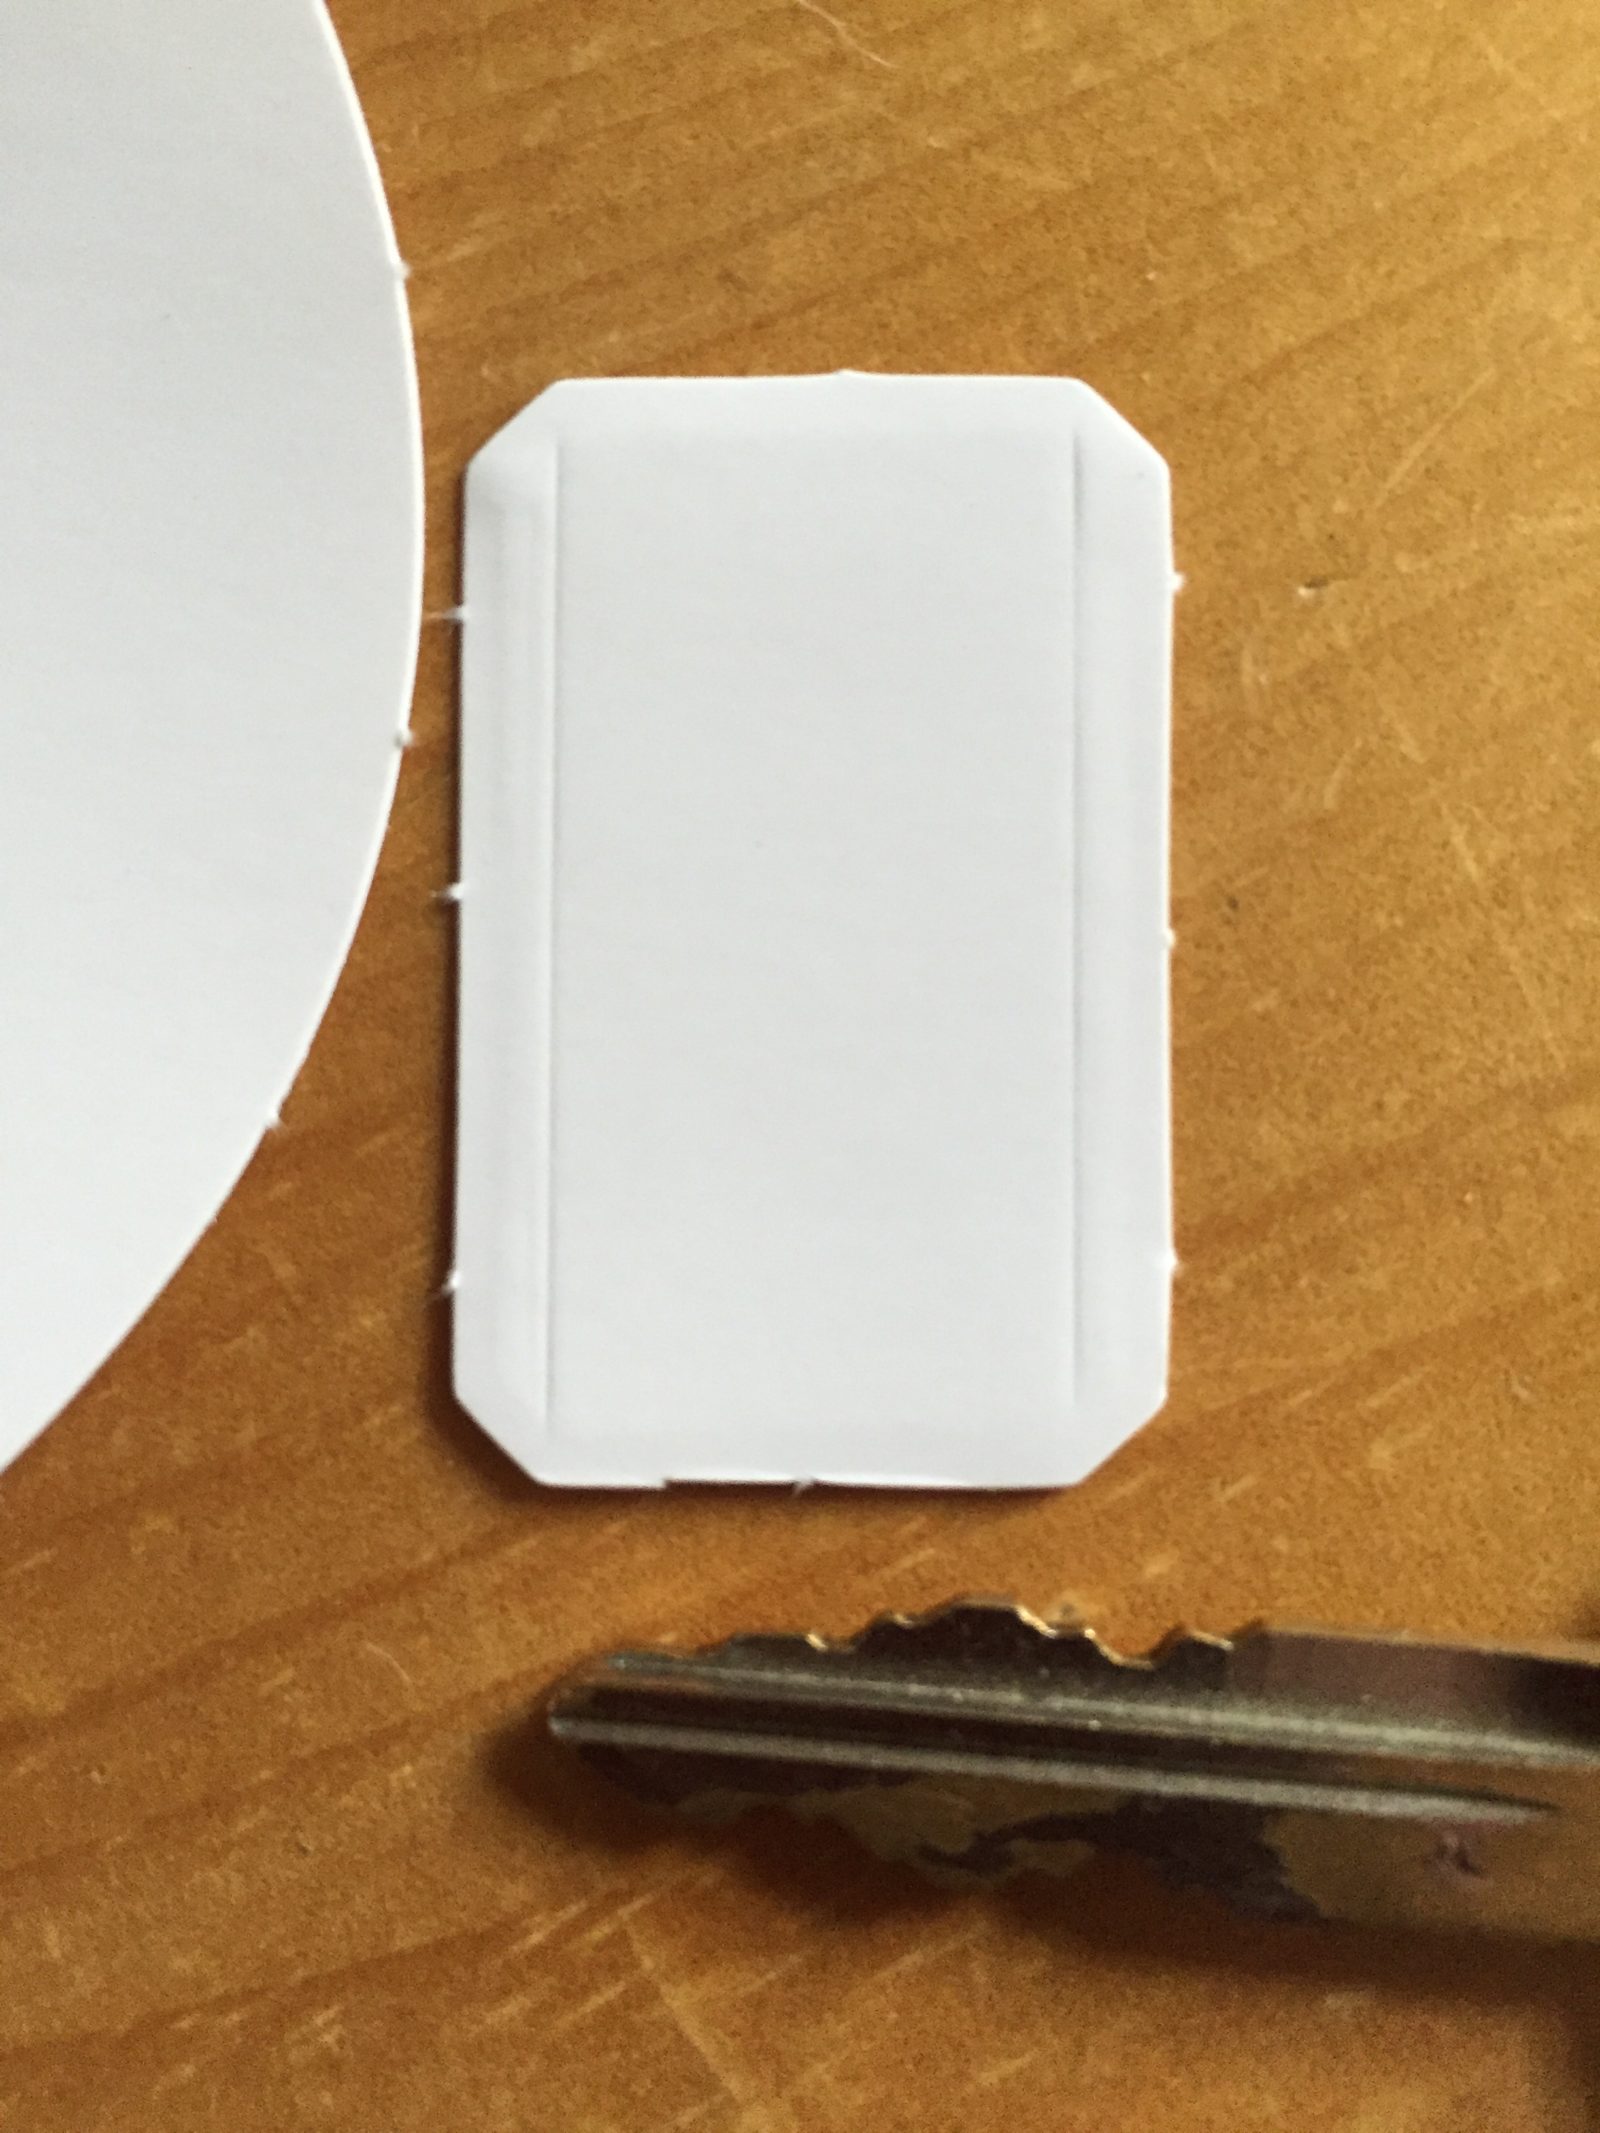
This is a typical size with its small tabs for folding and applying glue. Not small-finger and child-interest friendly…no sir.
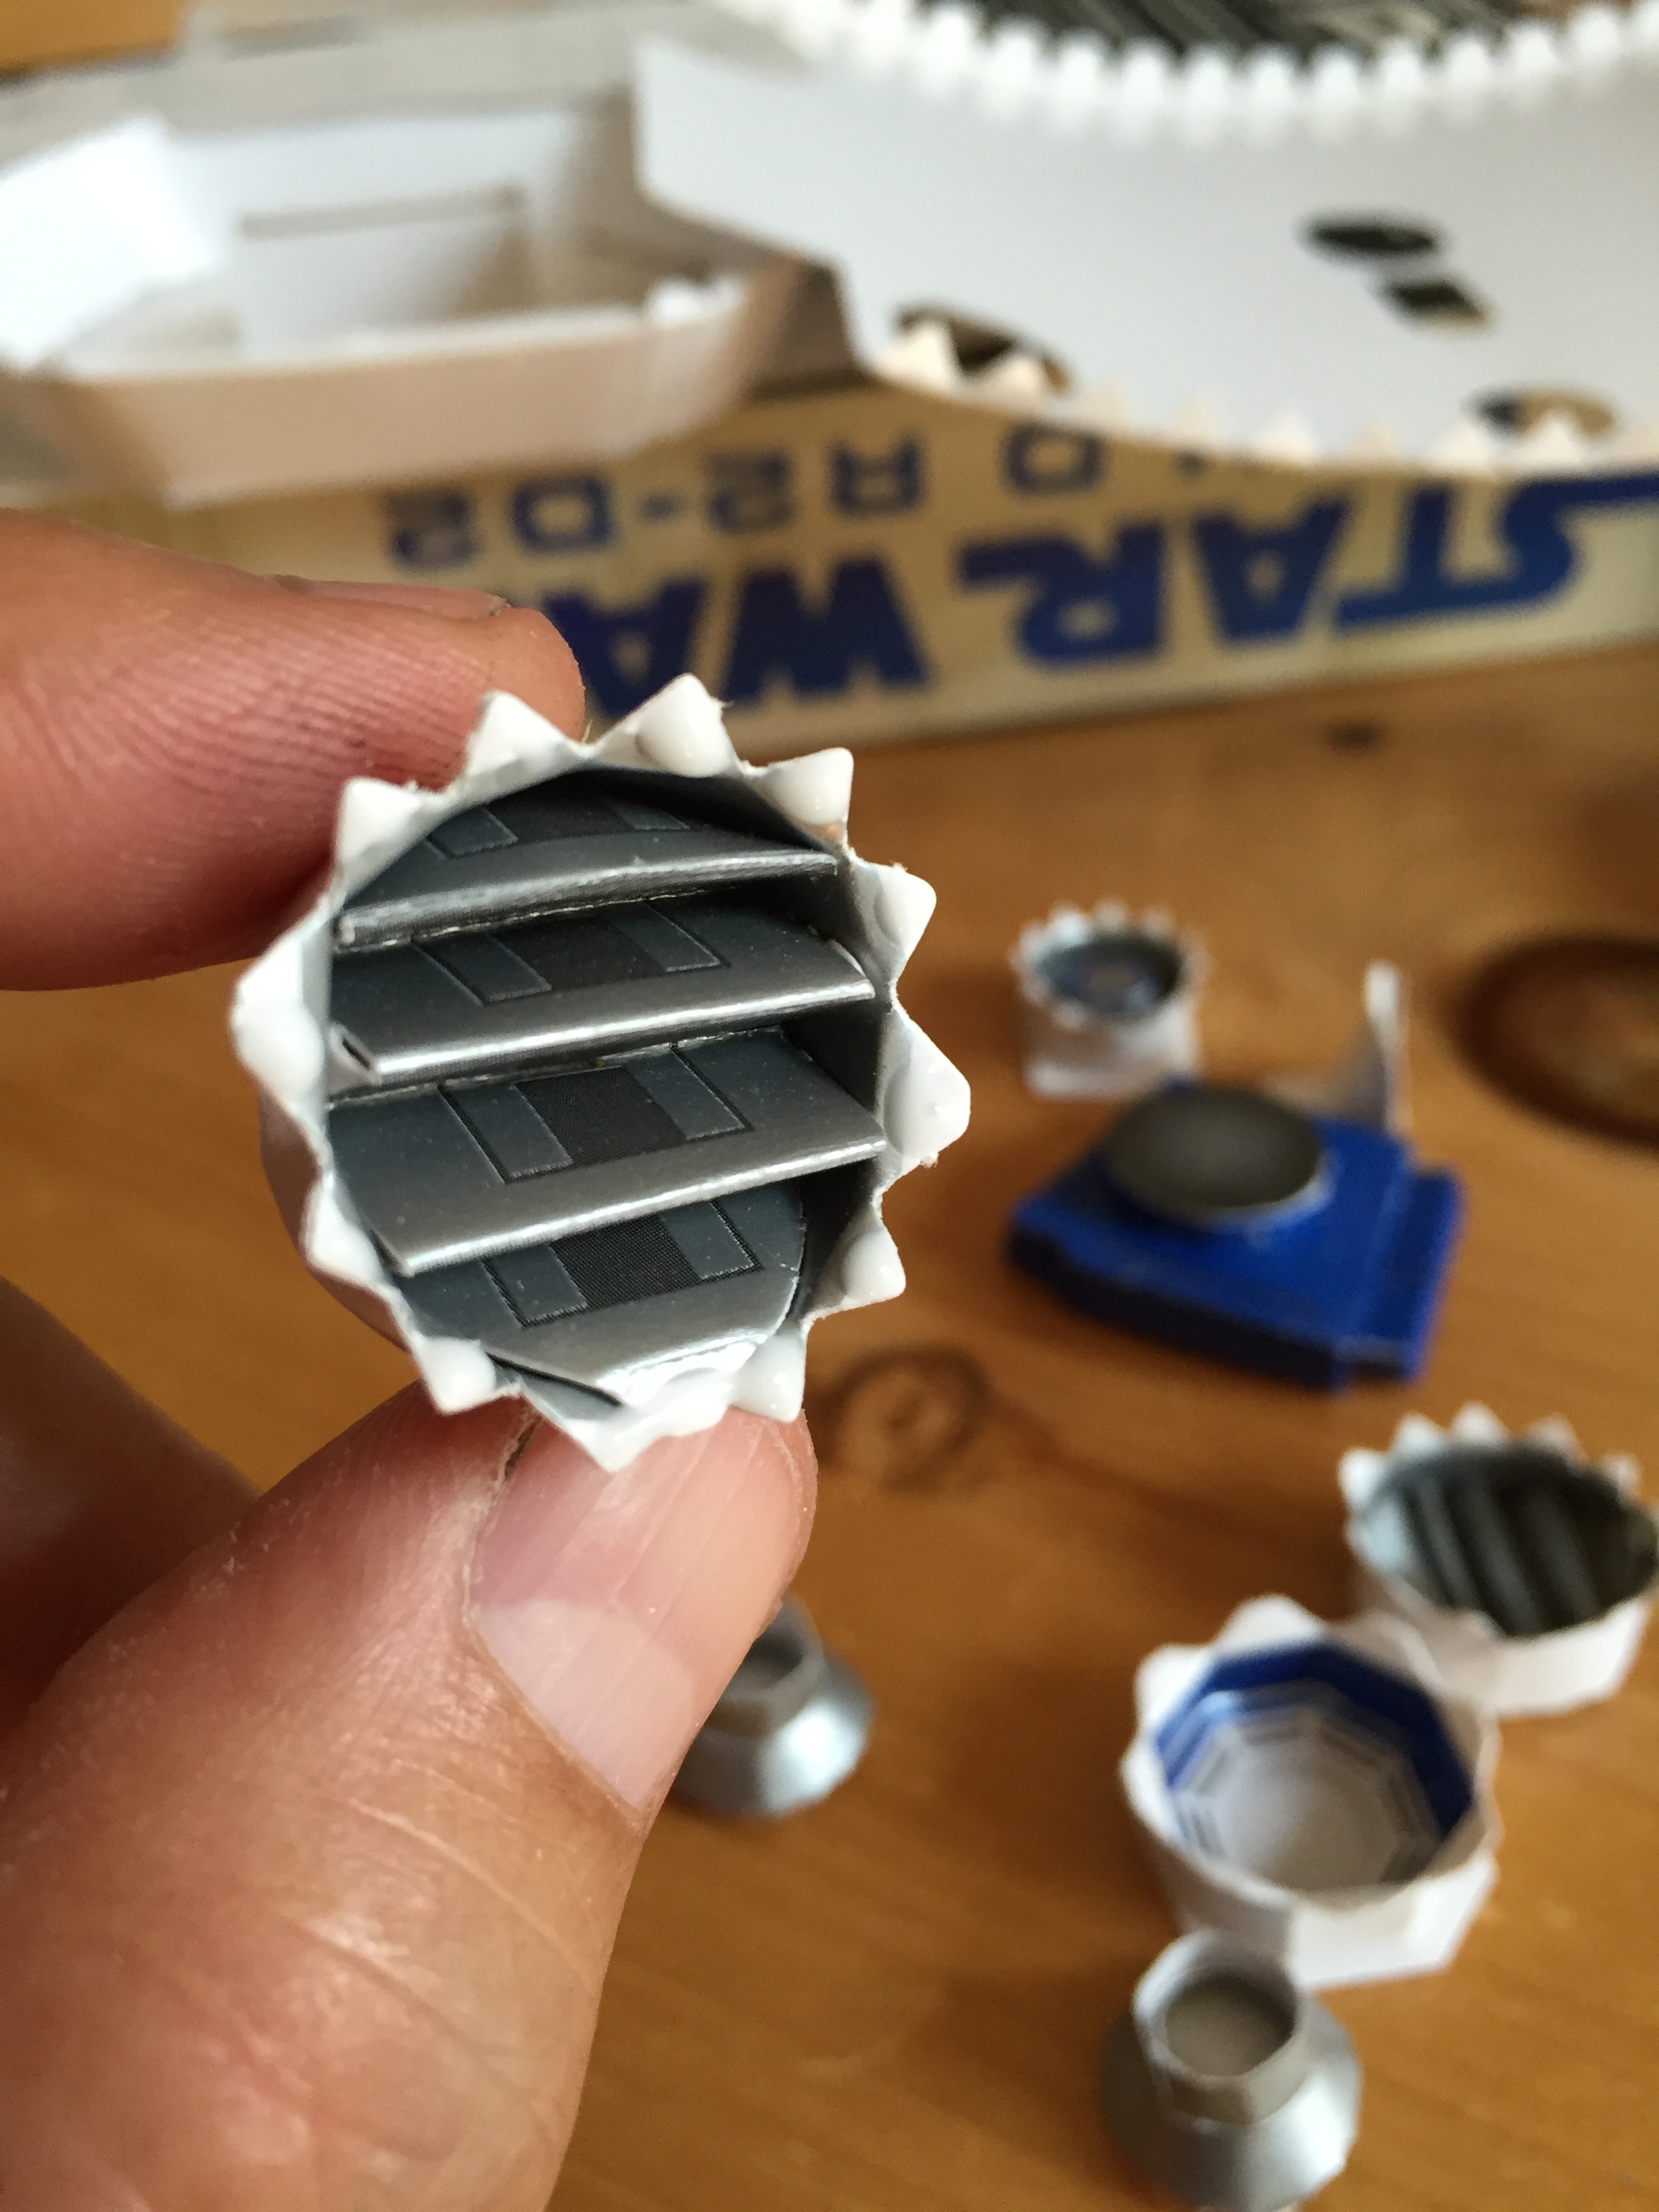
With this piece (number 52 and there are two of them), I am suppose to start STEP 8. View STEP 8—go ahead. I am suppose to fold those 1/8″ tabs into opposing directions and then arrange them to fit on the non-glossy side demonstrated by not being gray as described and shown in the instruction booklet. But looking at it, I am not even sure if I am doing it correctly since the second part of STEP 8 appears a bit confusing unless you really take the time to observe and evaluate. Please note that there are three parts to this step working with five pieces for one step.
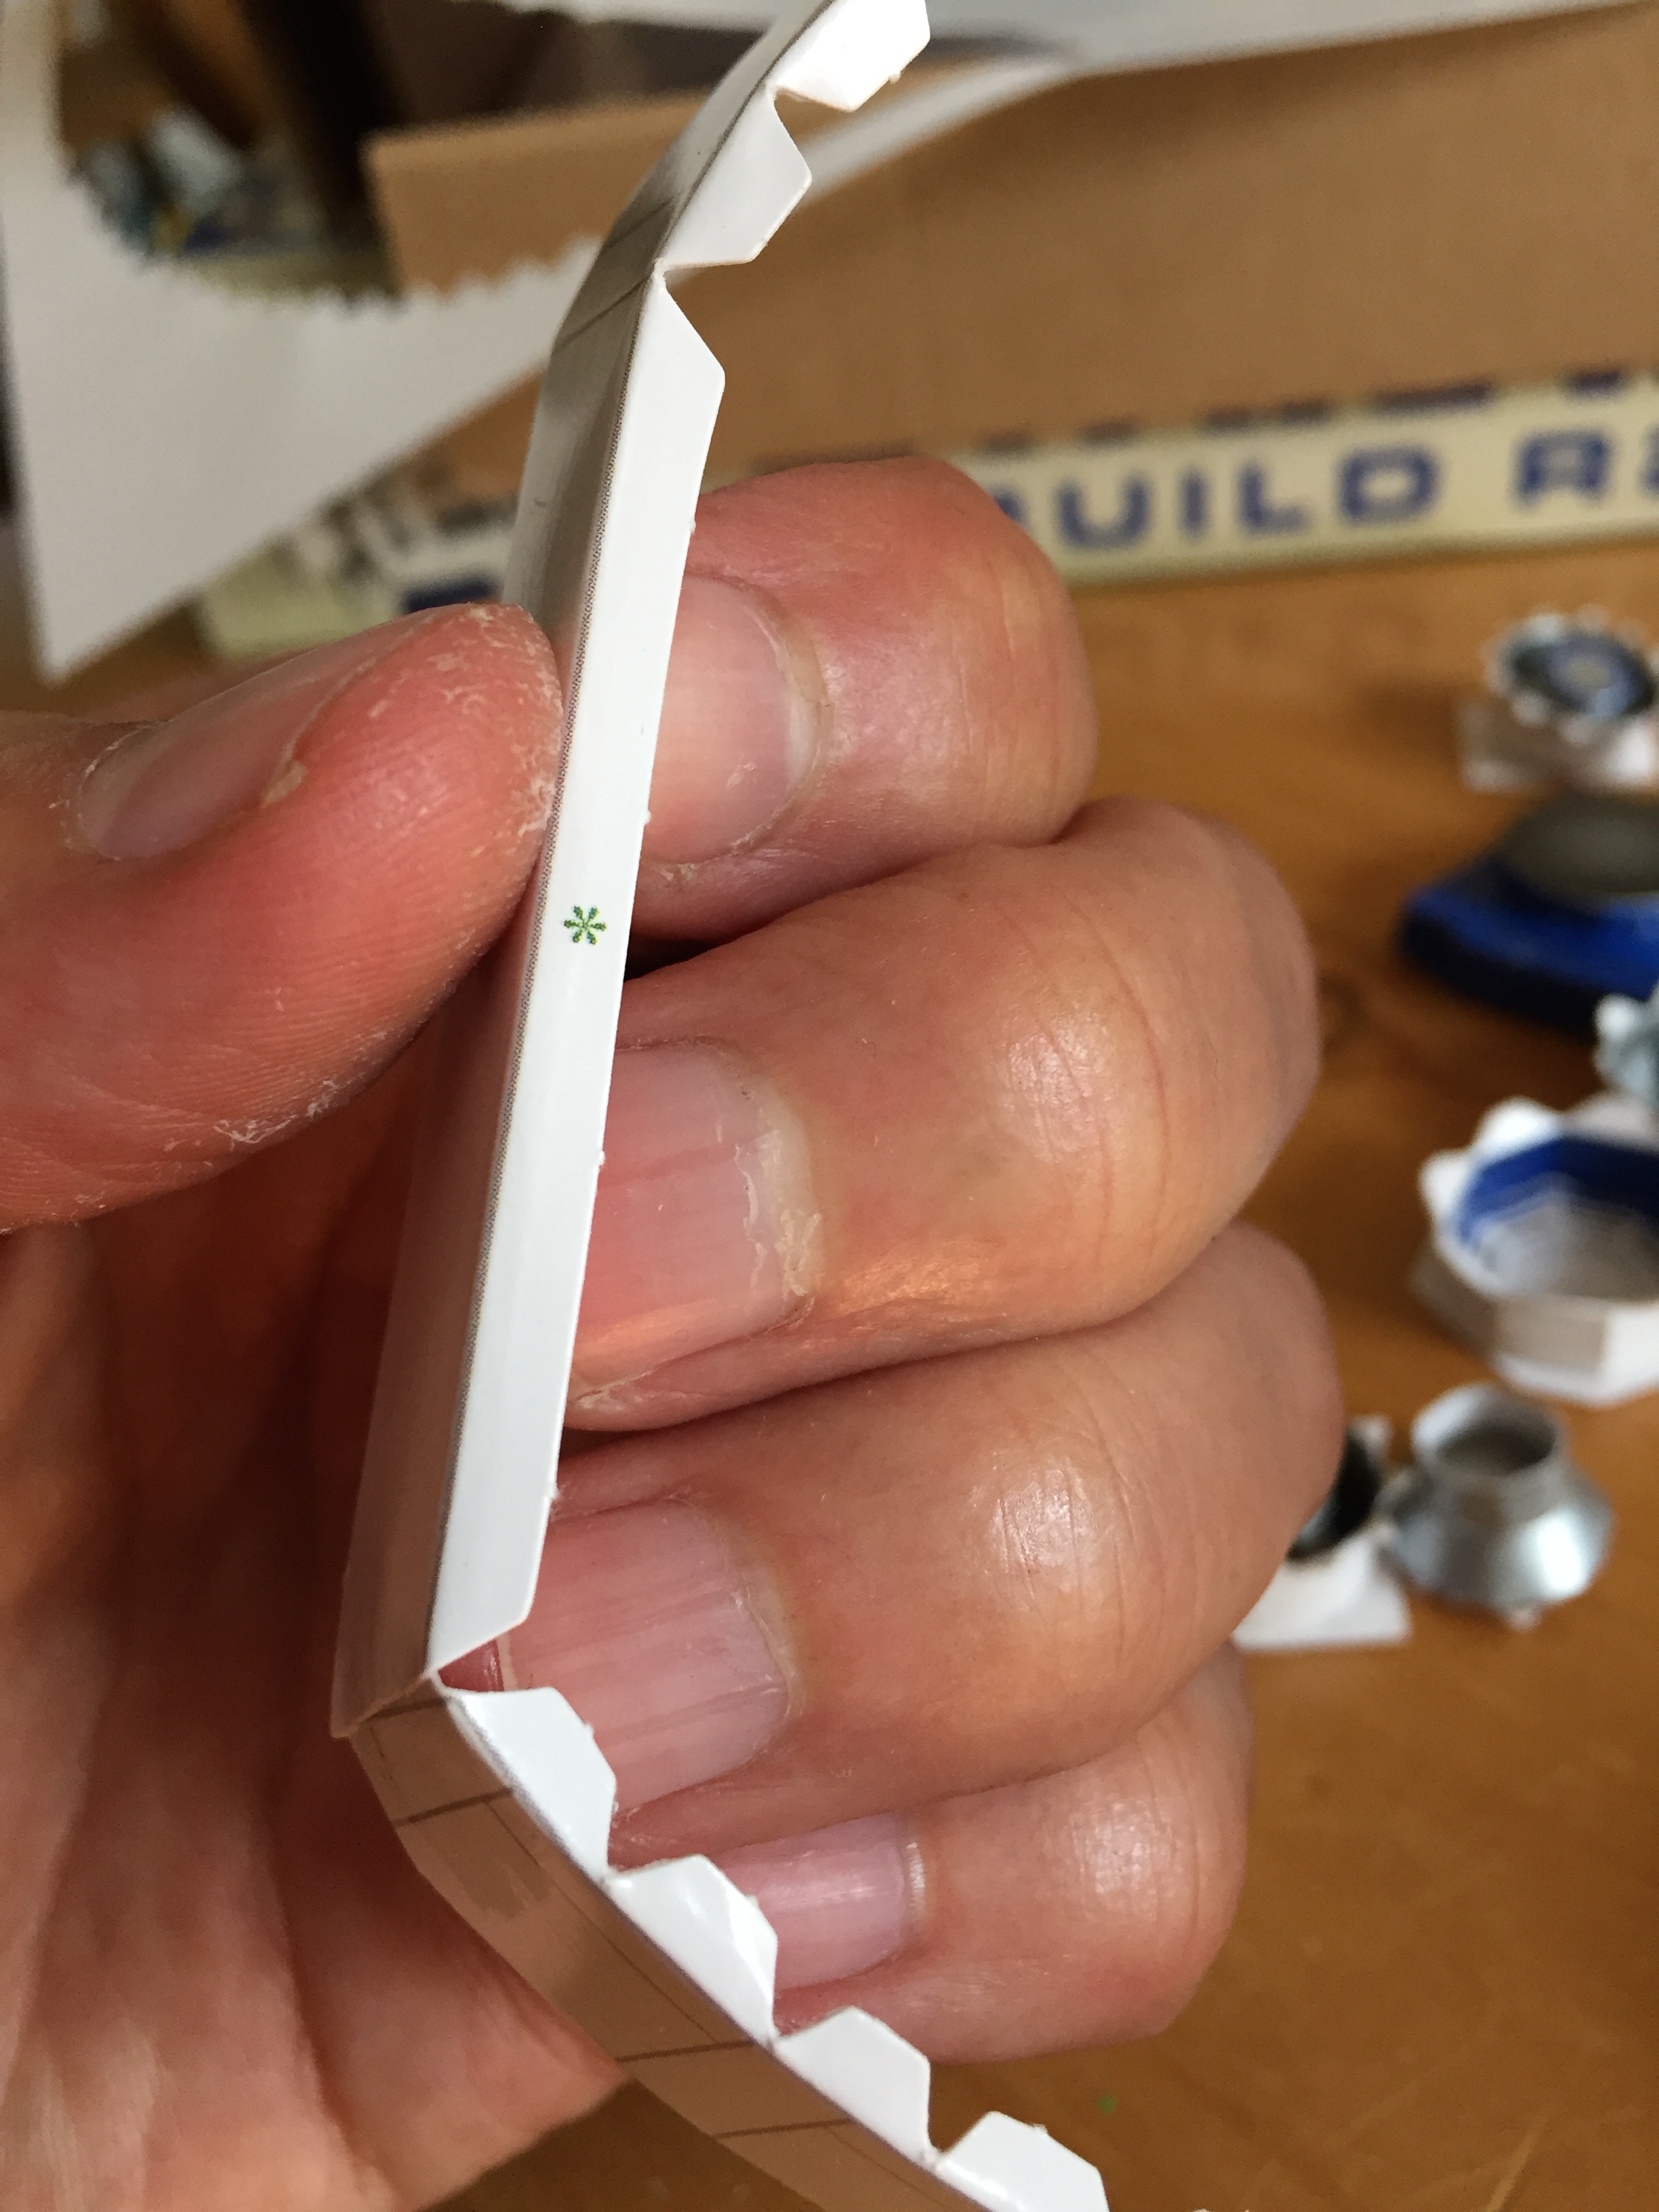
Here is another example of the tab sizes compared to my fingers. I am suppose to place glue on this knife edge and clamp the other piece to this with my fingers.
Moving on with the reboot
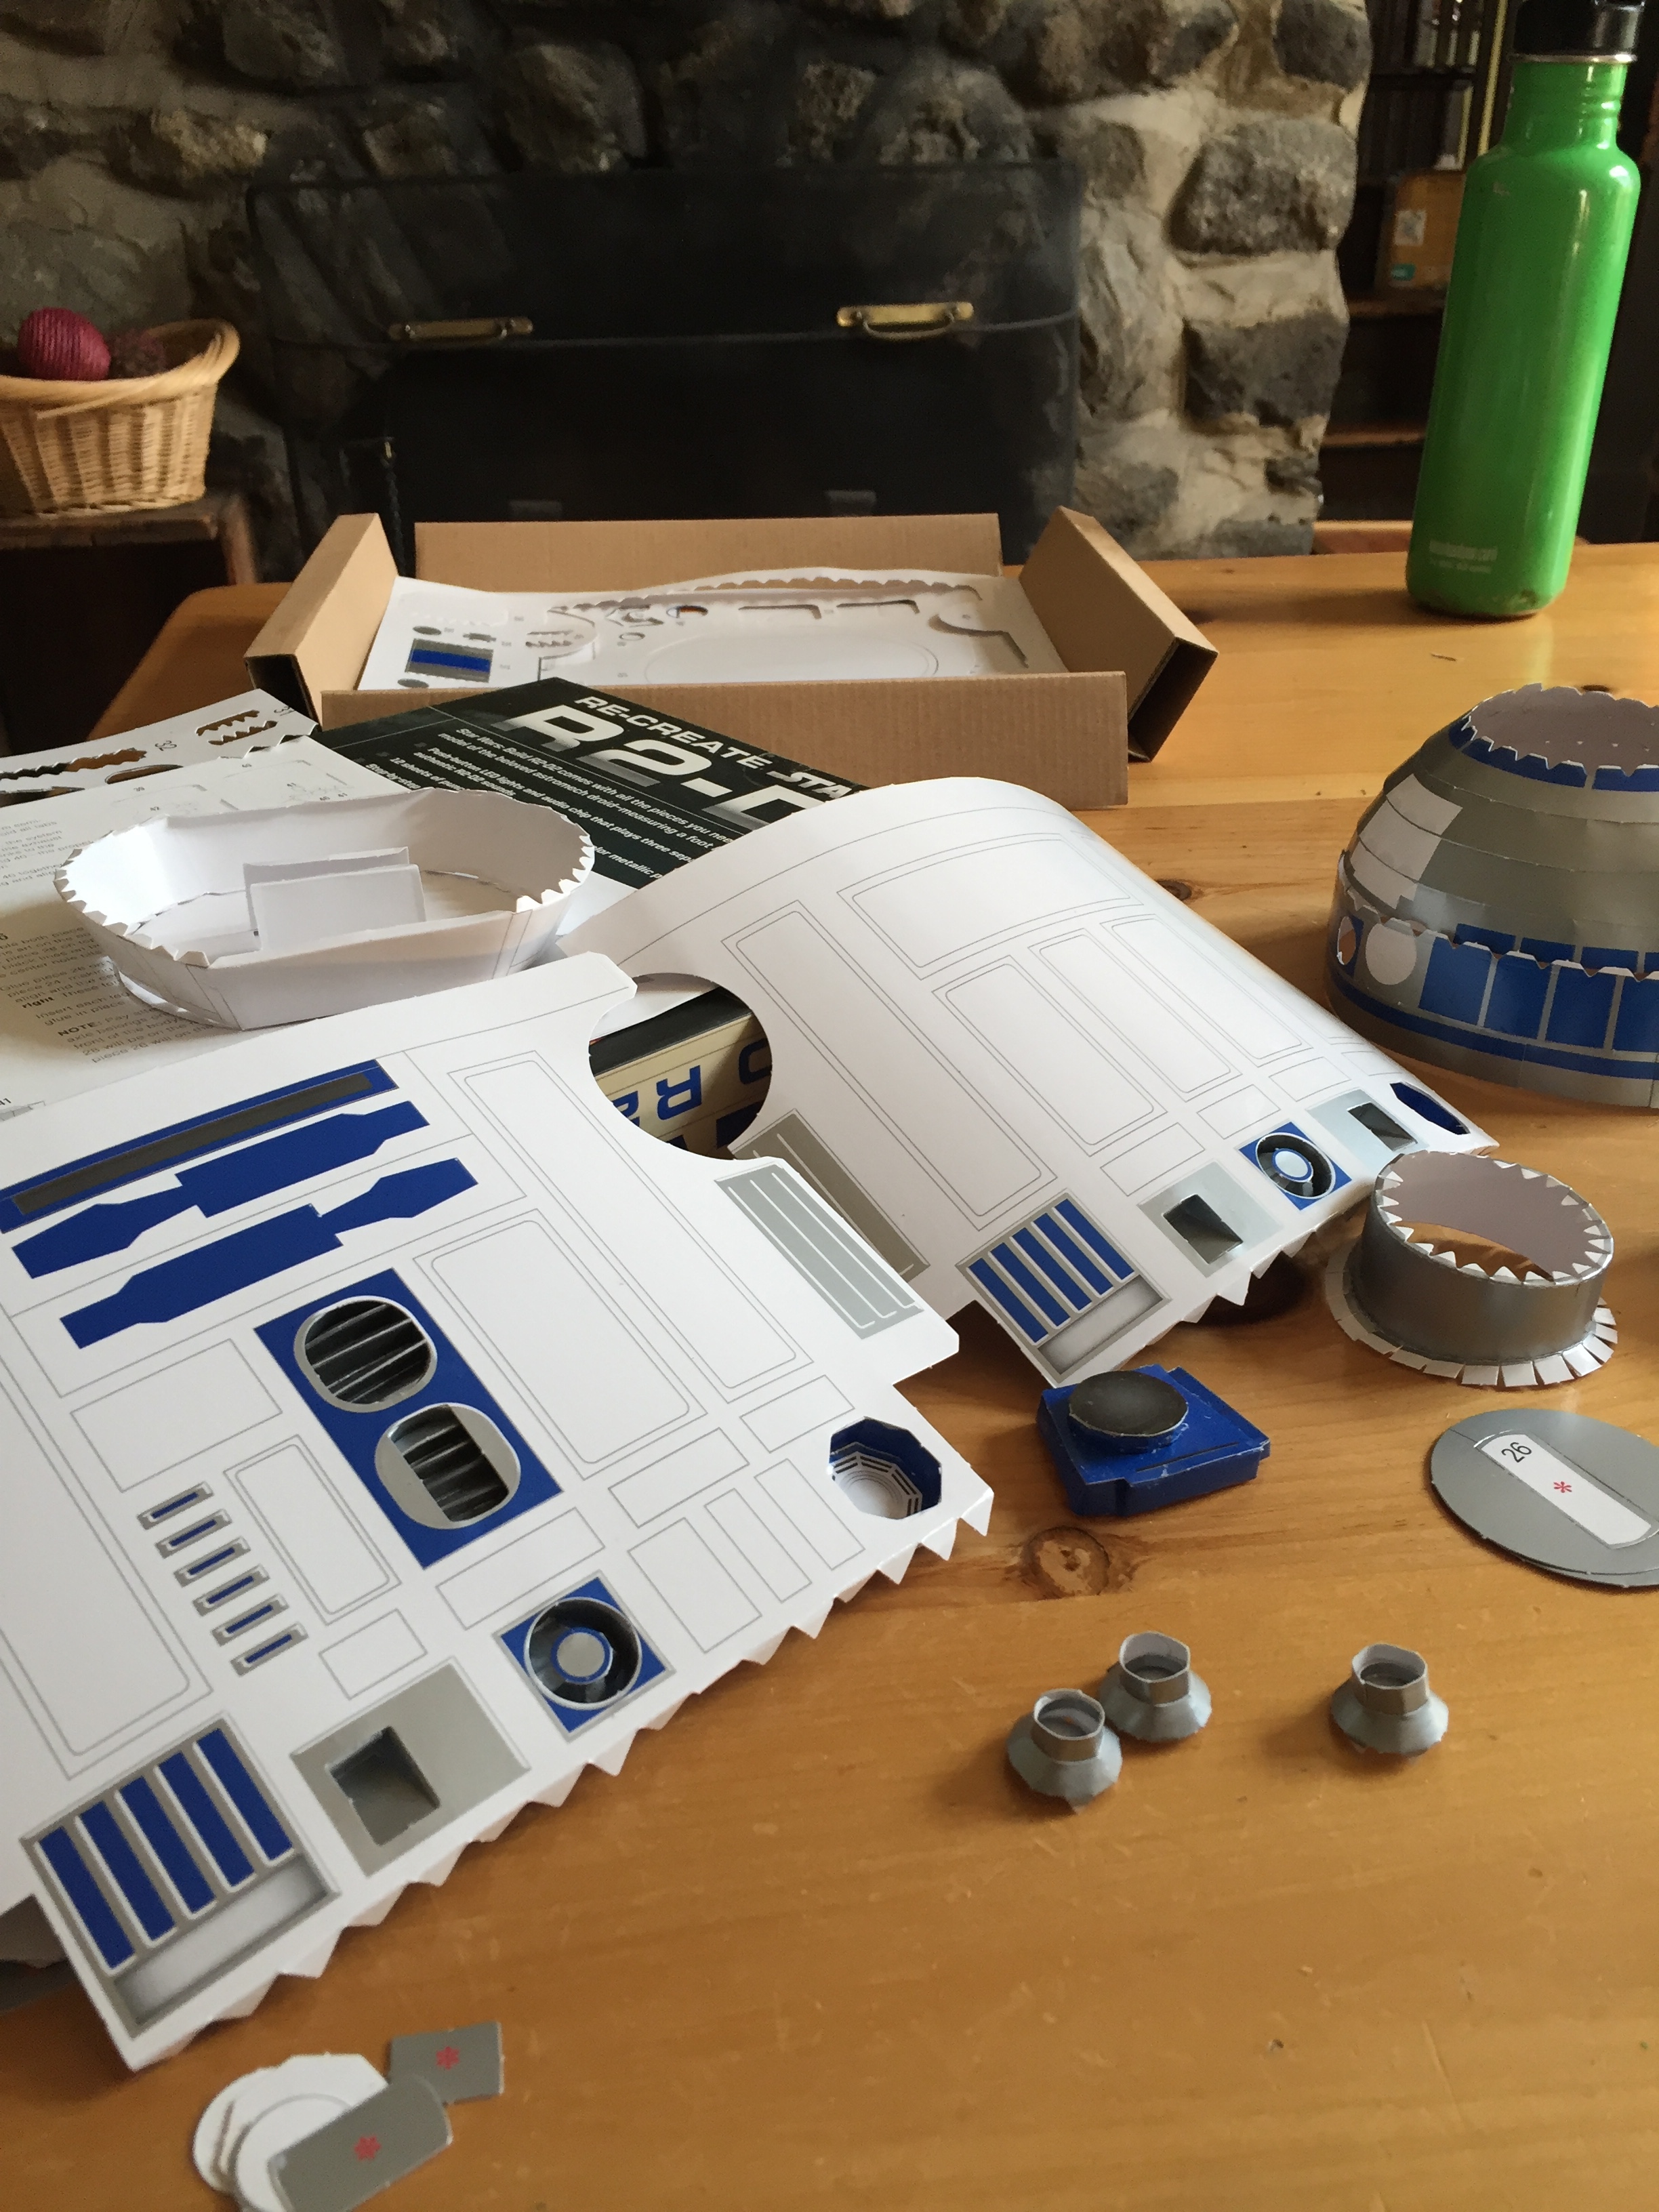
So at the end of today’s effort, I have added to the assembled pieces:
and compiled them into a smaller heap closer to the goal:
I have 9 sheets of pieces left for another day….uh…days. I am not looking forward to finishing the head and attaching the protruding parts that are viewing lens.