School has started which means summer ends. Leisure time lessens and workloads increase. Not a lot has been done to this cardboard drone, so the following update does not show much.
An assembly from the last post fell apart so that required some repair. That mentioned paper group sits in the foreground of our first image. The repair required more effort and glue than seemed necessary. The small block that sits on both ends kept snapping loose and fanning out for several attempts. This lack of the stock paper and glue’s cooperation prevented me from continuing any new construction. Sure everyone else will blame that my fingers though as dainty as they are are still too large to hold the box tabs in place causing the whole thing to fail; but that is just your critique and I say otherwise. My clever and resourceful thinking of using the kit’s box and a large binding clip freed my hands to make the other box components for the middle foot. I am amazed that I could complete two and a half steps during this construction.
I was so excited about the box constructions, I wedged them together before the glue completely dried.
STEP 3, PIECE 59 requires converting a rectangle into a tube. Before getting this far, I geeked out one evening and watched paper-model builder videos. Several of these “savoir faires” used a lot of different hobby tools; but one builder used a basic No. 2 pencil to curl the paper for curves and tubes. Ah, I make success from another’s experience.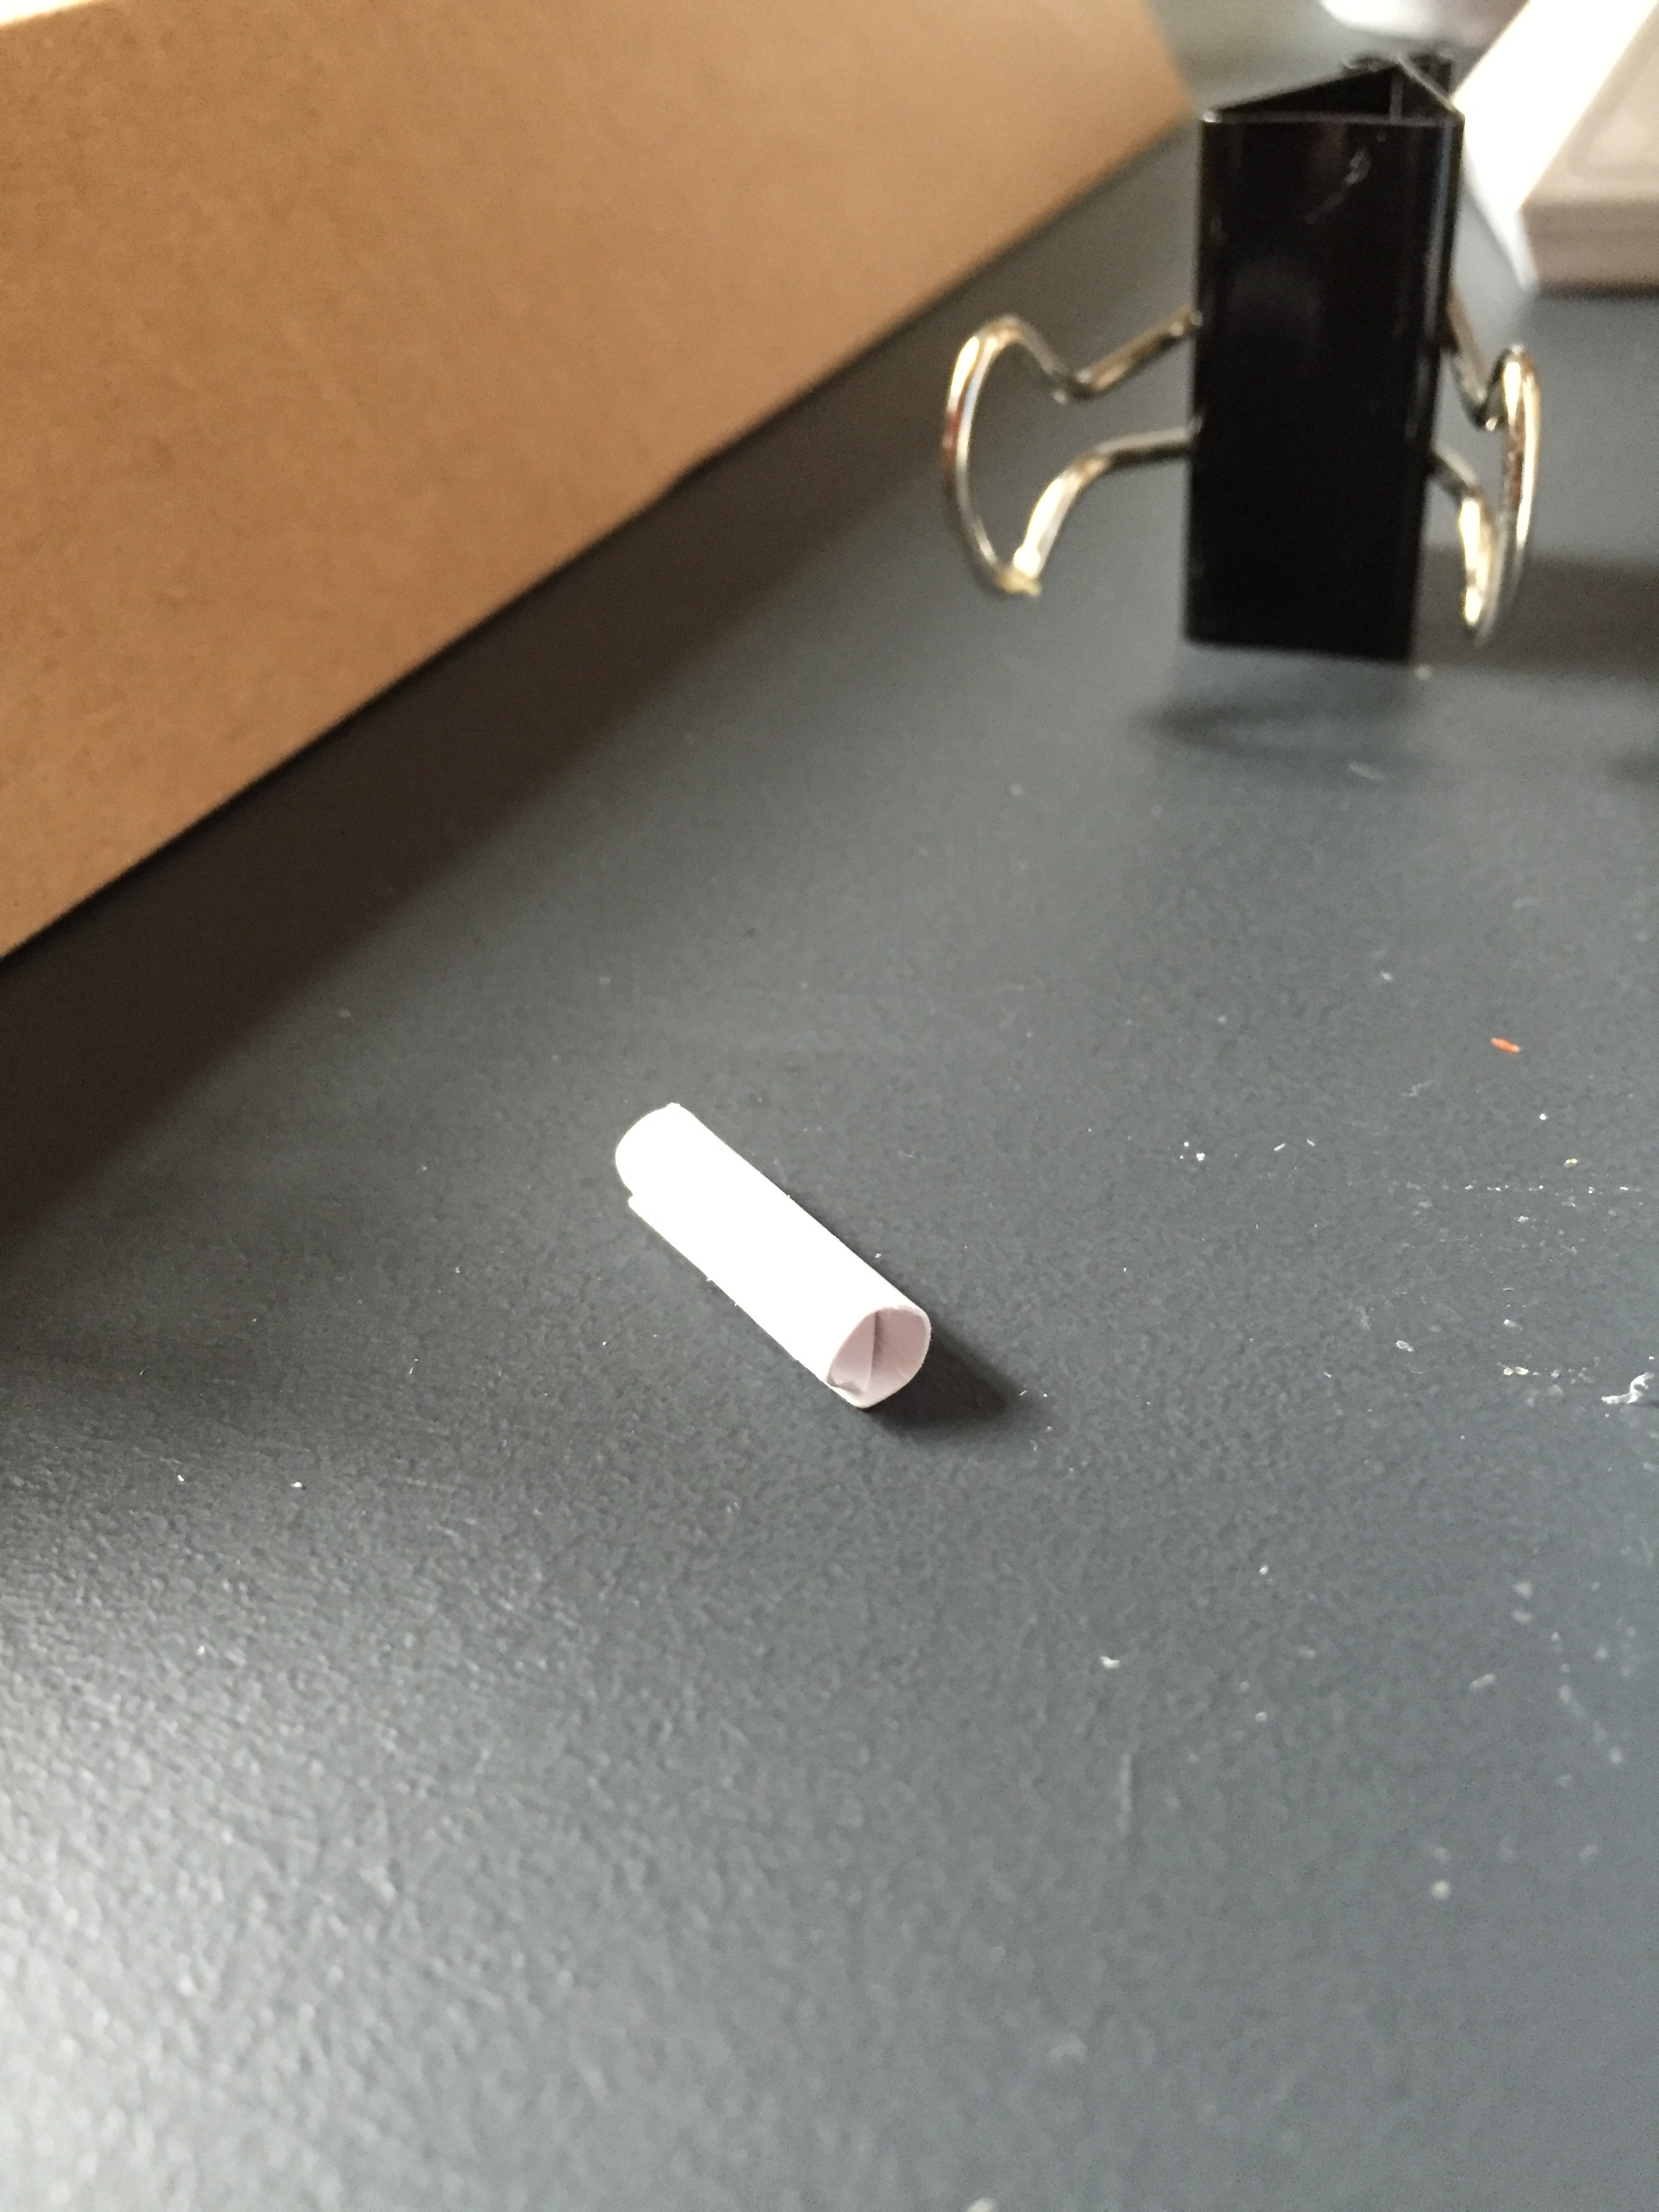
The tube has been rolled and glued into place. For some reason or another I feel I had missed some pivotal experience during college: I required a pencil to roll some paper…..hmmm.
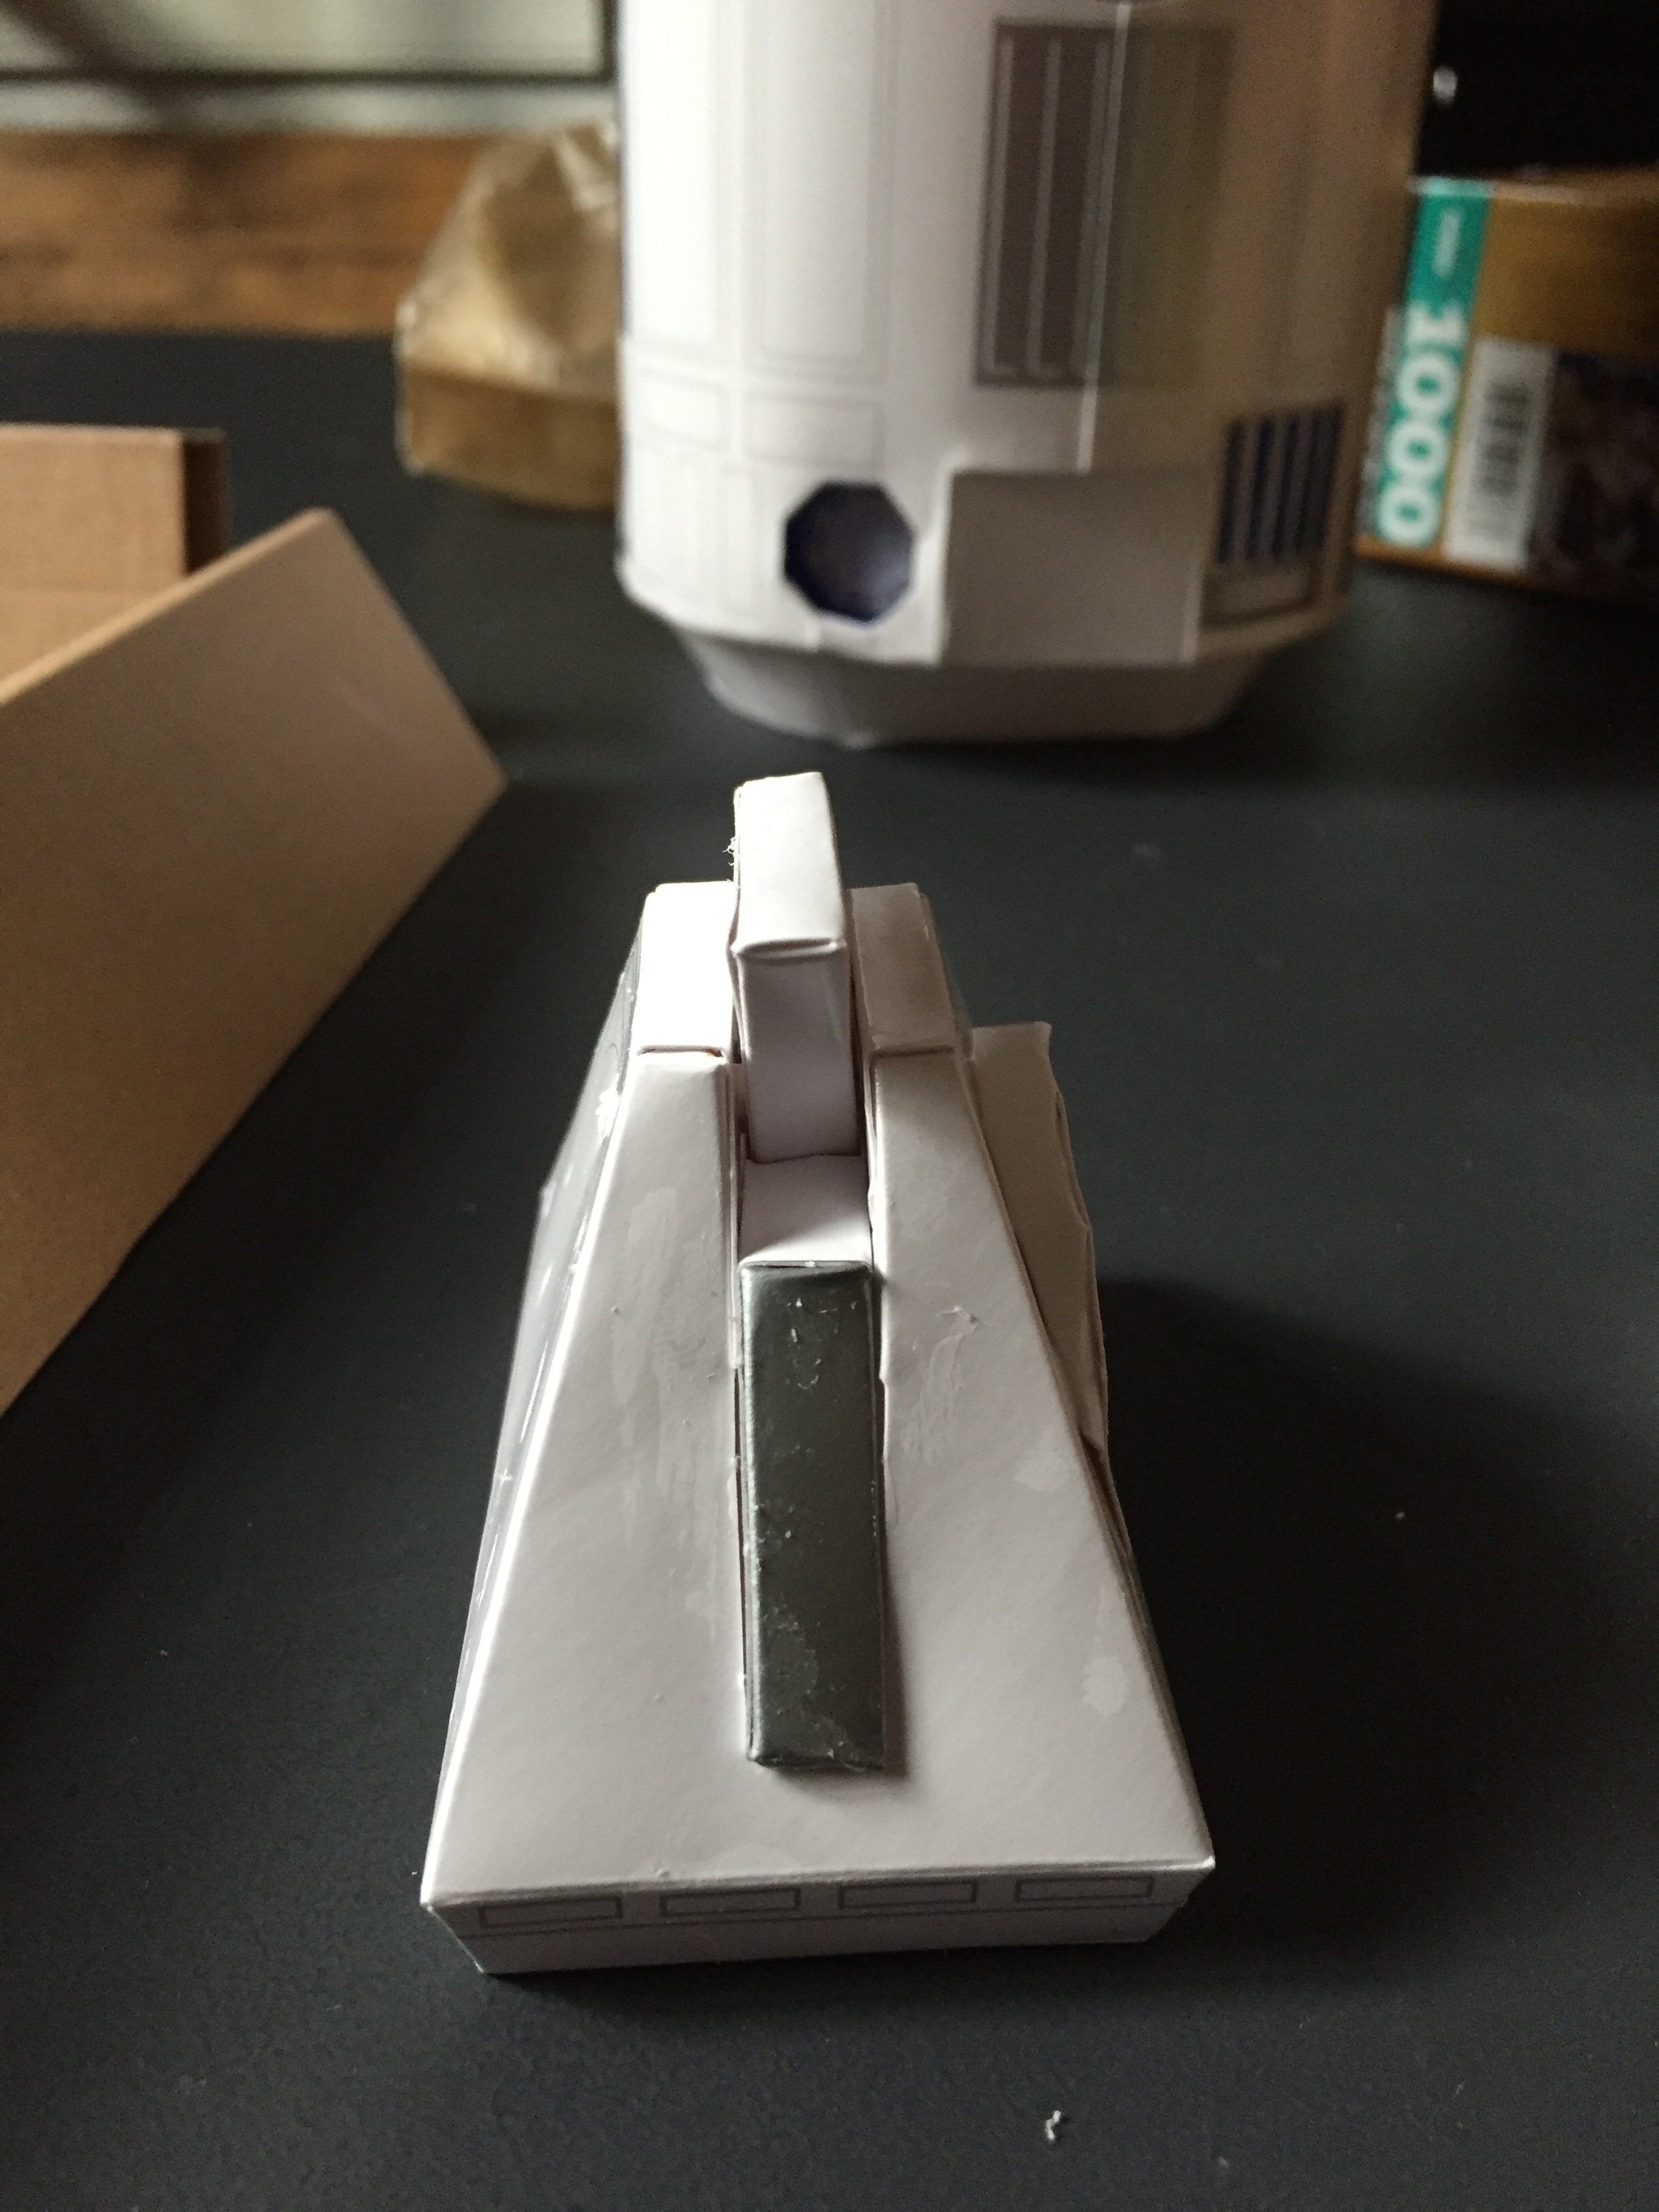
The instructions indicated to… “Carefully insert the tube into piece 58 so it passes through piece 54.” Those are the large beveled pyramid that creates the foot and the triangle that becomes the swivel connecting the foot to the leg and eventually the body. The process did require a lot of care and patience. Though–I assume– this kit was produced with mechanical accuracy, the operation did require two efforts and the last minute shove and squish to fit that tube into the aligned socket holes.
Step 3 instructs producing three pieces before you have completed the step. Two of the three are the same two wedges that decorate the side and hide the rod insert. As you can observe, my delicate construction has been decorated by the glue smears from my accurately nimble fingers.
Someday soon, I should complete that step and attach that middle foot to the body. Someday soon.