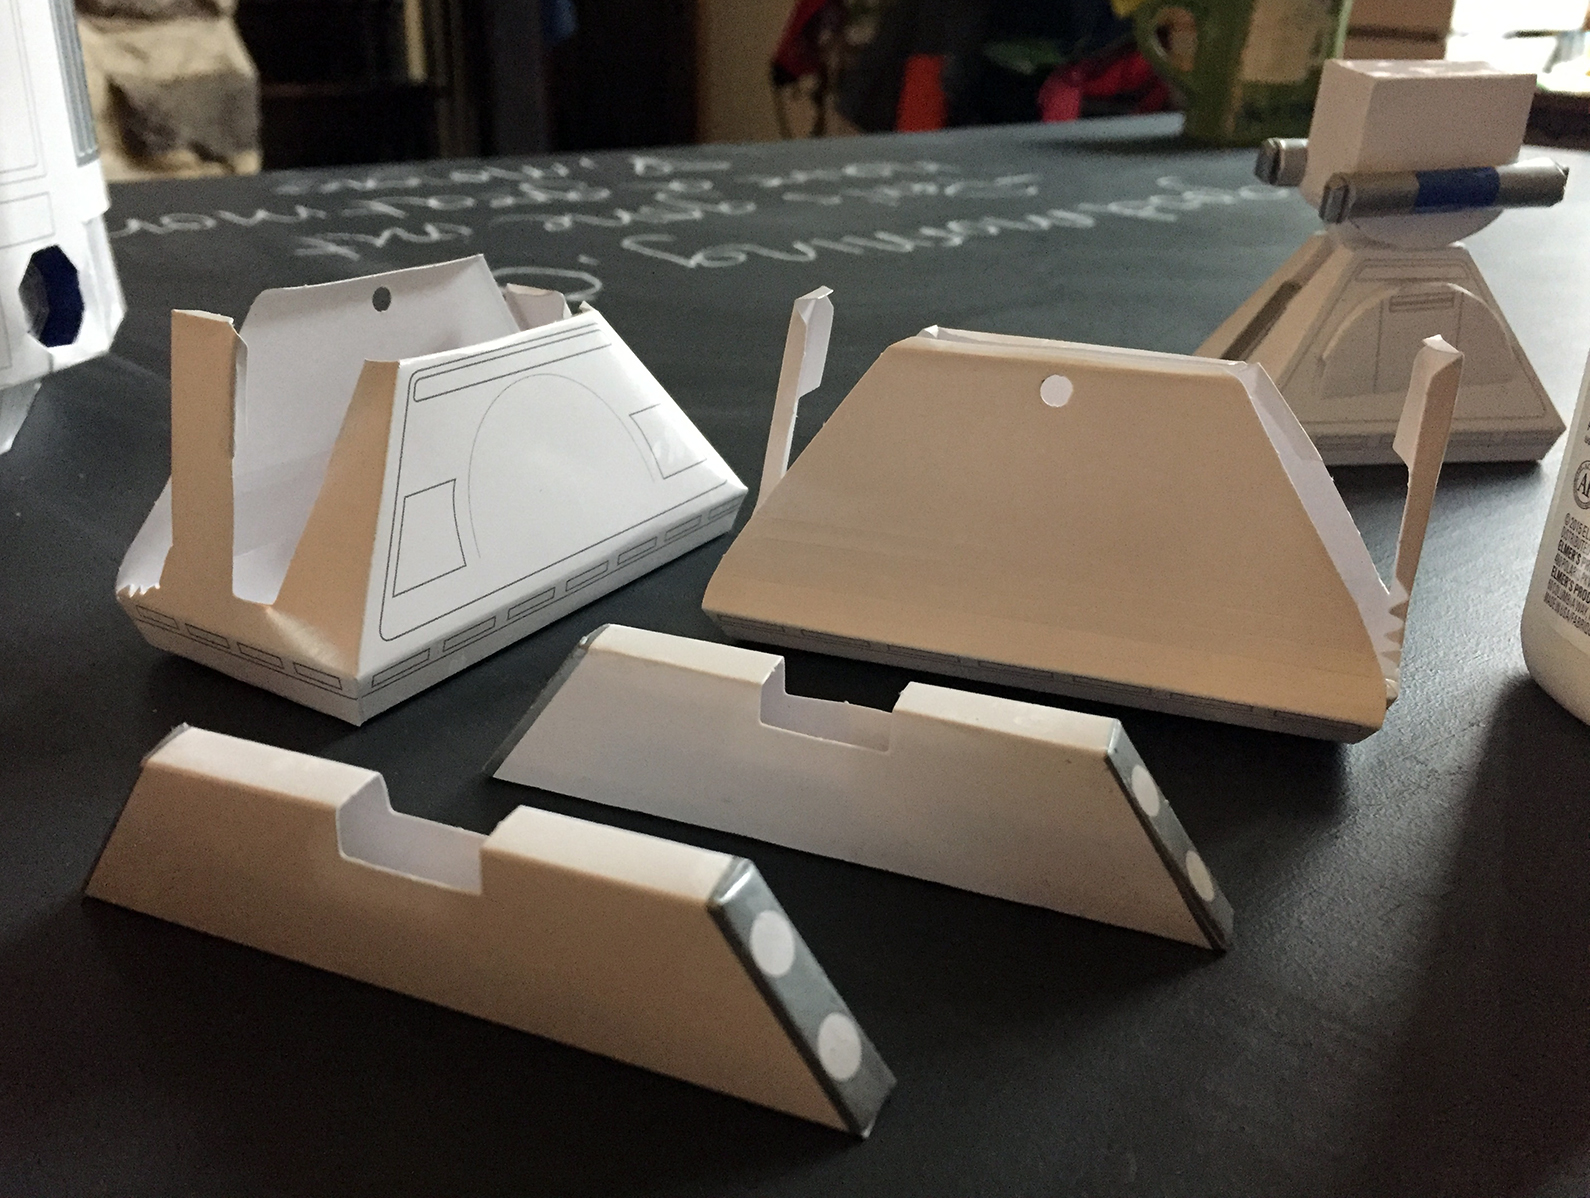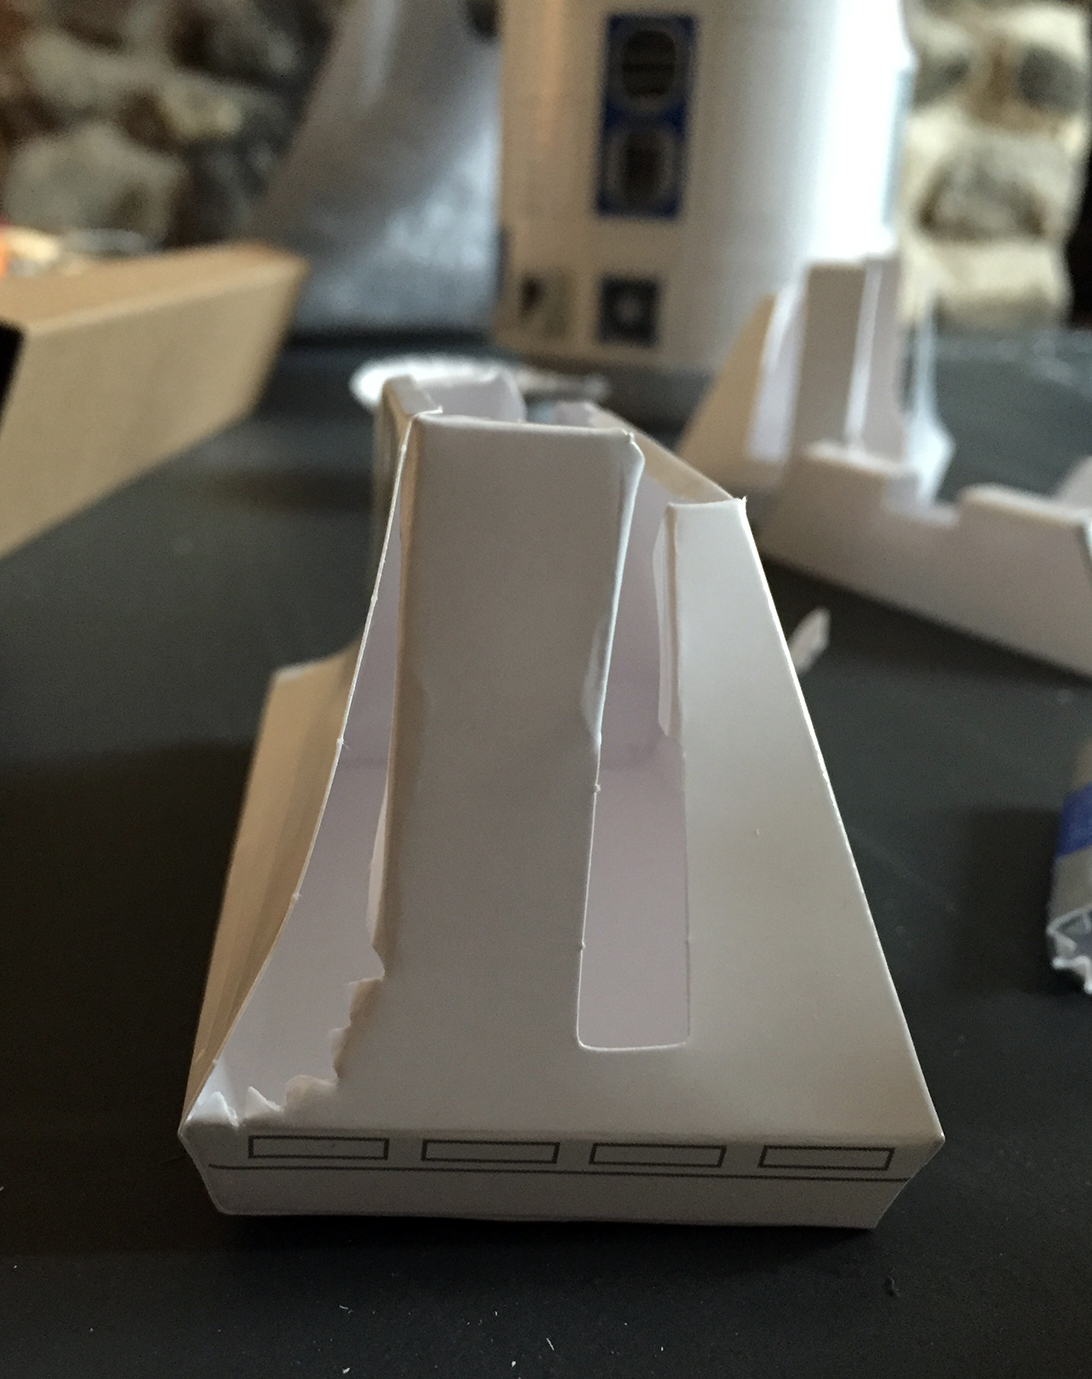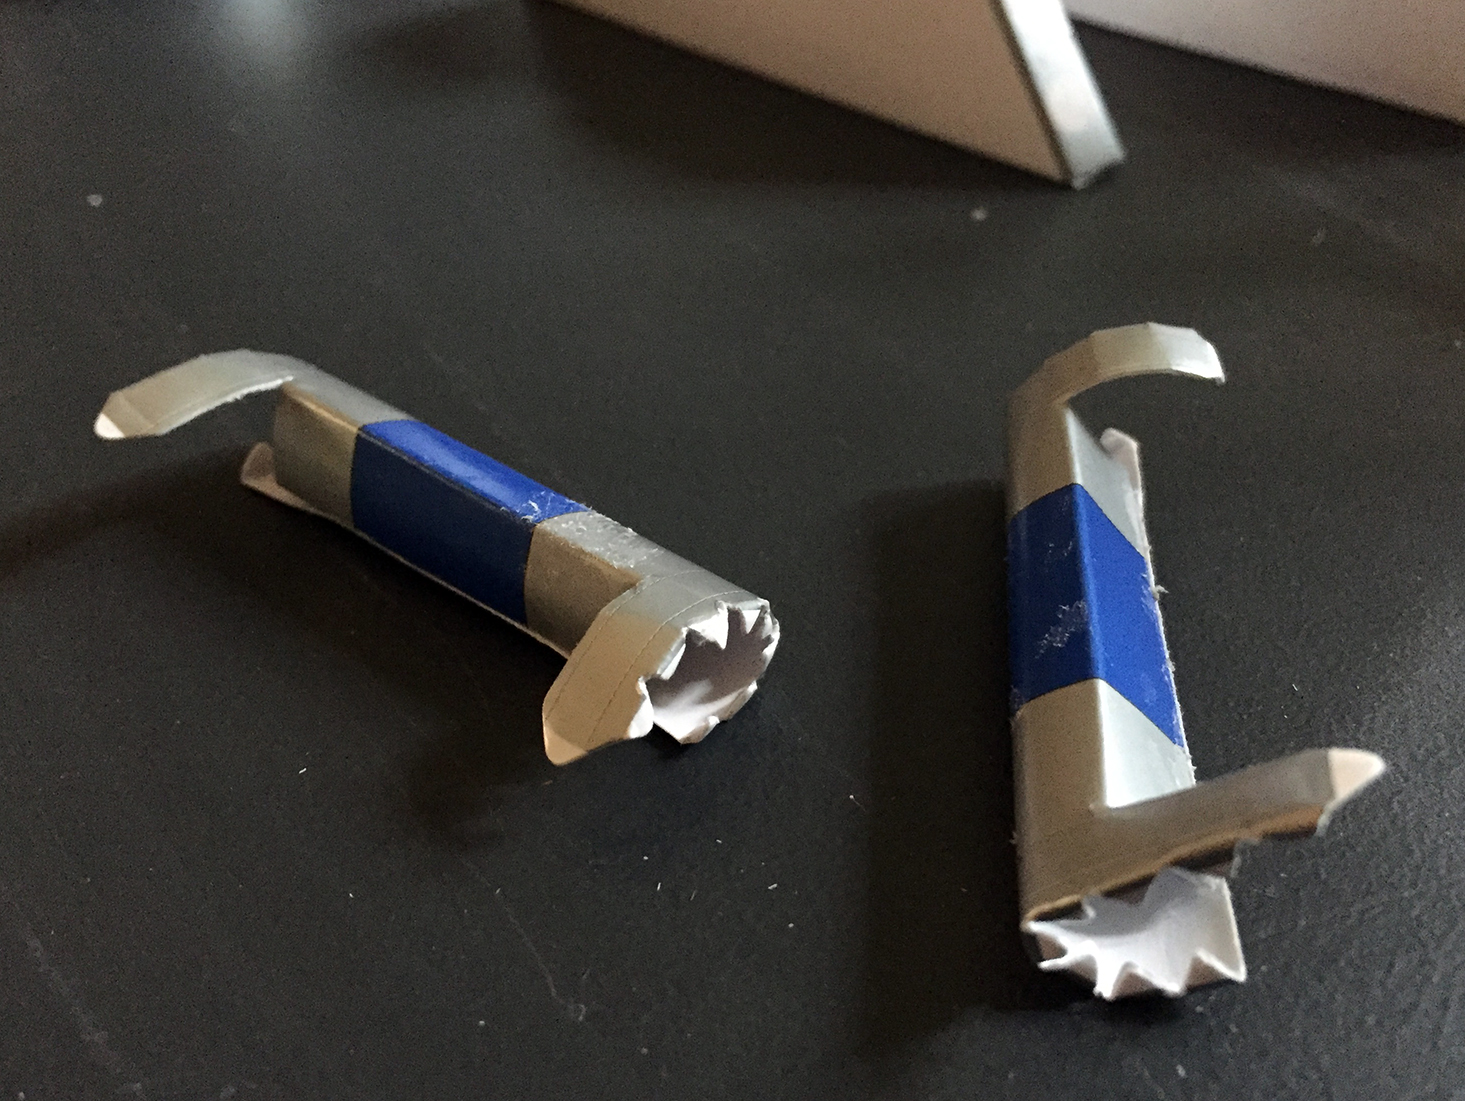
Glue is a messy thing. You can see how my fingers pick it up and spread it very easily on to the many surfaces the glue should not be; just look at those dull white marks on the top and where glue remnants decorate those fantastically constructed tubes . Now I could be meticulous in contrast to the construct and hunker down and clean that glue off the surface for a consistent glossy surface, but really why bother. As for the middle foot, for some reason I did not completely record the complete construction (and I am sure all of you avid readers are really excited about missing out on an entry!) assembled with two of the four tubes. There it is in all of its glory.
Unless we expect this astromech droid to stand and transport itself on one foot, we need to continue with the construction manual. Now there are two side legs; we know that. The master engineering designers of this production felt that in order for this construction to work they simplified the instructions to just the foot. We have the left foot and the right foot; they call it the side foot. See? Makes sense, right?

“Instructions for the side foot should be repeated for the second foot.” That means for this one foot, I have to do it twice and keep in mind “any changes necessary for the right foot” when I repeat the steps. Repeat. The steps.

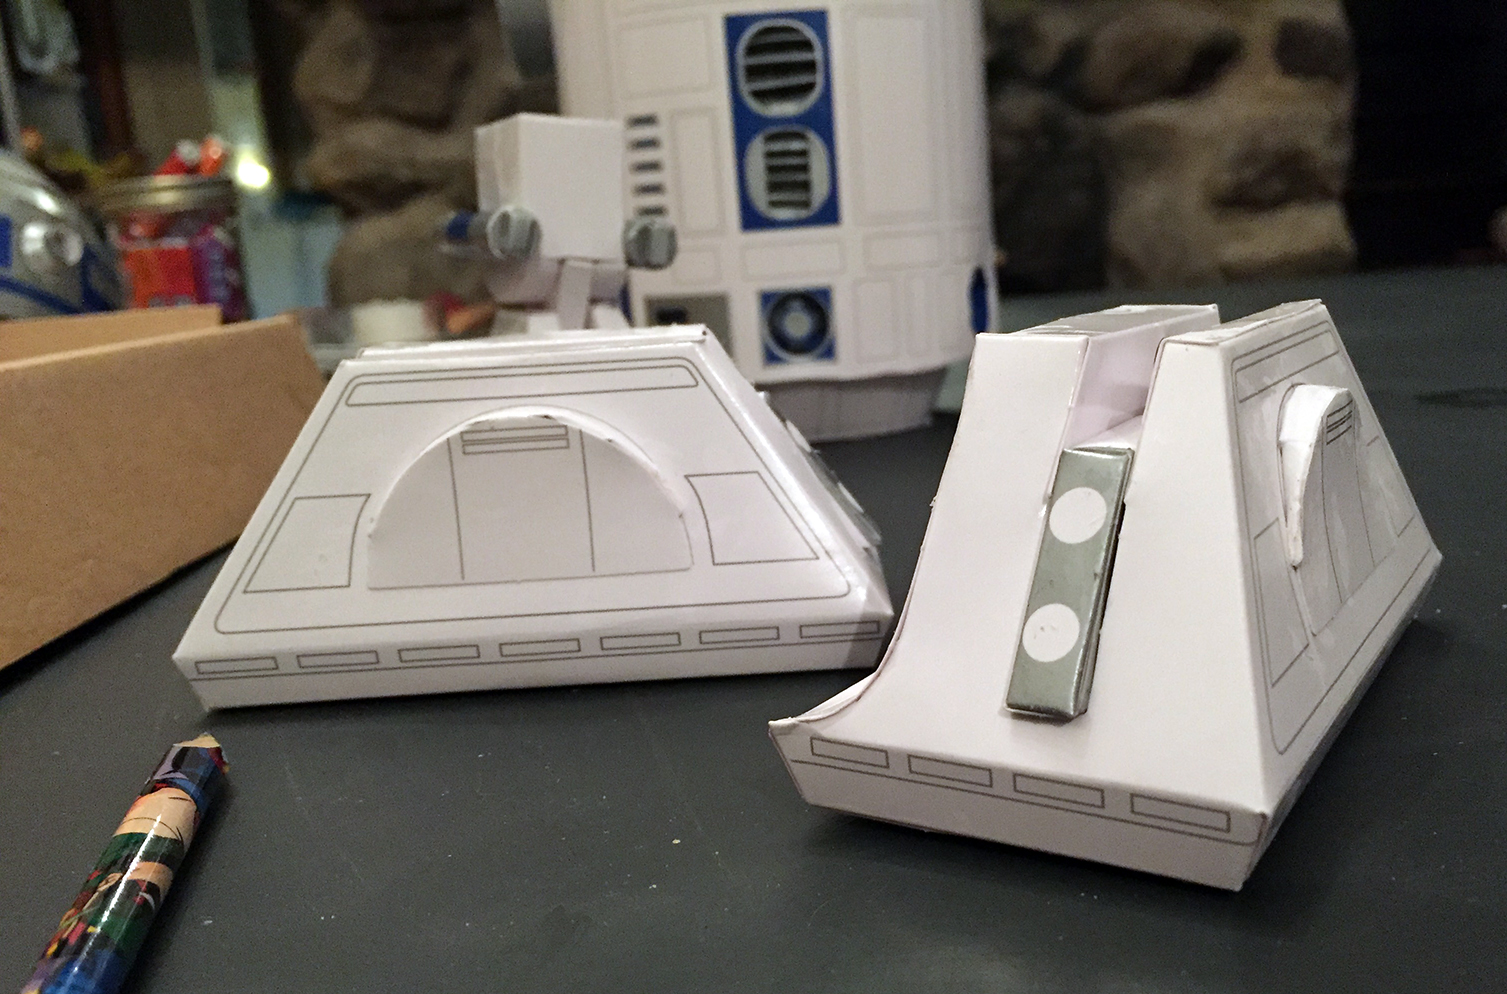
Rather than repeat the steps, I work to do both at the same time. While the flat sides of the big boxes for the feet dry, I construct the center support box forms that will eventually only show themselves by the small front and back panels in that big foot box. To clear up what I am talking about, that is those nice silver ends with the white circles. Before I can put the two blocks together, I still have to work the curved side of each foot.

I did not want to construct a jig to support the gluing process (why make more work than what I am already doing for this freaking thing), so I had to use my handy hands to hold the thing in place while the tackifiers worked to bind the polyvinyl acetate to the paper surfaces thus binding the two paper surfaces together. Once I have successfully fixed that large surface in place to those microscopic triangular tabs, I happily inserted the two trapezoidal boxes into place and added those fancy arcs to the sides–which, do not forget, needed their own construction.

Now, I have to do what I avoided earlier and assemble two more of those fun-to-make tubes. Kind of sets up moral learning lesson: do not put off tomorrow what you can do today.

