And onto the end of it. I promise.
May 22 — I ramble on
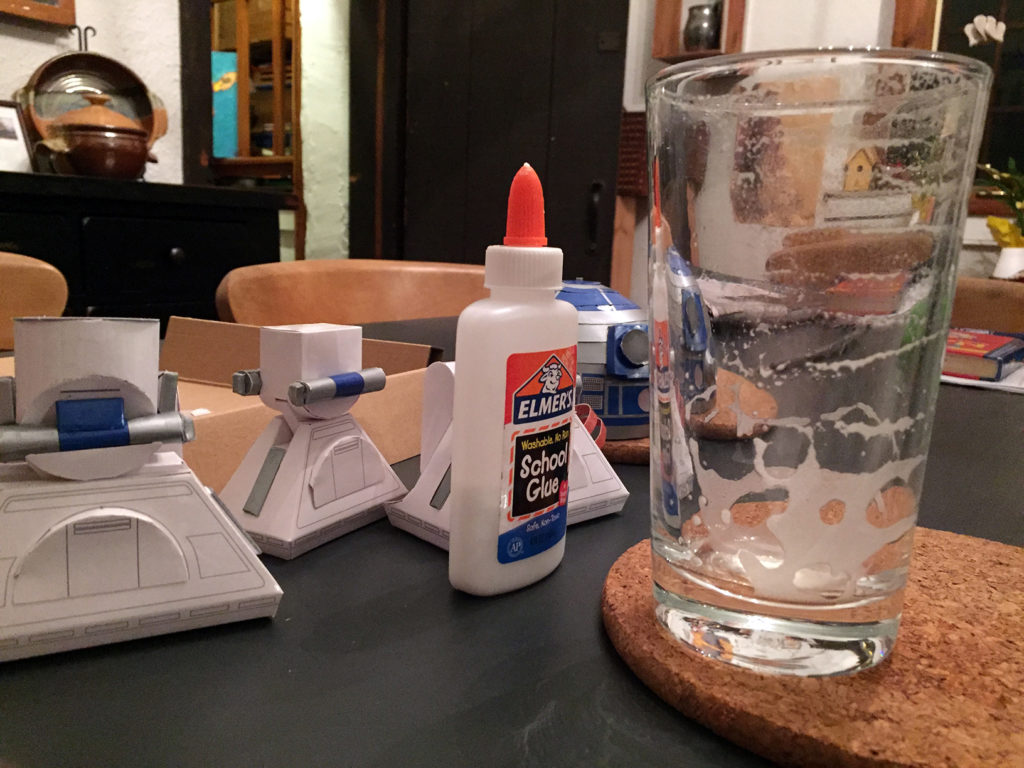
The unfinished model sat on my desk for a long time. This thing would haunt the corner of my eye. Like the elephant, I ignored it. Then May came along. I recalled when I started this thing; it was last June. I could not let a year lapse the build.
I continued with the dreaded four-piece feature on the power cell. I trucked through the creases folding them as if my muscles remembered the proper gestures. I seemed to be on the brink of paper modeling perfection. My creases became sharper, more professional. My glue application cleaner, more thoughtful. It seemed I could make this work. I could finish this in a shorter period of time. I may yet get this done.
The shoulders needed an outside wrap. Like the inside, I adhered just the green tabs and waited for the glue to dry.
May 24 — a Friday
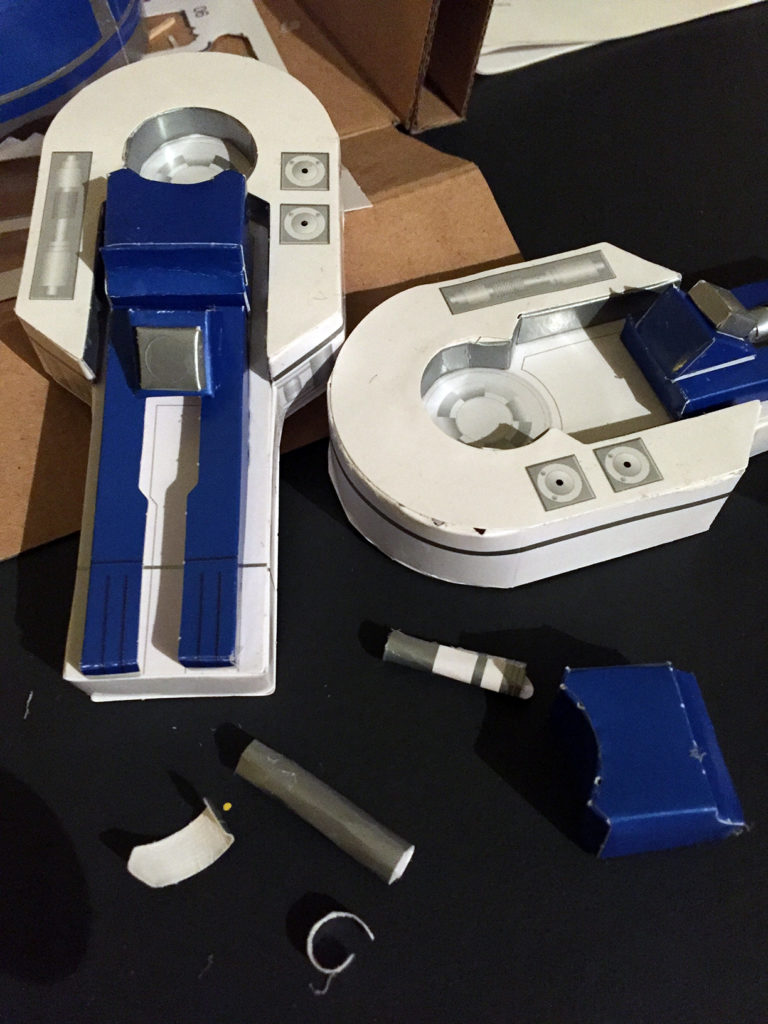
What a way to spend a Friday night. My wife had a School Board meeting; my son was in bed. Why waste the evening watching a B movie? Lets be productive! Already I re-experience a piece that does not fit. I accepted that I may have made some errors and that the piece may have not been produced correctly and just move on.

The shoulder had a spine within it. I do not know why, I just go with it. Making the ring, again I have to follow the gluing strategy of pause and wait for the glue to dry. This makes for an interesting poll: paint or glue, which is more fun to watch dry?
May 25 — Saturday
I woke up. Sarah left to the gym. I worked my paper-modeling muscles. Before I do that, I believe I made coffee. I always need coffee.

I glued just a few of the dental tabs and you know why. No sense delaying any more. I moved along to another step.
I complete the ankle/foot/power-cell construction. The glue adds character; a dust on the surface or a little wear and tear so to speak.
Building from past experiences, I make another collar for this construction to save some effort. I must be a learner.
And work on the other shoulder…uh…spine.
And adding some other piece to another piece which was sliding that spine thing into the shoulder socket. The leg is almost done (yeah, excited clap!)
May 27
The hour’s build resulting by jumping around Steps 3, 4 and 5 and some of Step 9.
June 1
The first day of June and the same month we started this project the previous year. Close to a year ago my son and I opened this box and had reality hit us. Enough of the dawdling and time to finish.
I completed Steps 4 and 5 and I noticed that something was just not lining up. Comon. Everything is in the right place. After that whole freaking power cell compartment fiasco, I used extreme caution to follow the steps’ instructions to fit the pieces in their order and in their proper place. Now I get punished for my efforts by this flagrant quality inconsistency? Curse you, paper model engineers, curse you! A new crease appeared and problem solved.
June 5
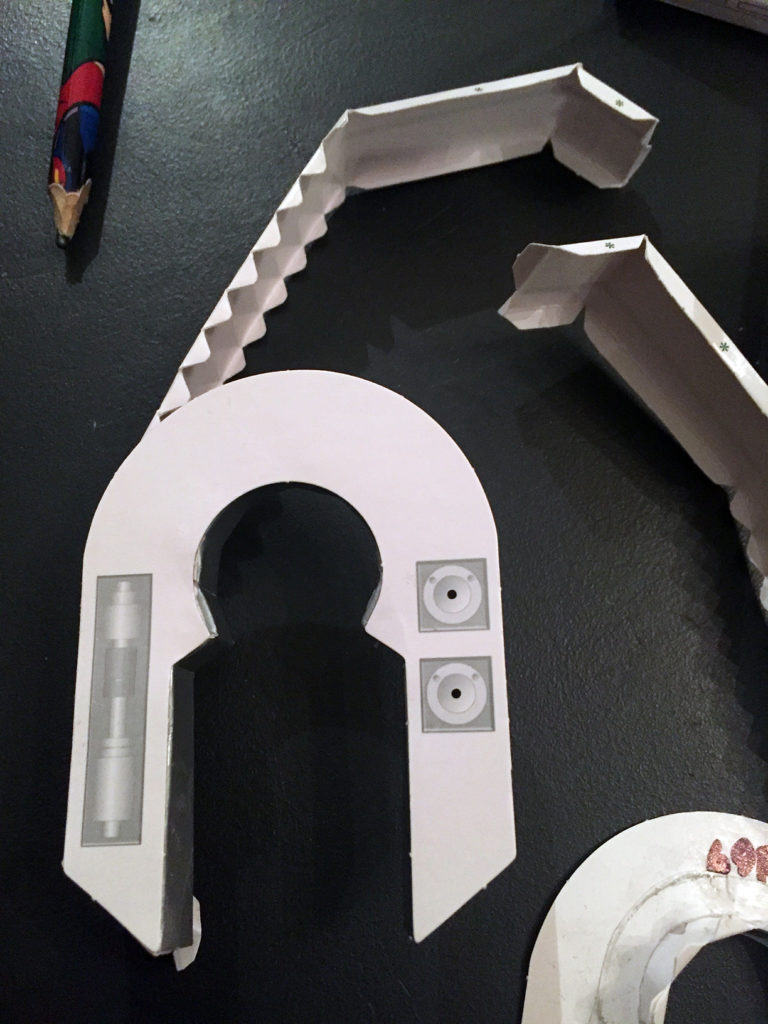
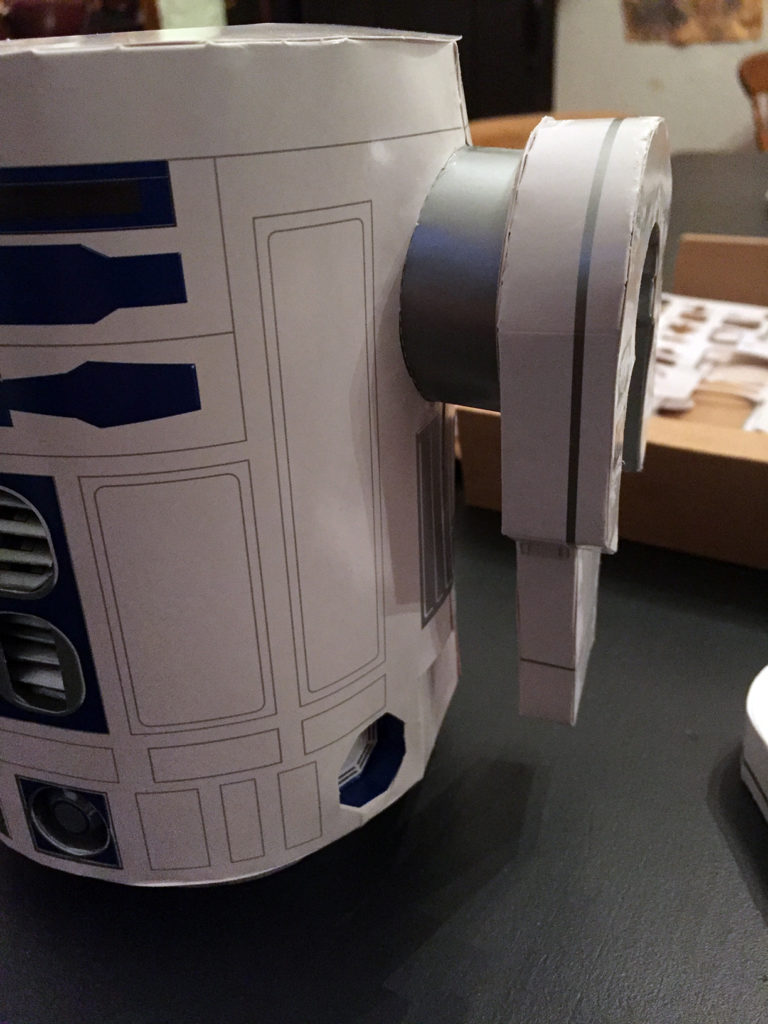
With the legs near completion, I remembered that I still had to solve that axle and body problem presented to us 28 steps ago in the instruction manual. The instructions presented conflicting language and illustration of what piece goes where. The text says:
“NOTE: Pay attention to which side the axle belongs on! When looking at the front of the body, the axle with piece 28 will be on the right and the axle with piece 26 will on the left.”
Build R2D2 Instructions
These are the exact words. I did not make a grammatical mistake. If you do not believe me, just look at the image below.

So if I look at the front of the body, I will see the socket compartments for random vents and stuff. The text states that 28 should be on the right when I face it which would make the model’s left. Look at the illustration and you get a different picture. So I ask myself, “Self, are we talking my right or the model’s right?” Being a visual-learning person, I follow the illustration and insert the assembly in its right side. The piece and the body have tic marks. Lining them up and Piece 28 tilts forward matching the illustration so I just glue it.

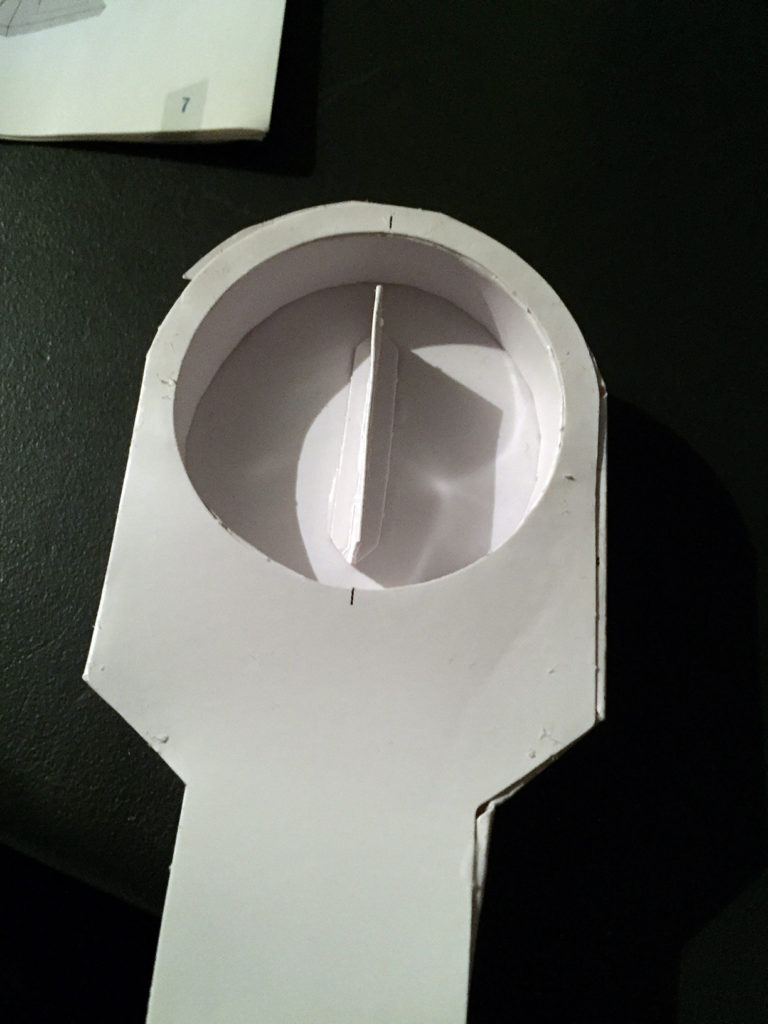
With the axles on the body, I return to 28 steps later, LEG/STEP 6. Piece 71 holds the leg not in place but in the proper angle if I want to display this wonderful example of engineering with the middle leg in front. The instructions direct me to fold the piece and glue the tabs in the centered following the tick marks.
With the glue still damp, I pause. Here is the progress.

June 6
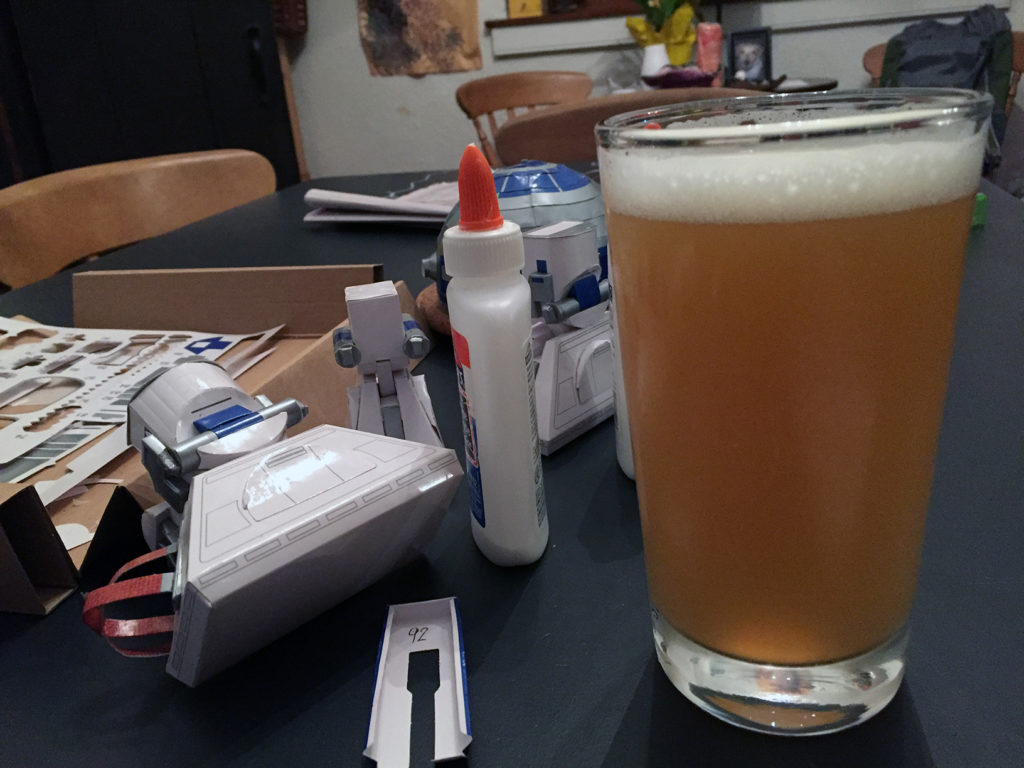
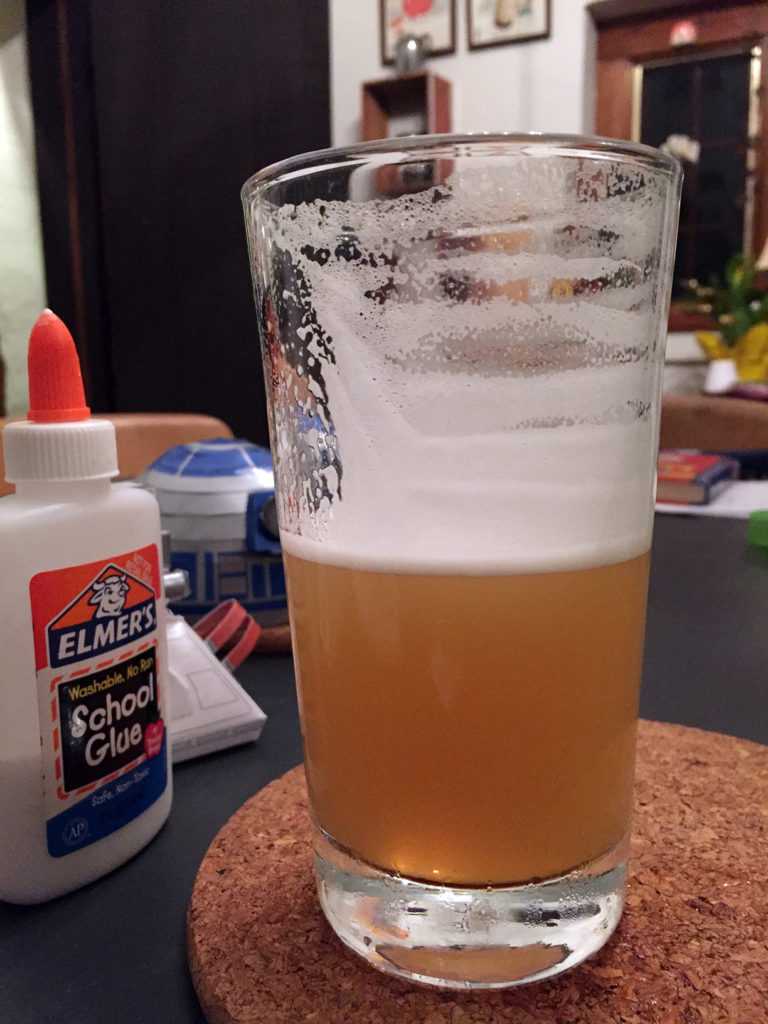
This day, I just felt like having a beer. Sarah had her regularly scheduled meeting, and the kid was reading himself to sleep in bed. I poured a Treehouse beer called Sap. Never had it before. Apparently, you can only purchase Treehouse beer at the Treehouse brewery in Massachusetts. I have no idea why the beer has such a following. Beer friends have said when I am within purchasing distance I must get it. I have to get it. Whatever. It is just beer; and expensive, too. So this pale ale (yup, that would be their definition of pale) would accompany me through the night of productivity.
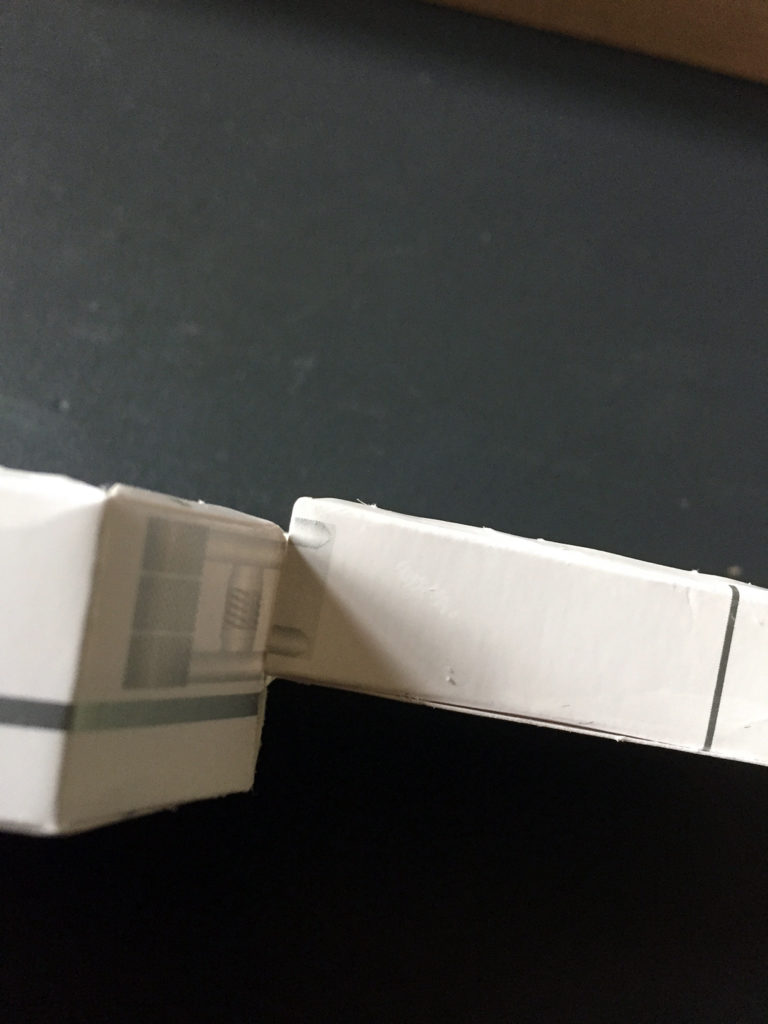
I slipped on the leg over the axle. It would not fall into place.
That stupid tab that had to be aligned with the ticks was too long for the pocket it had to slid in. Just to be sure, I assembled the other tab but did not fasten it to its leg. I tested the placement in both axle pockets. Here is the other one; see for yourself. The tab should slid in all the way. It does not. The tab is too long and wedges until it sticks. If I want to finish I have to apply more accommodating adjustments by modifications.
That effort tipped me for a bit. Not bad taste. I had an IPA impression with a subtle hoppy bite but the smooth and calm rest of a pale ale. The flavor does not linger and settles calmly in the belly. A few more sips and I felt ready to continue.
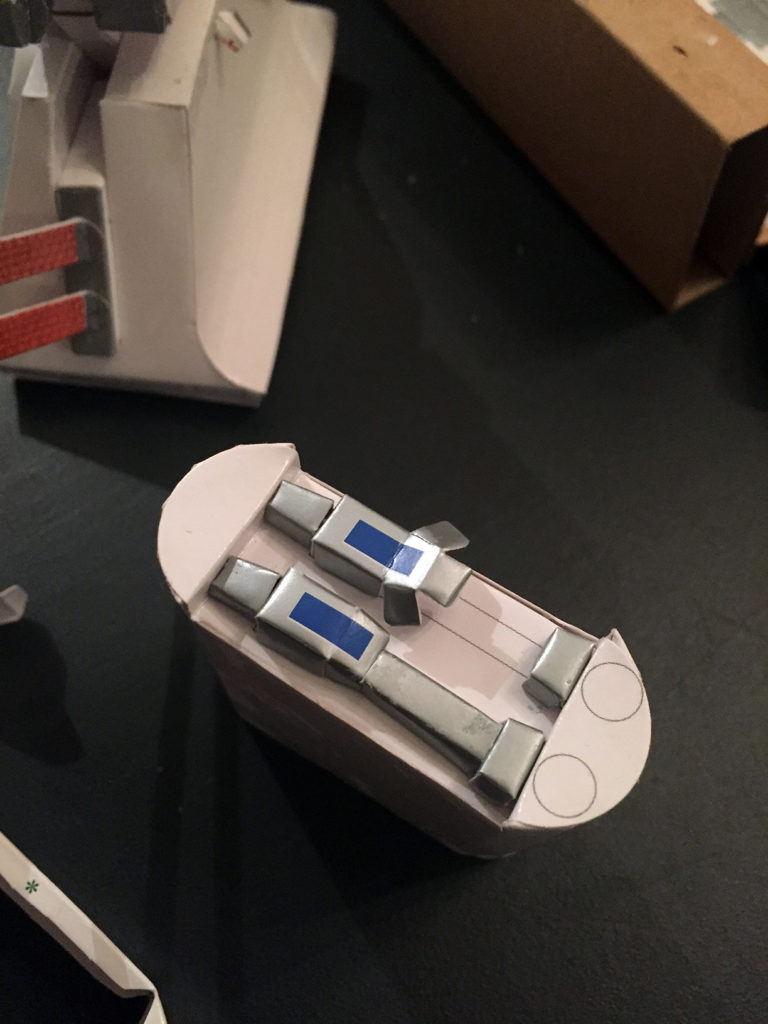
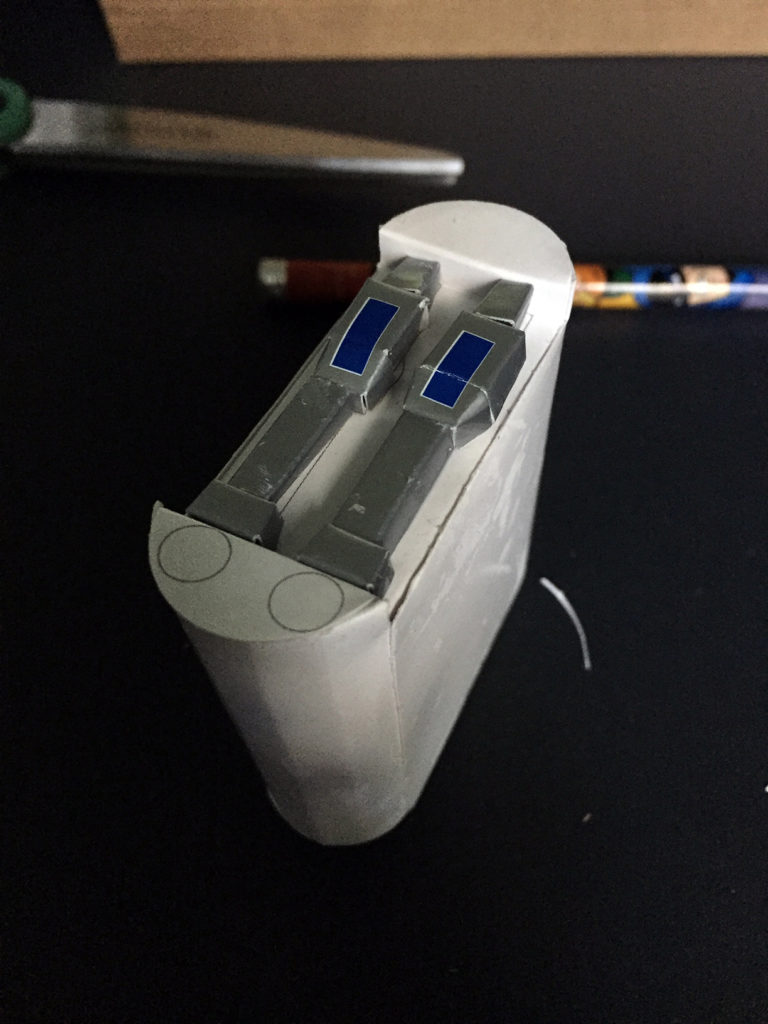
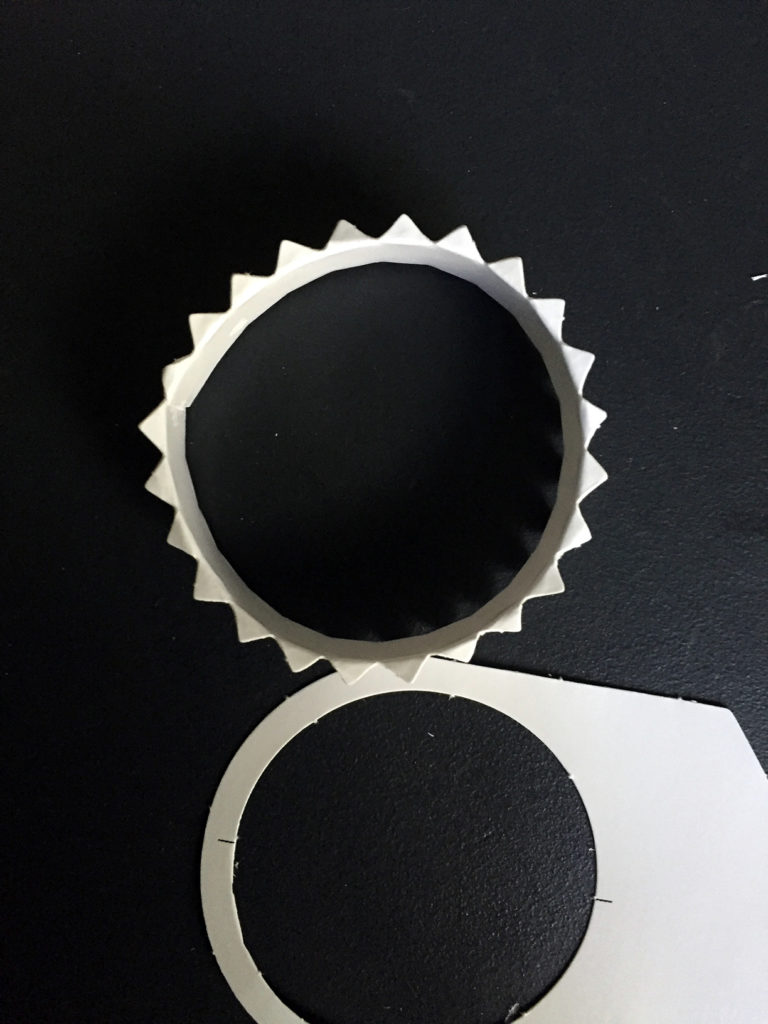
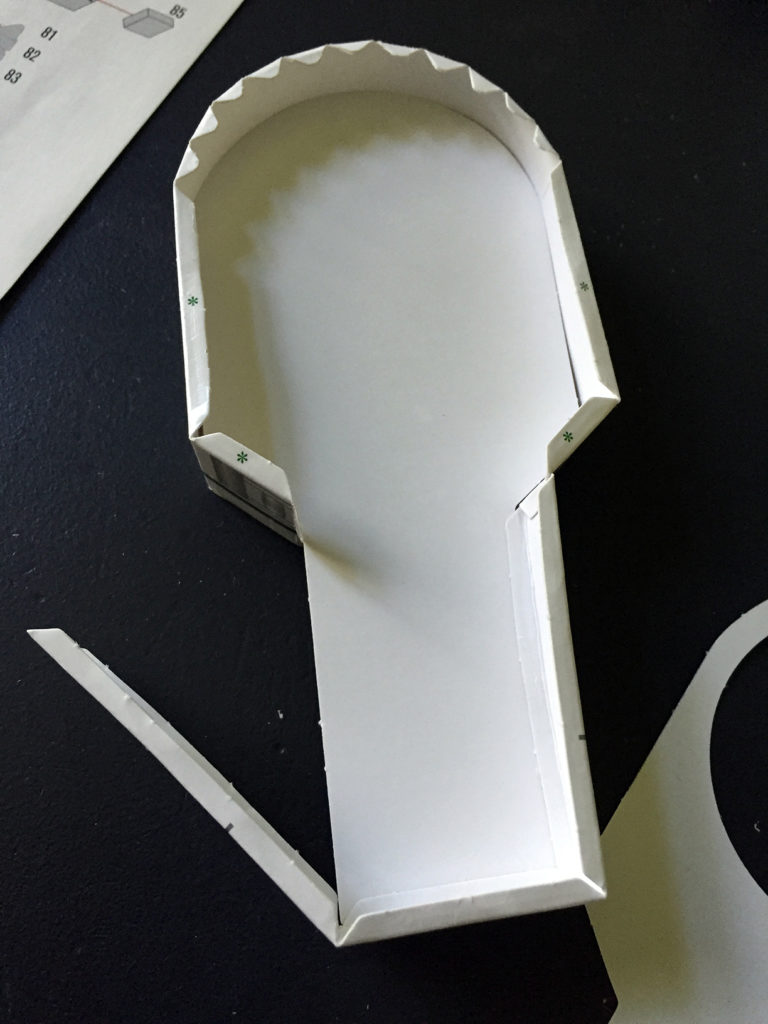
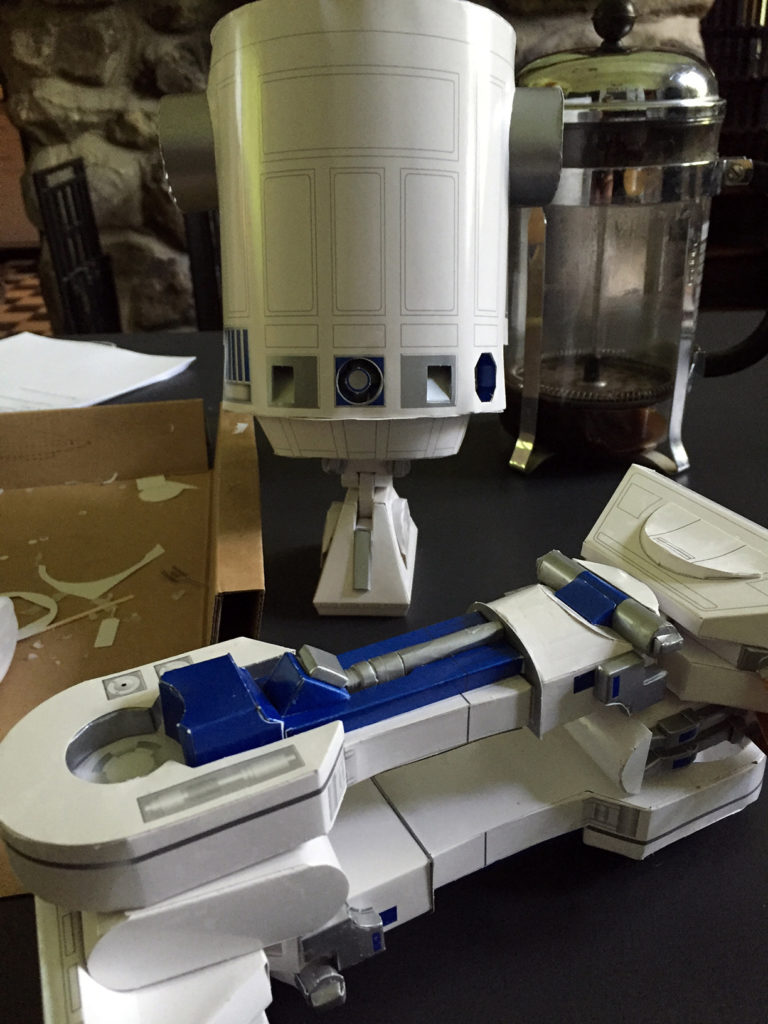
The legs require boxes: small boxes that sit on the large blue box; and medium arc boxes closer to the shoulder. These legs need extra little boxes just for that added detail of awesome function-ness–yup, I made up a word just to express my disposition at the moment. Why not, Shakespeare did.
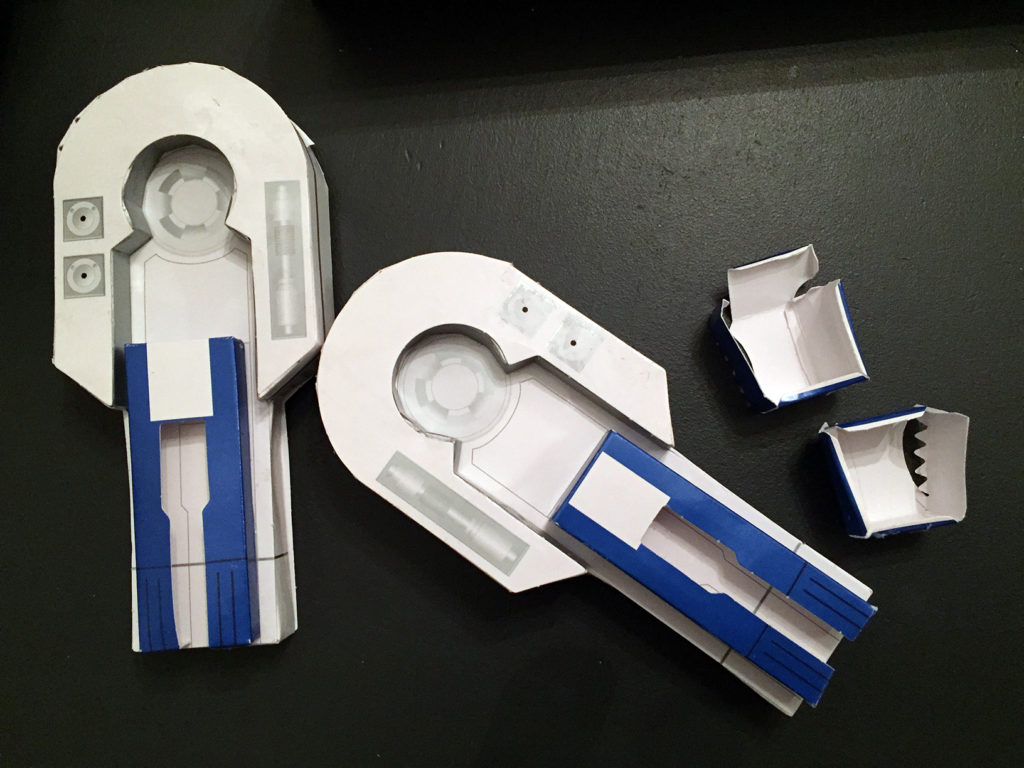
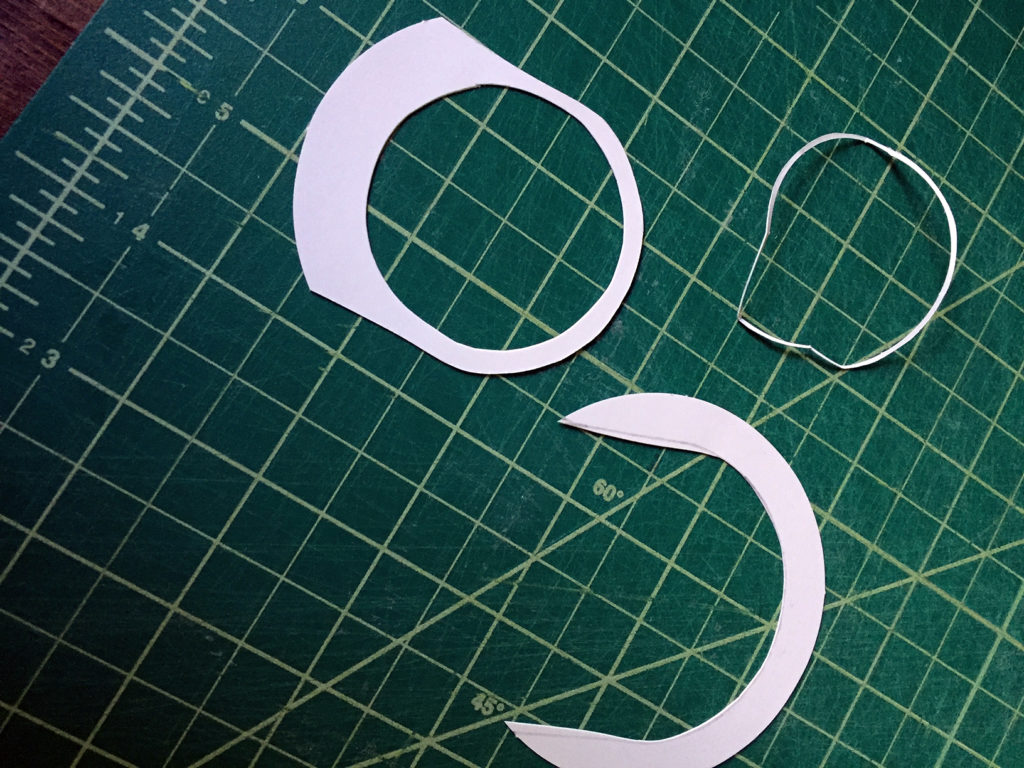
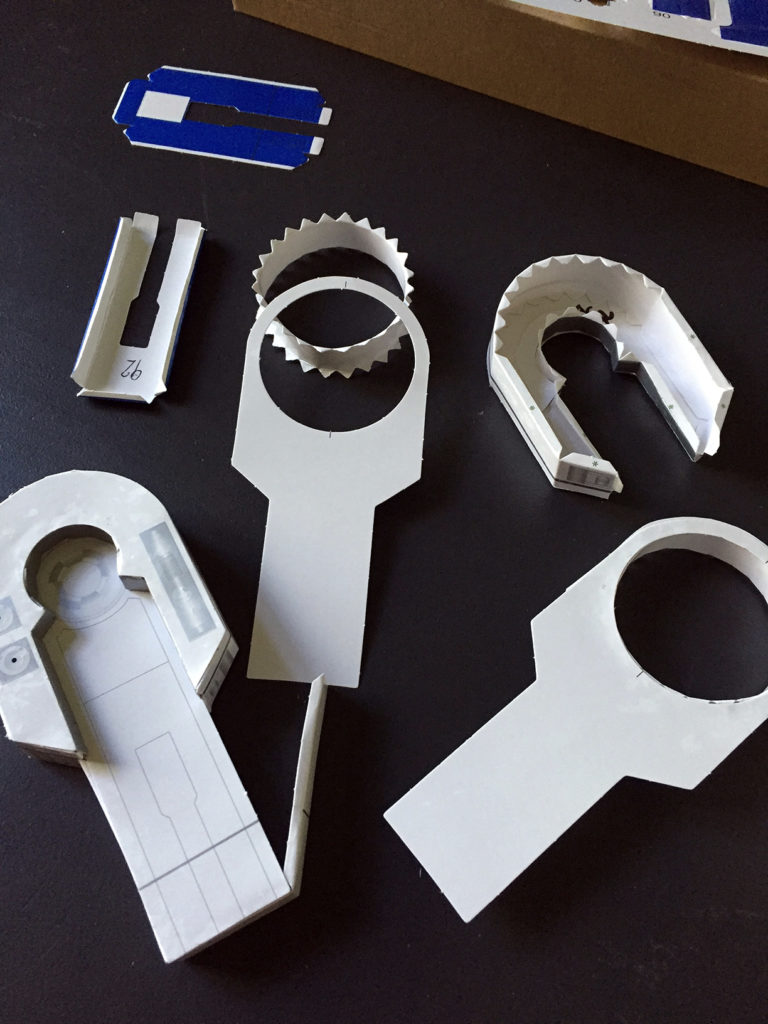
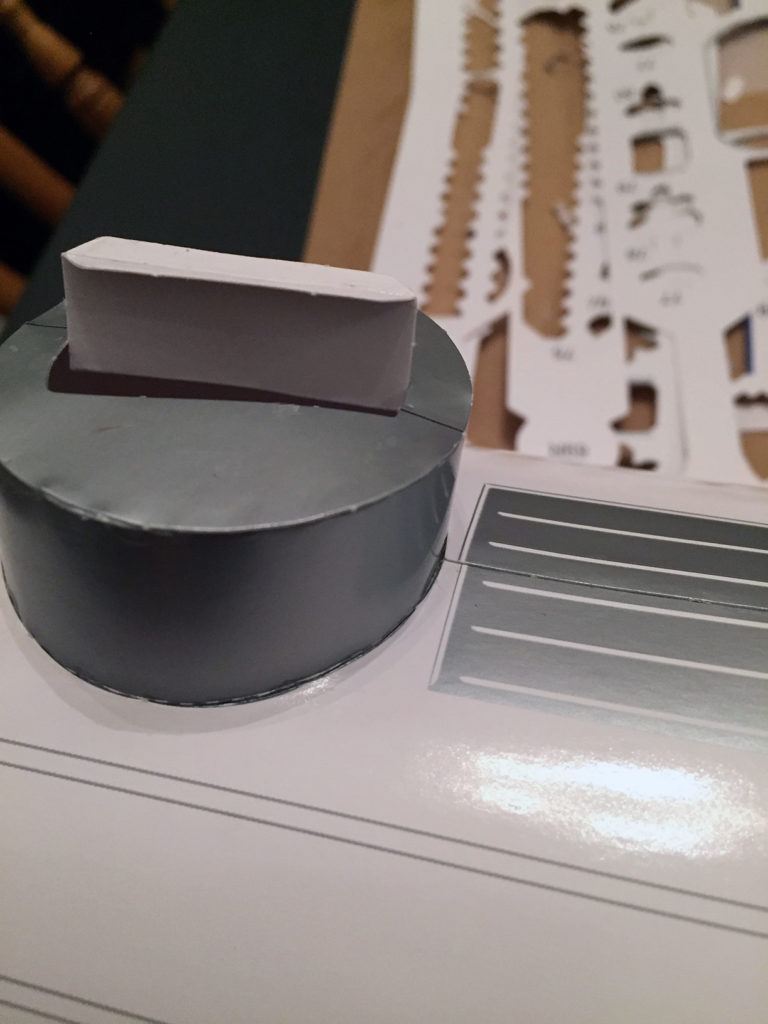
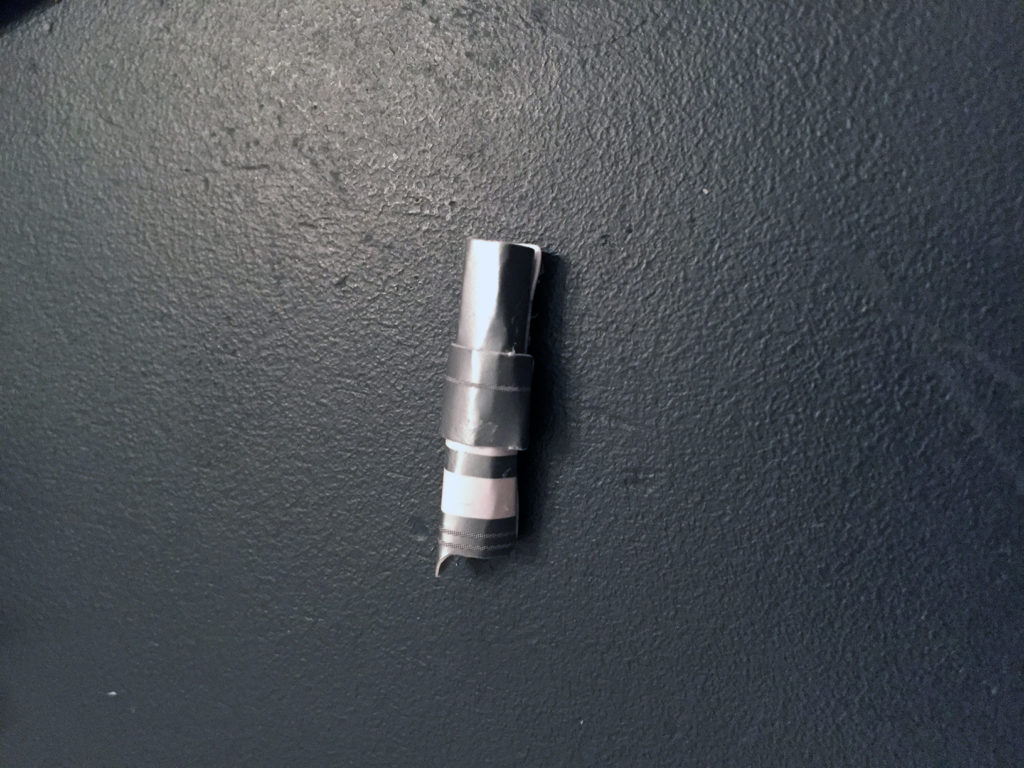
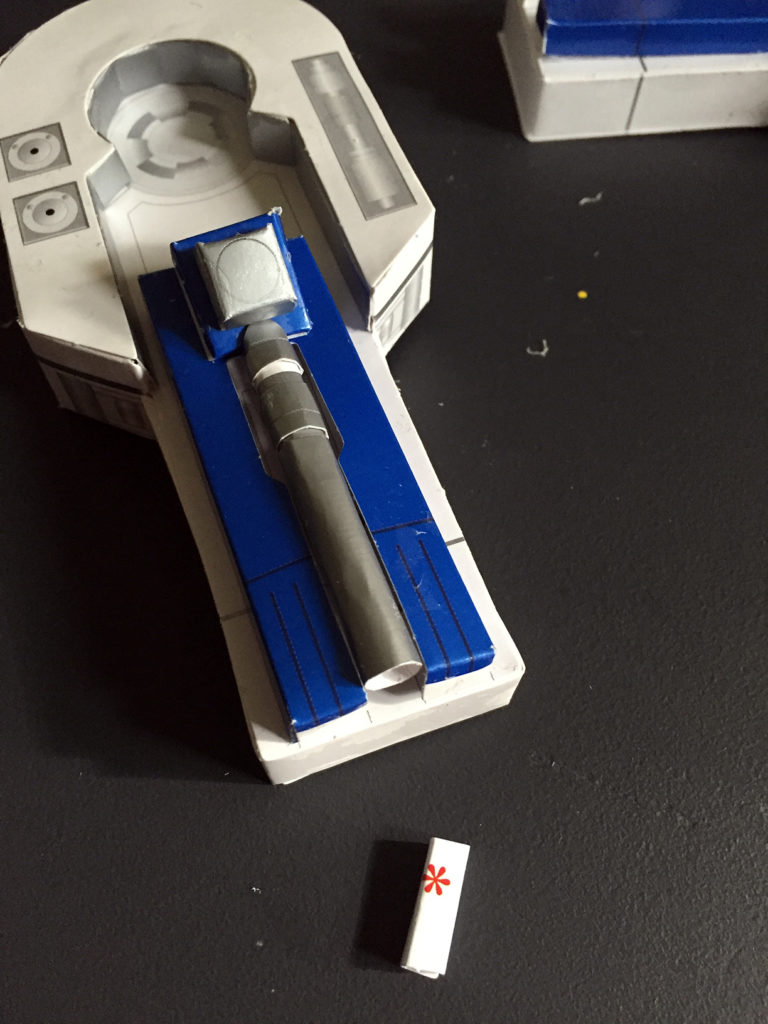
There is a pocket in the leg designed within the blue box. Resting in that pocket will be a tube to resemble some kind of hydraulic thing(?). That thing needed four pieces to be curled or rolled into a tube.
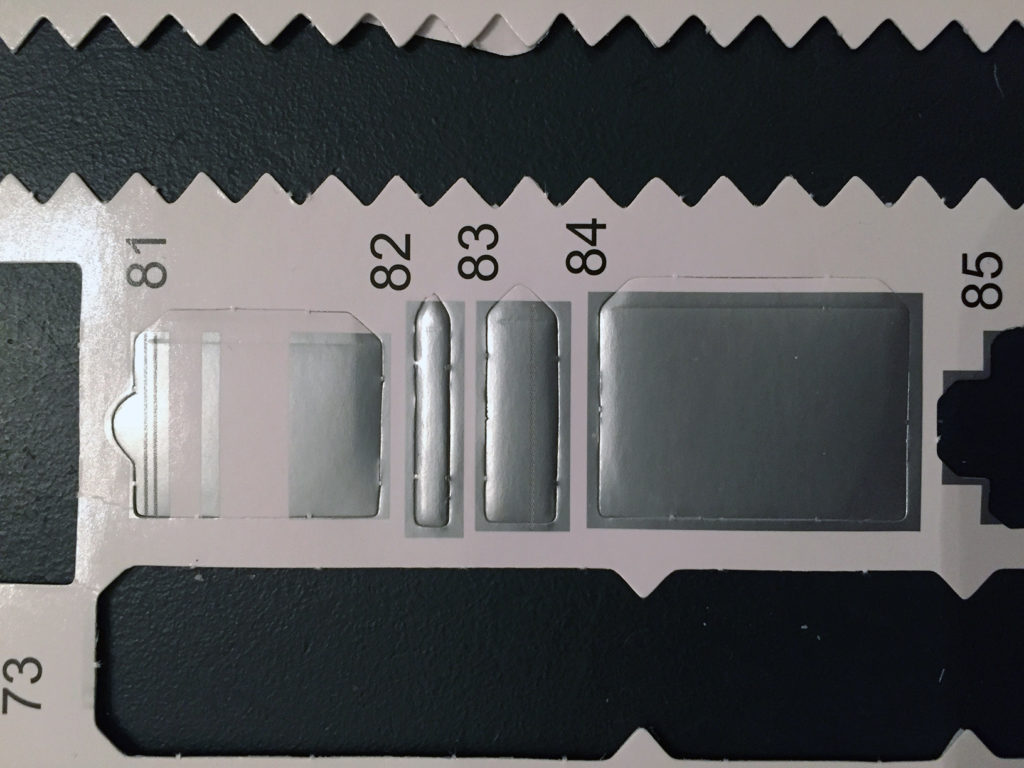
My rolling ability was lost. Rolling Piece 80 into a tub at that size just meant small, shallow folds until one end met the other. What really pushed me over the edge was the added detail. The extra detail of wrapping two rings around the tube was just a bit much. Pieces 82 and 83 are to be glued into rings. These rings then slide into place indicated by the white bands of Piece 81.

Did this really need to happen? Will the model’s audience/admirer really see this and “Wow, look at that detail for that hydraulic thingy on that leg. Amazing detail. Come look at this, son, and see the small piece right there indicating a something a little extra. Now that is ingenuity. That is the extra detail that makes things matter; that shows dedication and effort of not half-assing it.”
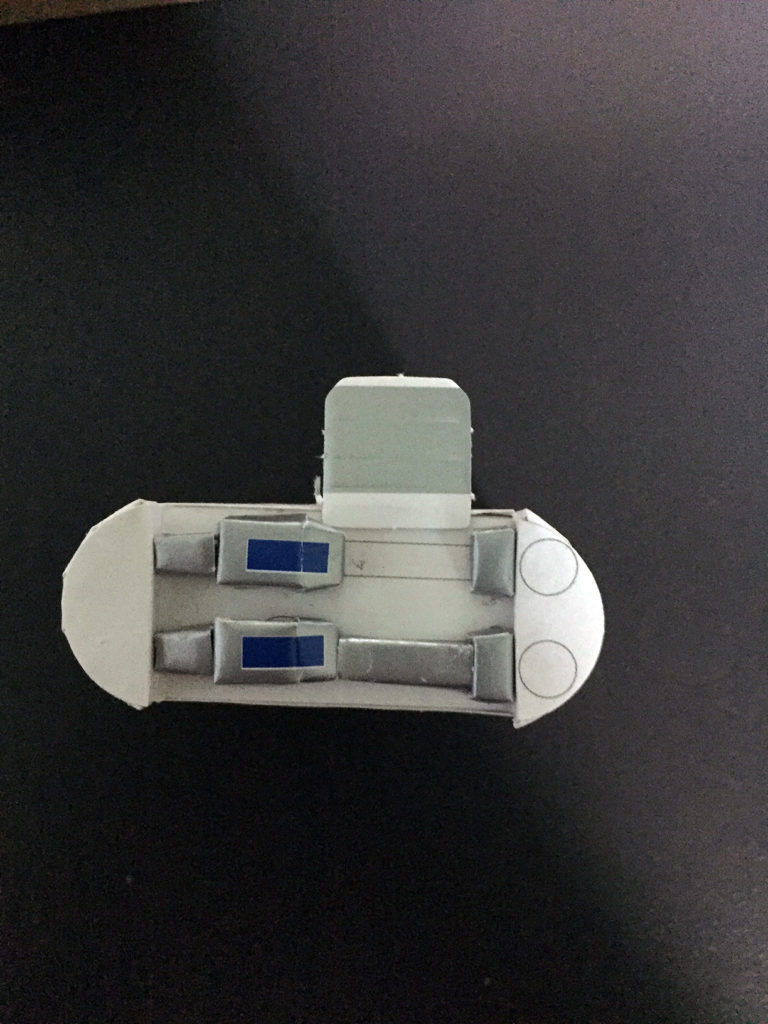
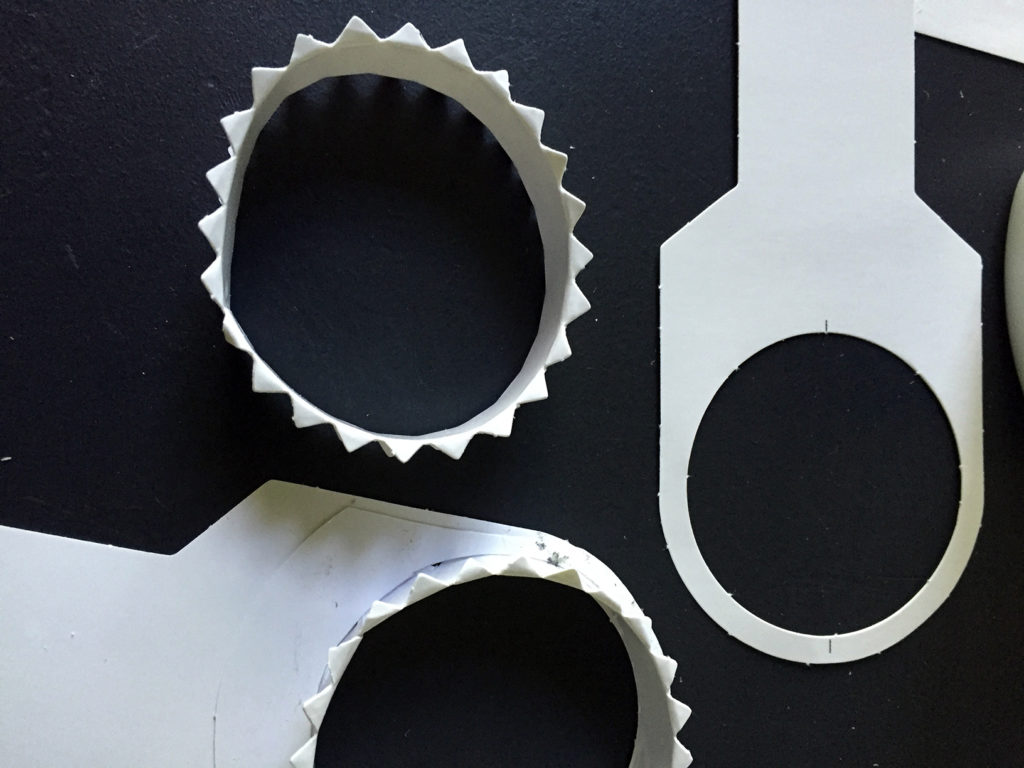
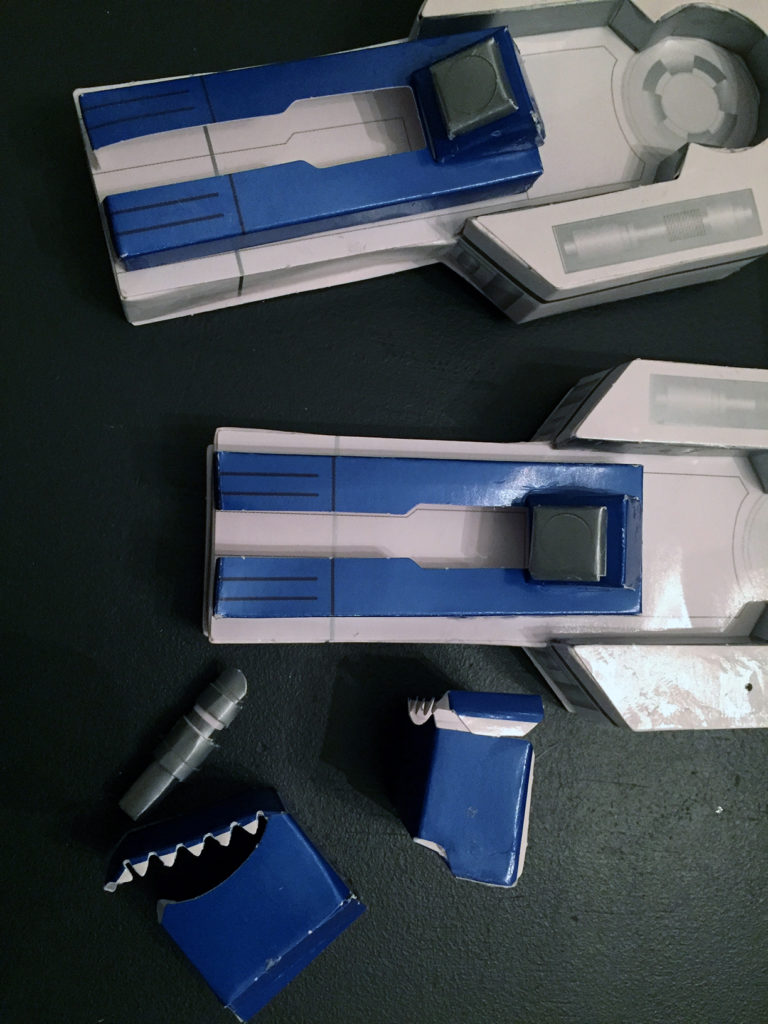
STEP 7 requires rolling small tabs to make small, beveled boxes. These boxes will have an arc bit out of the top. These boxes will be added functioning appearance detail that hopefully sit in the white field by the shoulder outlined in grey. These boxes have a lot of tabs. A lot of tabs on a curved surface with a curved surface means I follow the same strategy for the shoulders: glue a tab or two and let dry; glue the neighboring tabs and let dry; and continue this process until complete. While that arduous process develops toward a finished piece, I worked on STEP 8 to assemble two additional/ more simple/ just plain boxes. These boxes—one a blue wedge, the other a grey box— sit on that large blue box with the pocket for that hydraulic thingy.
The tabs for LEG/STEP 7 need to dry, and my glass was dry so I called it a night.
June 7
It was a Friday. All boxes assembled. I had to roll another hydraulic thingy. Hoping to make a more refined piece, I used the shaft of a screwdriver to roll and shape the paper. Still resulting with no improved appearance—it looked the same as the hand-rolled piece. Whatever, done.
I tuck a tube assembly into one of the pockets. It sinks deep and does not rest on the wedge block as the instructions indicates. If I try to place it to sit on the wedge, the rest of the tube would just float which does not happen with Earth physics. I need something to sit under it to hold the tube up in place where it suppose to be. Fortunately, I have scraps. With the scraps I build a box to be the support block. Bam, I am a problem solver.
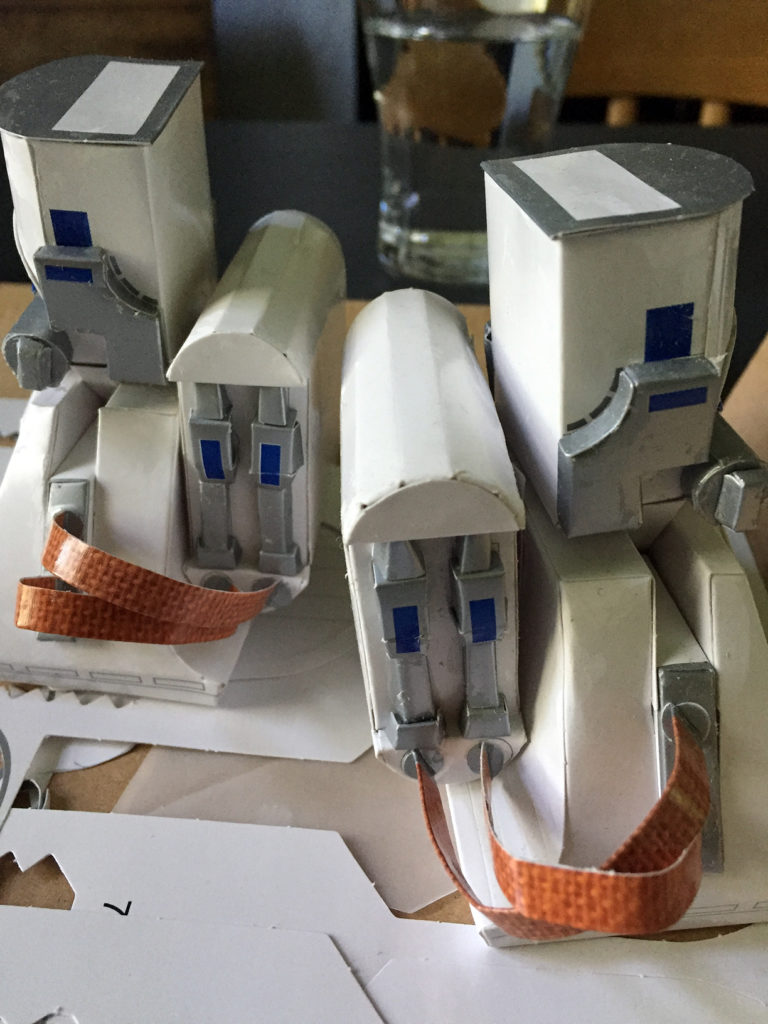
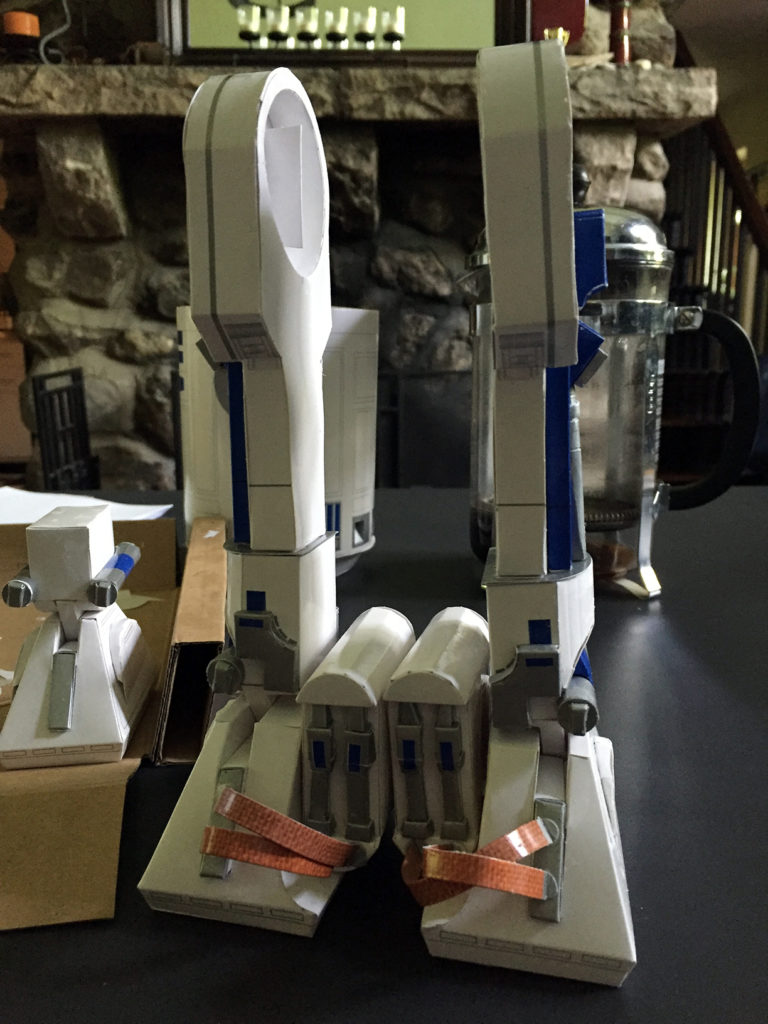
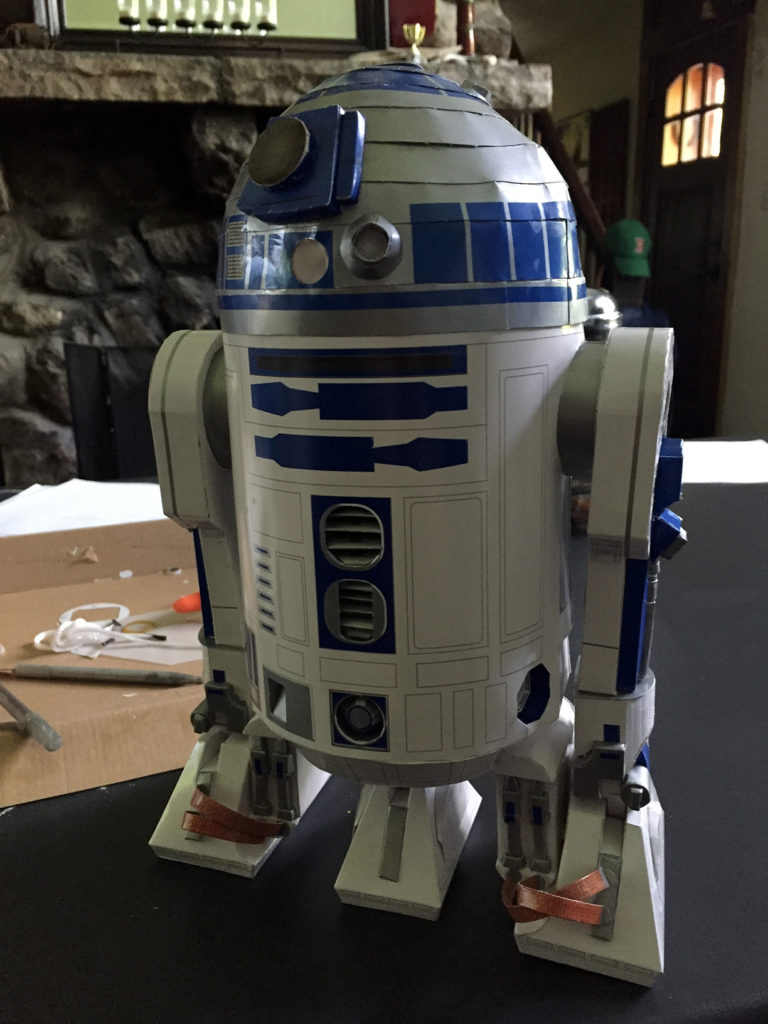
The legs are basically done; they are just not fastened to the feet. I fit the legs on to the body just to feel some progress.

June 8
Another Saturday morning. I must have been giddy with my progress from the previous night. I woke up early before the dog and my son. My wife was out for some kickboxing. With coffee made, I fastened the feet to their respective legs. Not to complain but as expected, I had to modify the legs to fit them squarely and flat onto each foot’s top surface.
FINAL ASSEMBLY!
That is literally the title of the final chapter but without the exclamation mark. This final assembly has three steps.
I skipped STEP 1 to attach the left and right legs “by sliding them onto their corresponding axles.” The glue fastening the legs to the feet was still a bit weak. I skipped to STEP 2.
STEP 2: “Insert the middle foot into the slot on the bottom of the body.” I started, but the box of the middle foot that should fit into the pocket did not easily slide into place. The box was too big.
WHAT?!
This can not be happening all of the time. I try again. With a little wiggle and some delicate force, the box slipped into place. Serenity.
The glue seemed ready for the side legs. I slid the legs into place. The model was official completed the morning of June 8, 2019 before breakfast sixteen days before box-opening anniversary.
Stats
- A foot tall
- 2 working lights (one red, one yellow)
- 3 separate sound clips
- 49 assembly steps
- 192 pieces (92 duplicated for repeated steps)
- approximately 3 liquid ounces of craft glue
- 3 of these steps were repeated twice for duplicate assemblies
- 1 step repeated thrice to construct three of the same assembly (lens)
- 1 step repeated four times to make four tubes each having 5 smaller pieces and assemblies
- 1 step had 8 pieces (power cell compartment) which later had to be repeated for the other leg
- 20 steps repeated for the other leg — essentially, assemble the mirror or flipped version of the illustrated steps
- 1 step had 11 different pieces to assemble together
- 1 step would mean 17 total pieces if you allow for repeat for the other leg
- 1 step had a total of 20 pieces to assemble together if you count that that single step was repeated three additional times
- An average of 5 pieces per step
- Only 2 steps each required assembling one piece
- Unknown number of hours accumulating to several days over the span of 348 days
A Photo Shoot
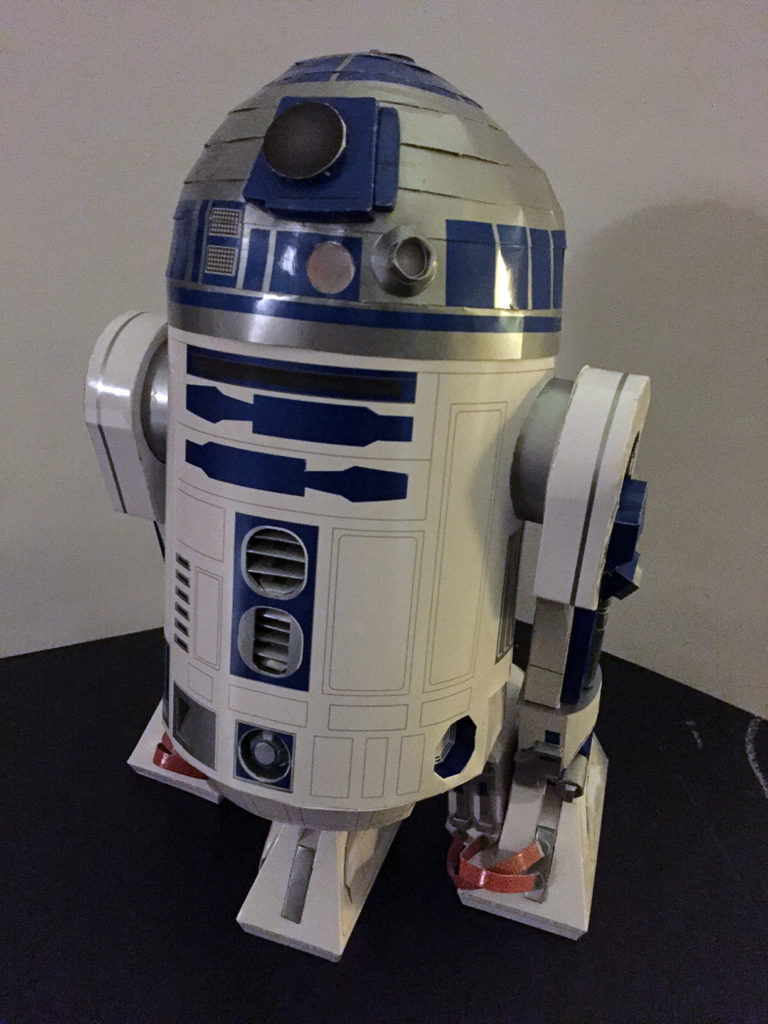
The art director in me compelled me to go beyond the basic photograph. With a simple backdrop and some lighting, my son and I made a photo shoot set. Nothing fancy because I did not want to take too much time because truthfully, I am done with it. If I had no impulse control, I would have squashed this thing right after I put on the legs just to release the tension this insignificant thing developed within me. But why waste all of that time and destroy the finished piece not allowing you a chance to see its completion.
Before the lighting, the white background dramatically illustrated the warped dome. Ain’t it a thing of beauty?
My son helped with the lights. He provided the color toy lamps. He held them in various places and positions while I snapped a couple dozen shots. Satisfied we found the right shot, we called it a night.
Here it is.
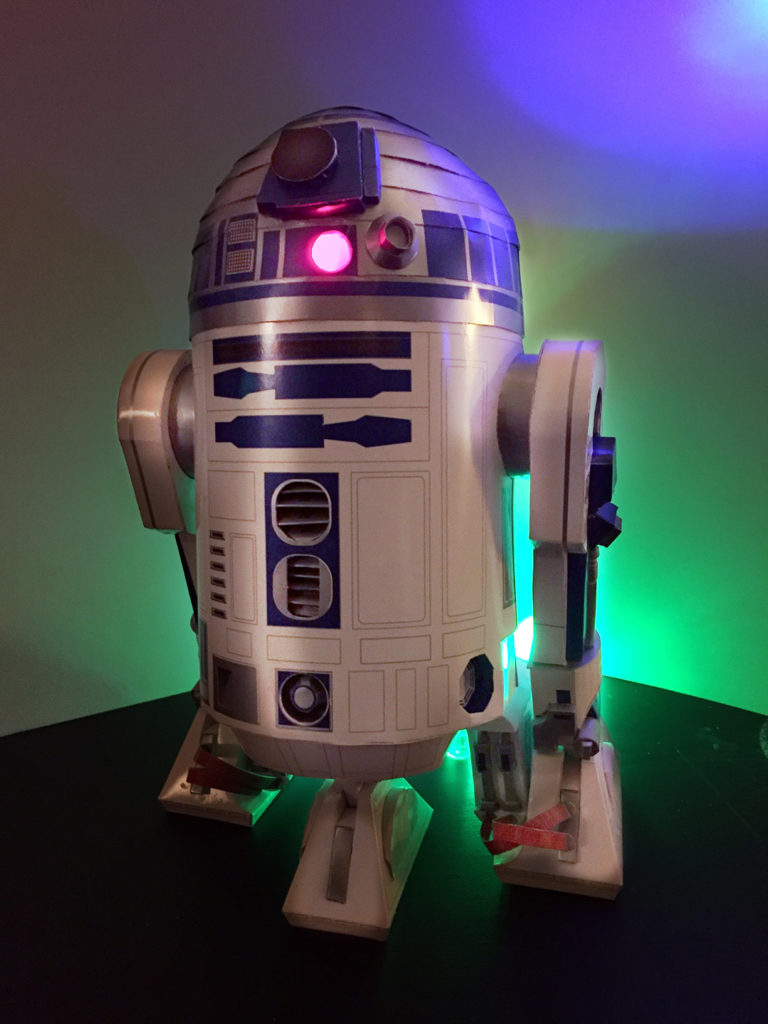
My focus determined my reality.
Now that it is done, I do not know what to do with it.